
LEGO PIECE MOLD
YEAR2025
KINDINDIVIDUAL
CATEGORYFABACADEMY
FUNCTIONDESIGN AND MANUFACTURING
Making use of the FabAcademy molding and cadsting week to explore 3d machining, moldmaking principles and casting
For this week, as I've done molding and casting practices before, I decided to explore beyond simple casting pieces. For this reason I decided to try to cast a LEGO piece. As simple as this could seem its complication relies in the fact that traditional casting is not an ideal technique to avhieve this kind of pieces for this reason they are usually made by injection molding. It seemed like a cool challenge.

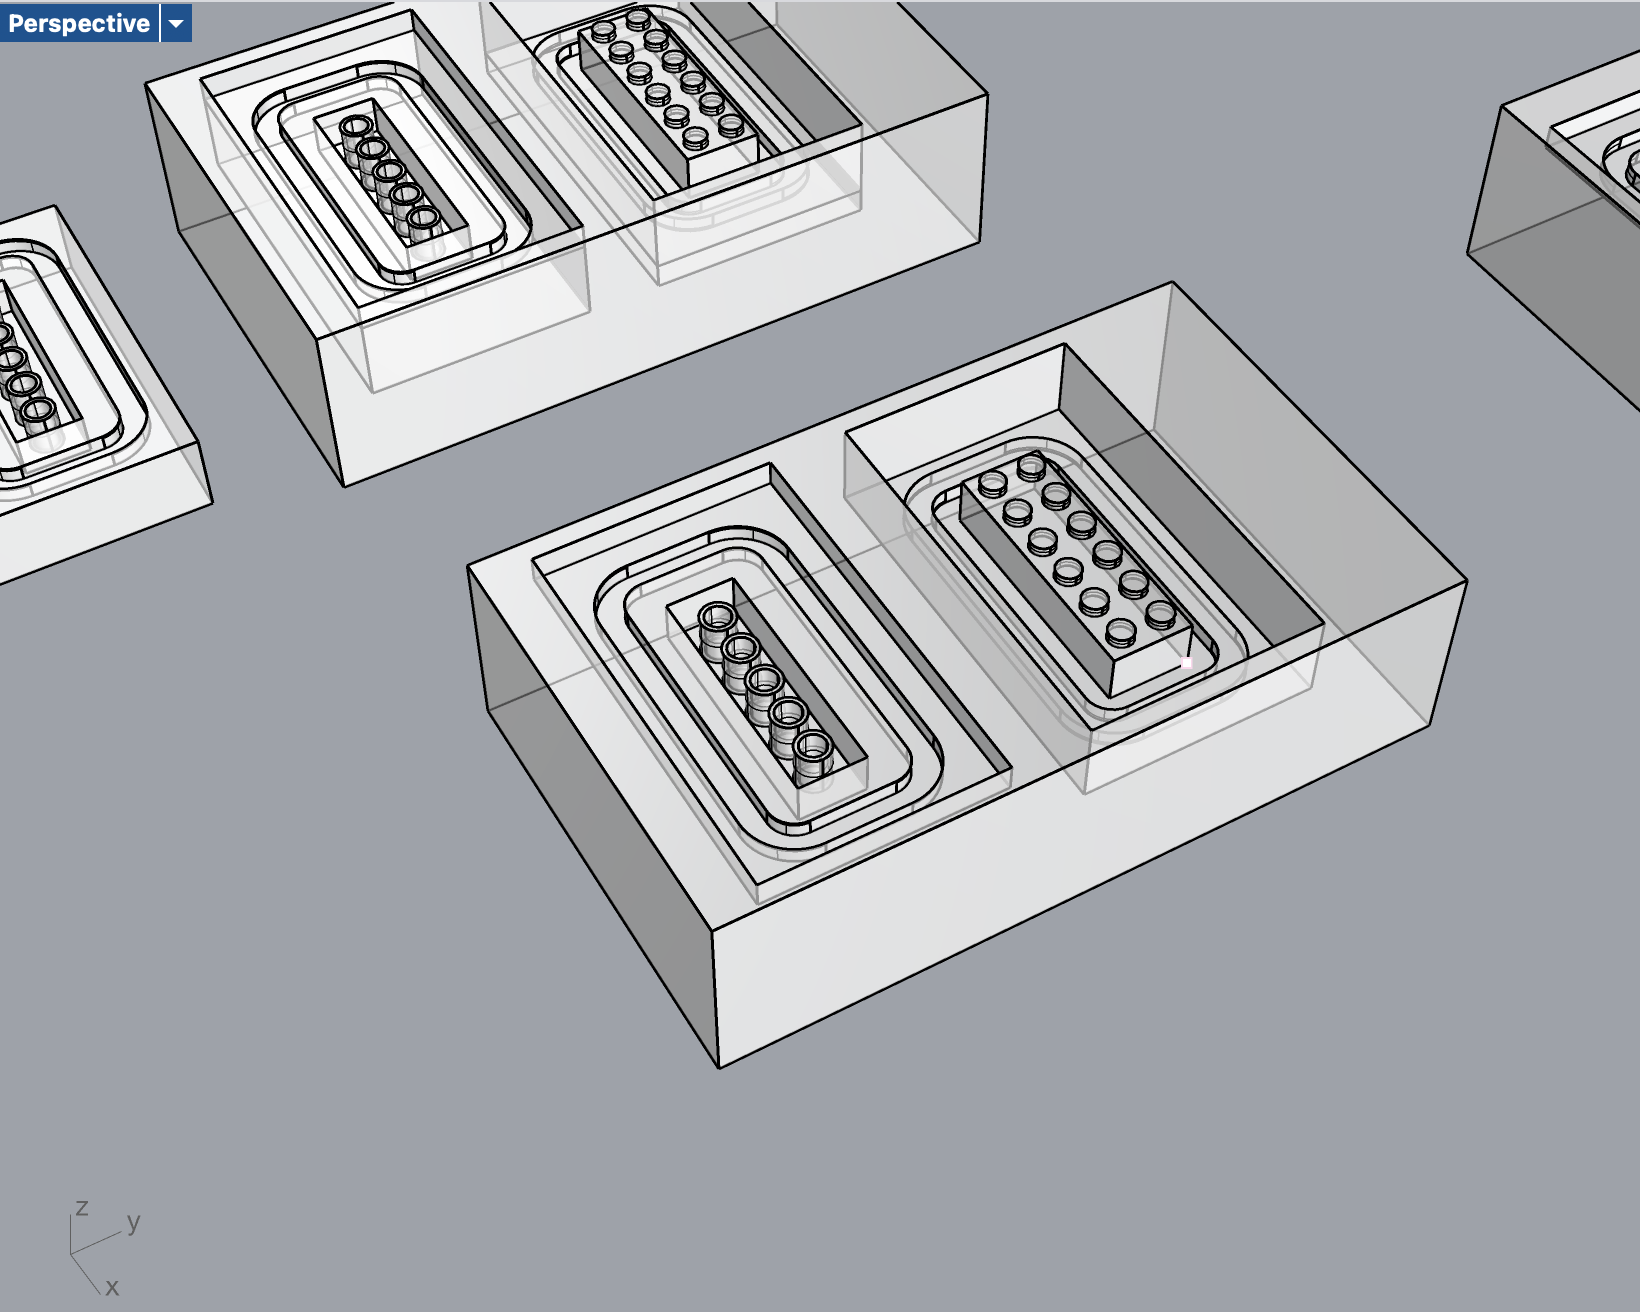
First part of the molding and casting process was the mold making, to do it it's necessary to first get the negative part of the piece looking to be made. To get this negative, fristly, I modeled the piece itself inside the software Rhinoceros.
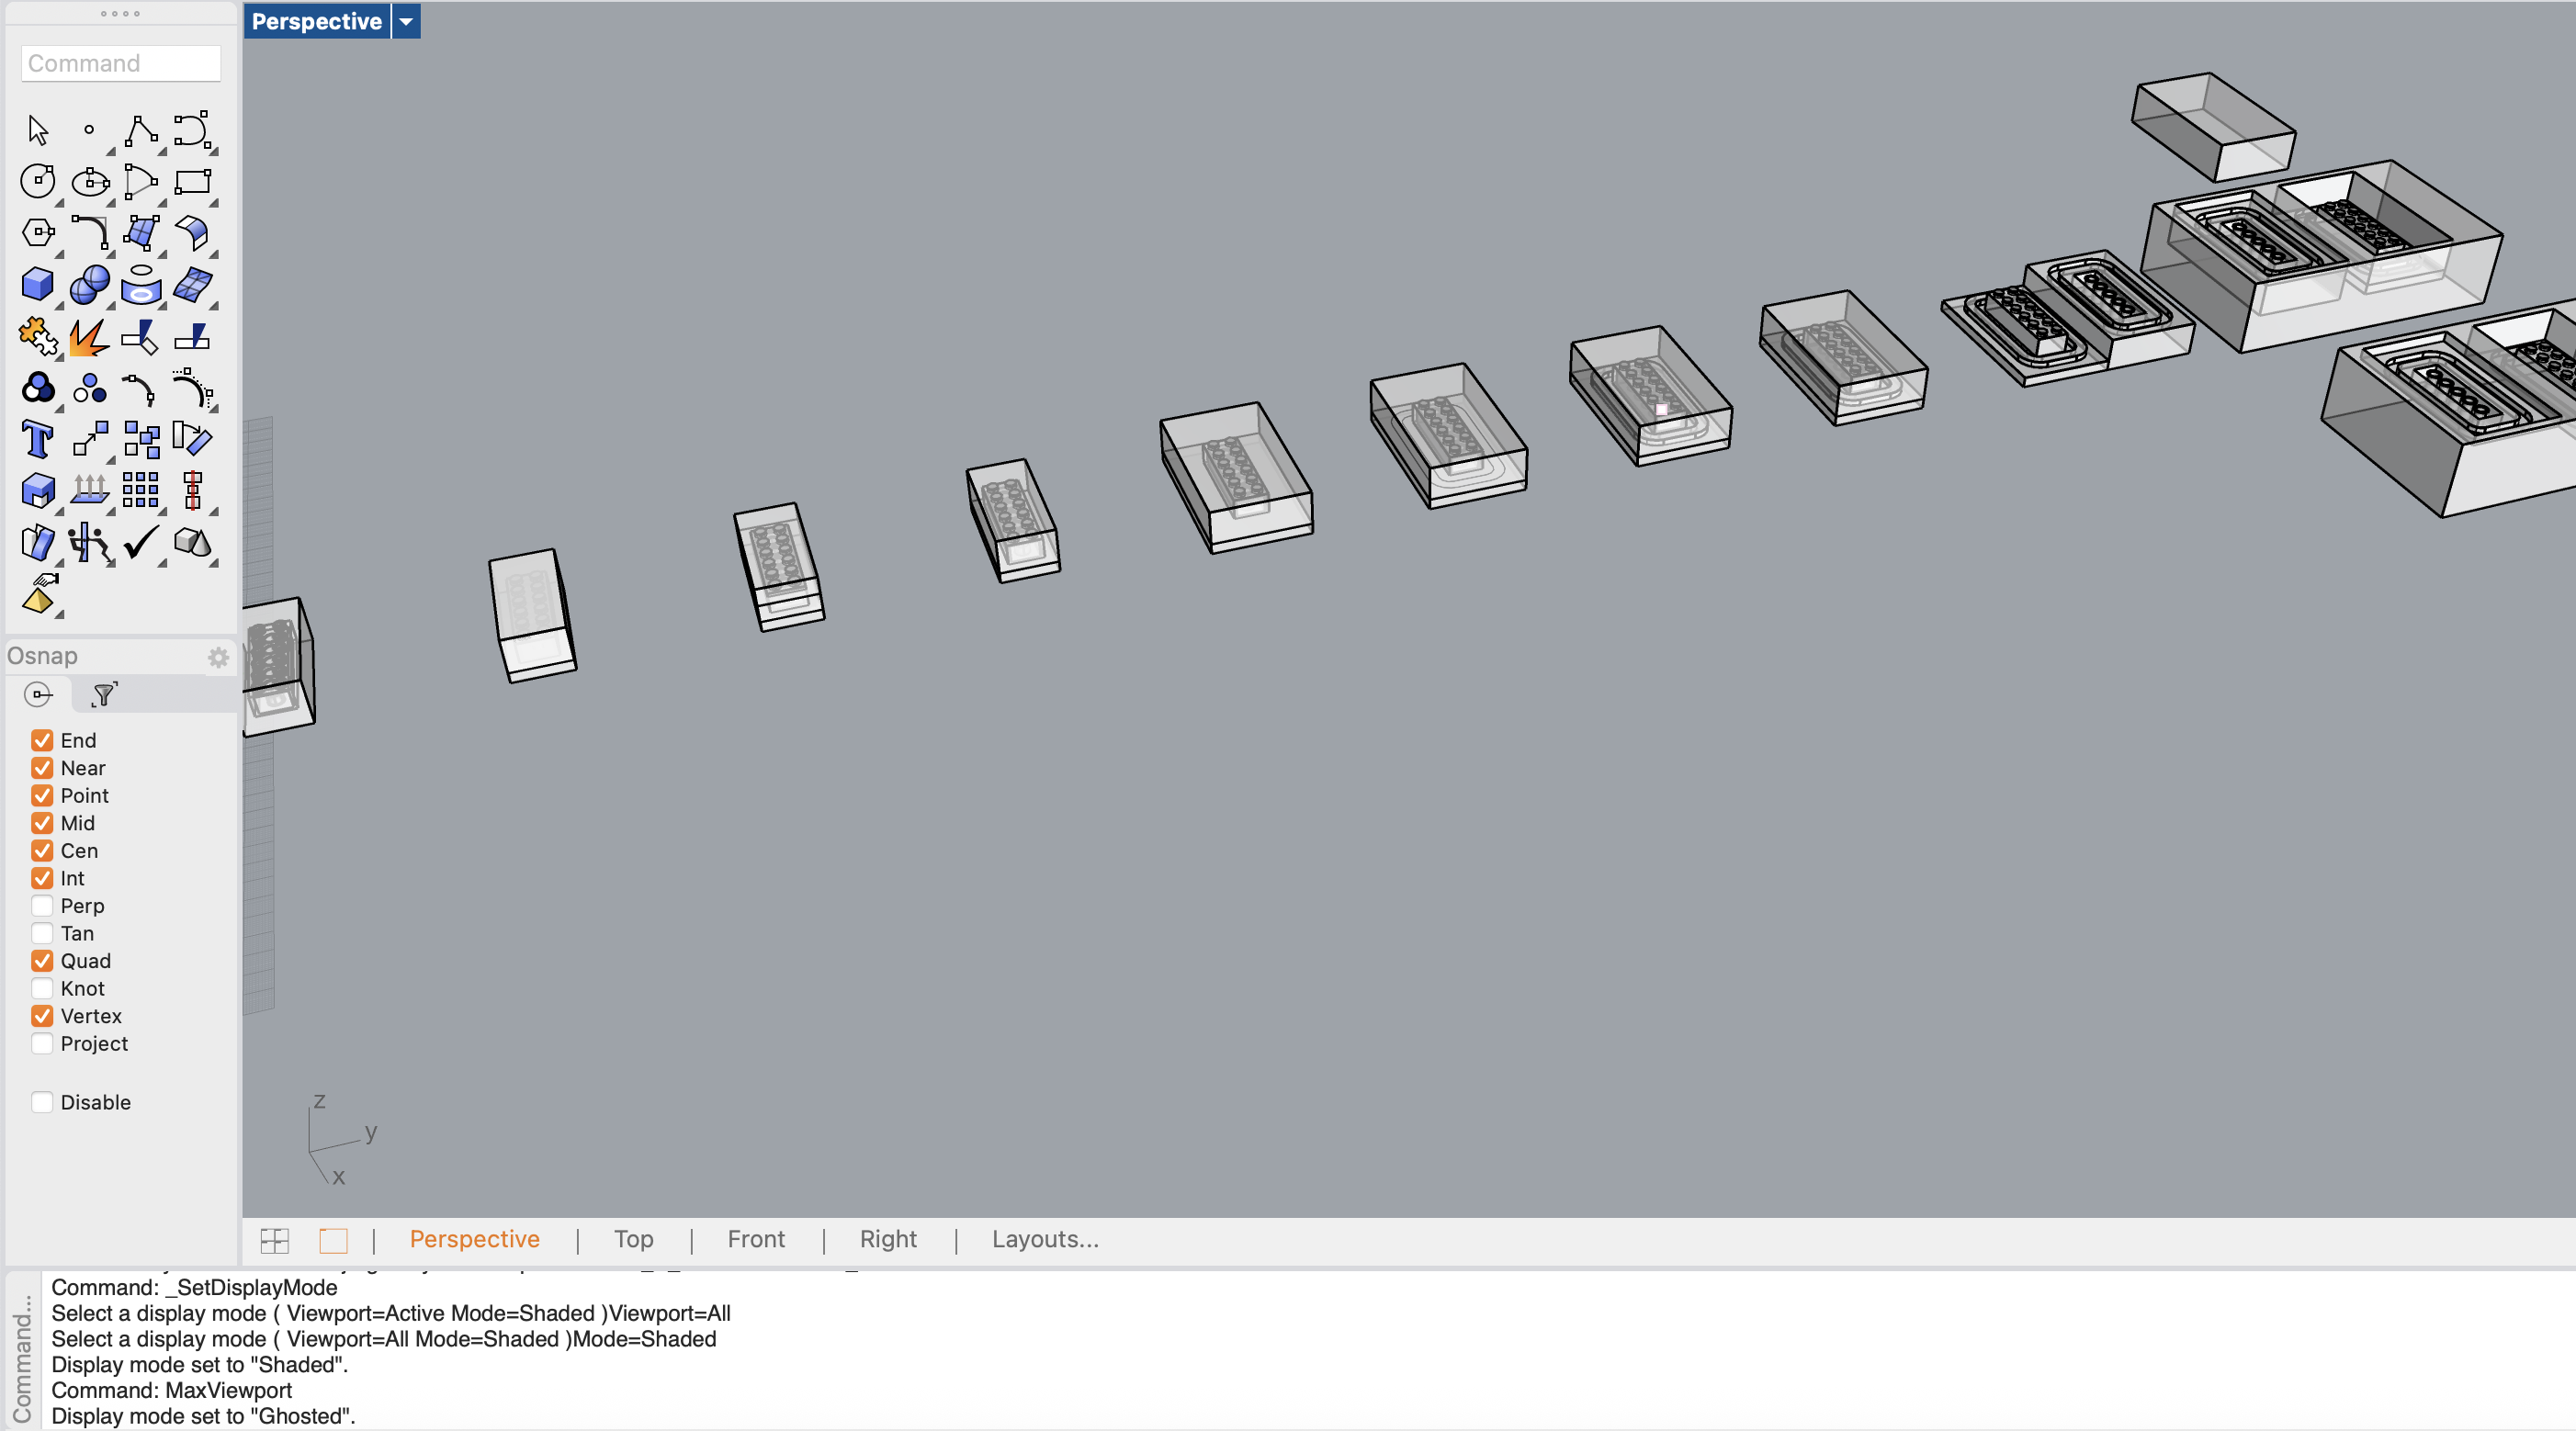
After having this piece in the software, using a set boolean unions and differences, I obtained the same positive part in two sides, one for the top and one for the bottom of the piece. with this two sides of the piece side by side in the same block I drawed a positive rail and a negative to have the pieces fit after the first cast

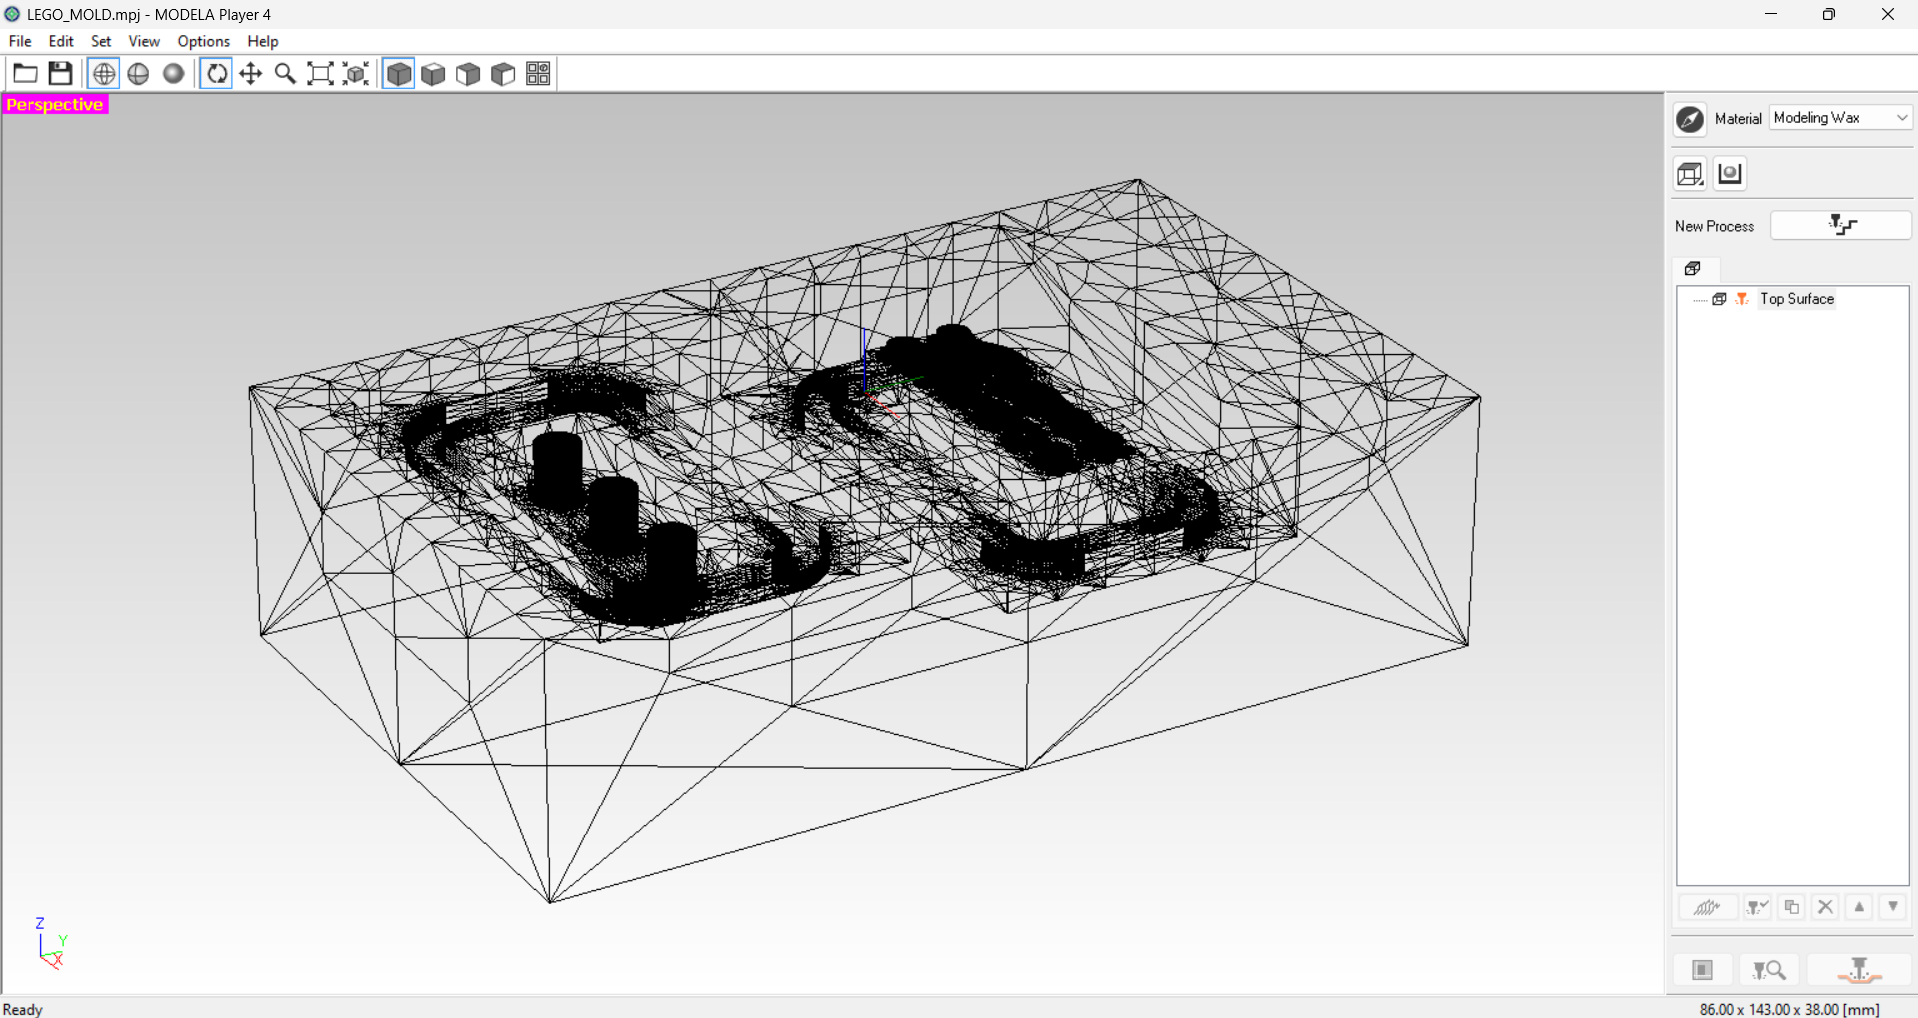
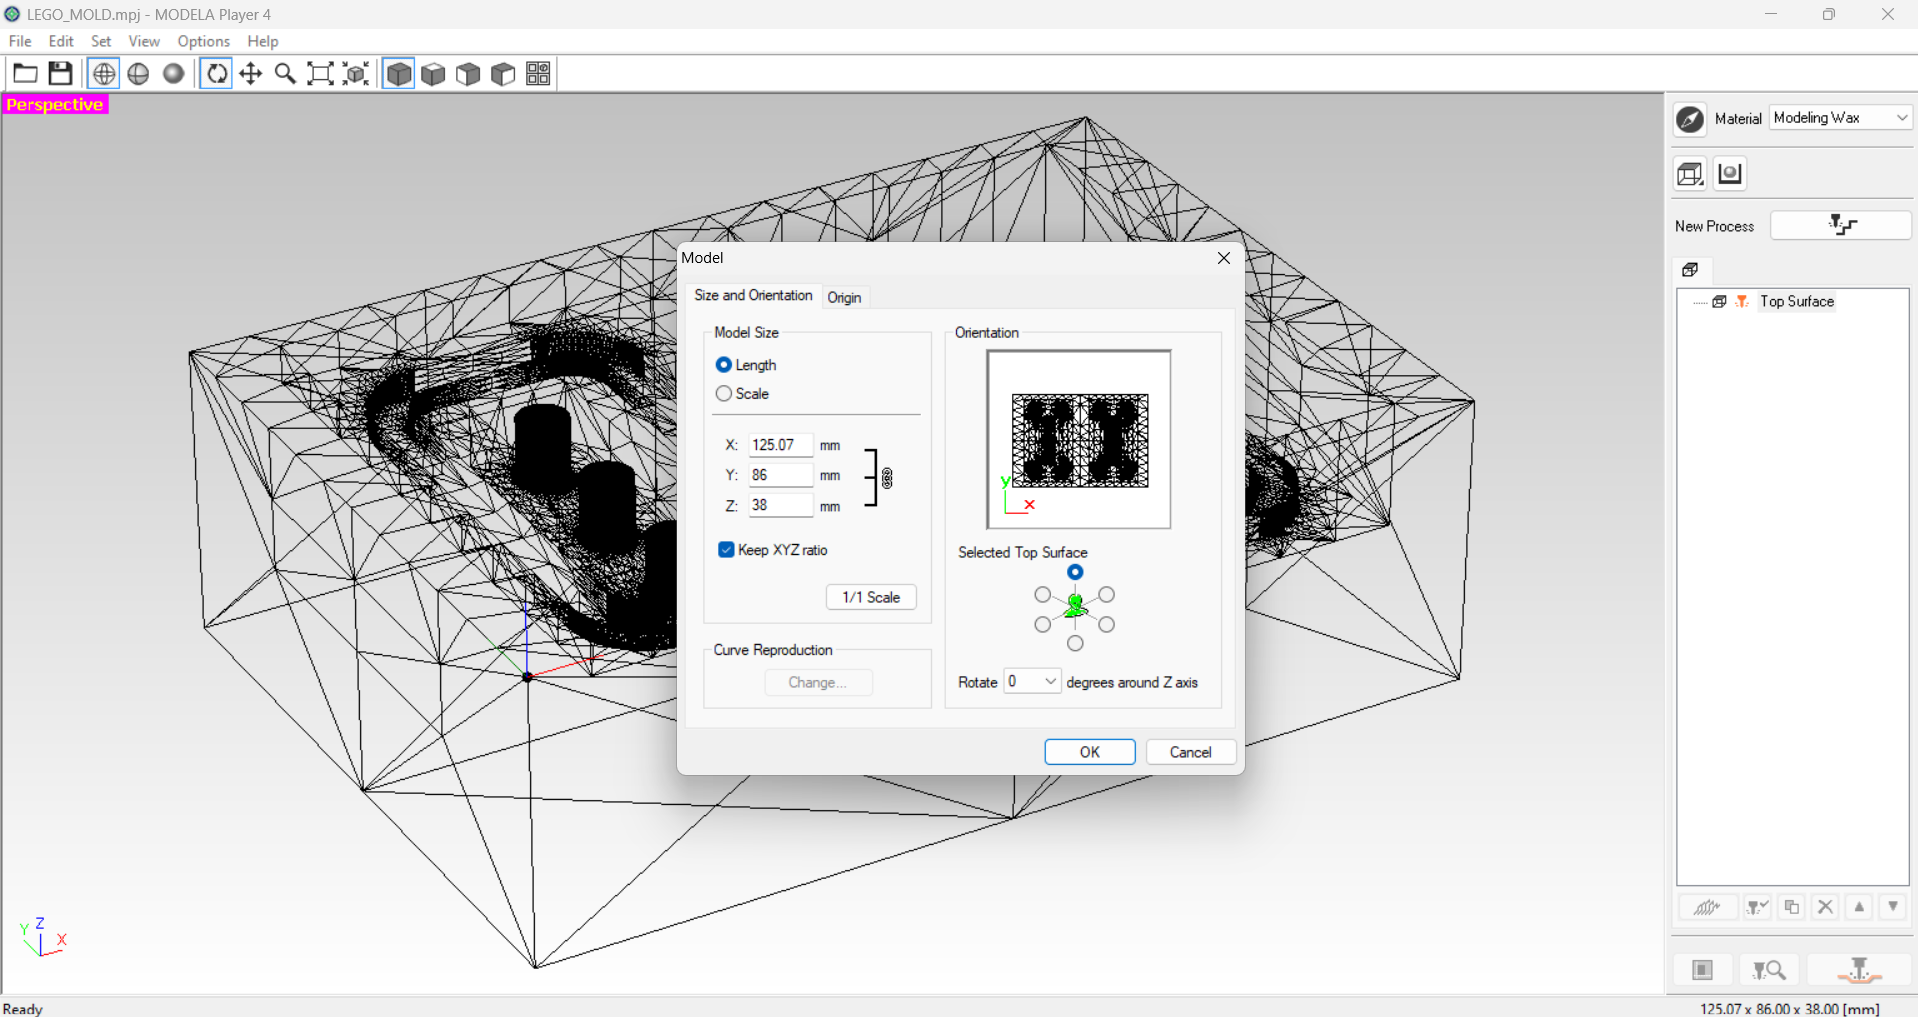
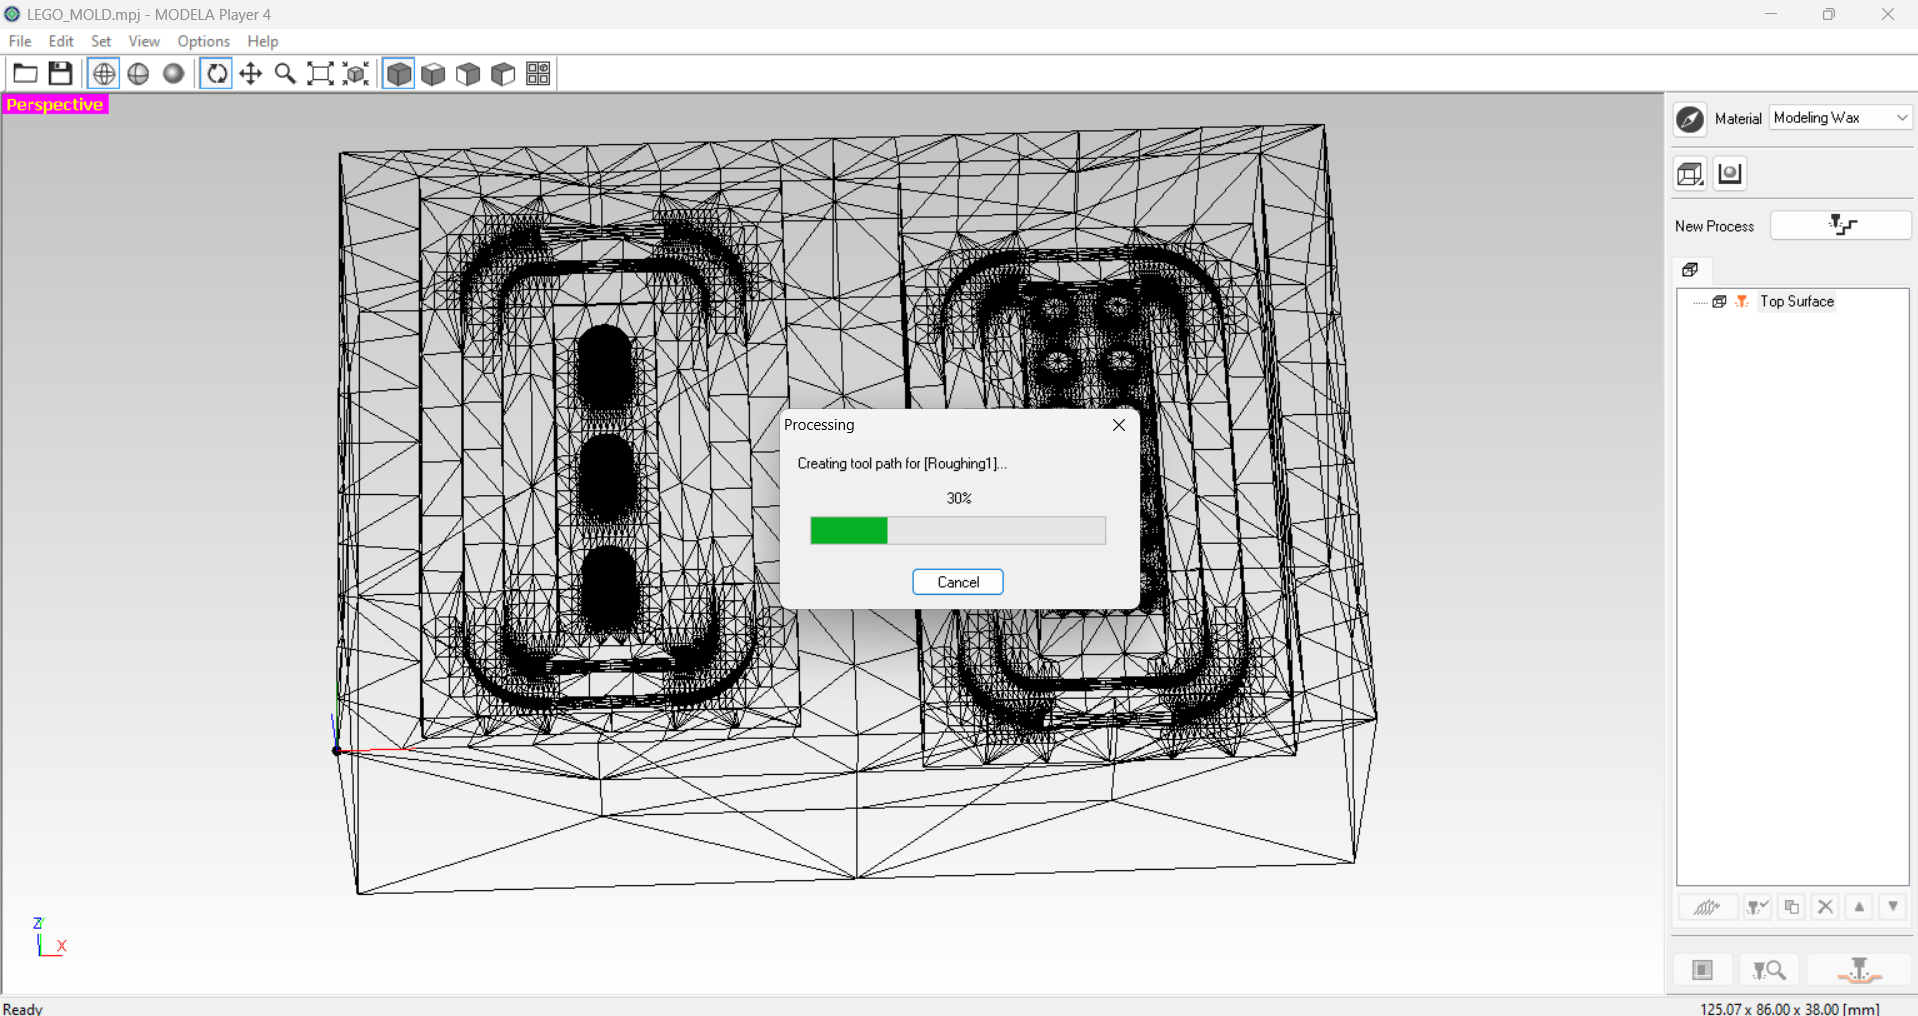
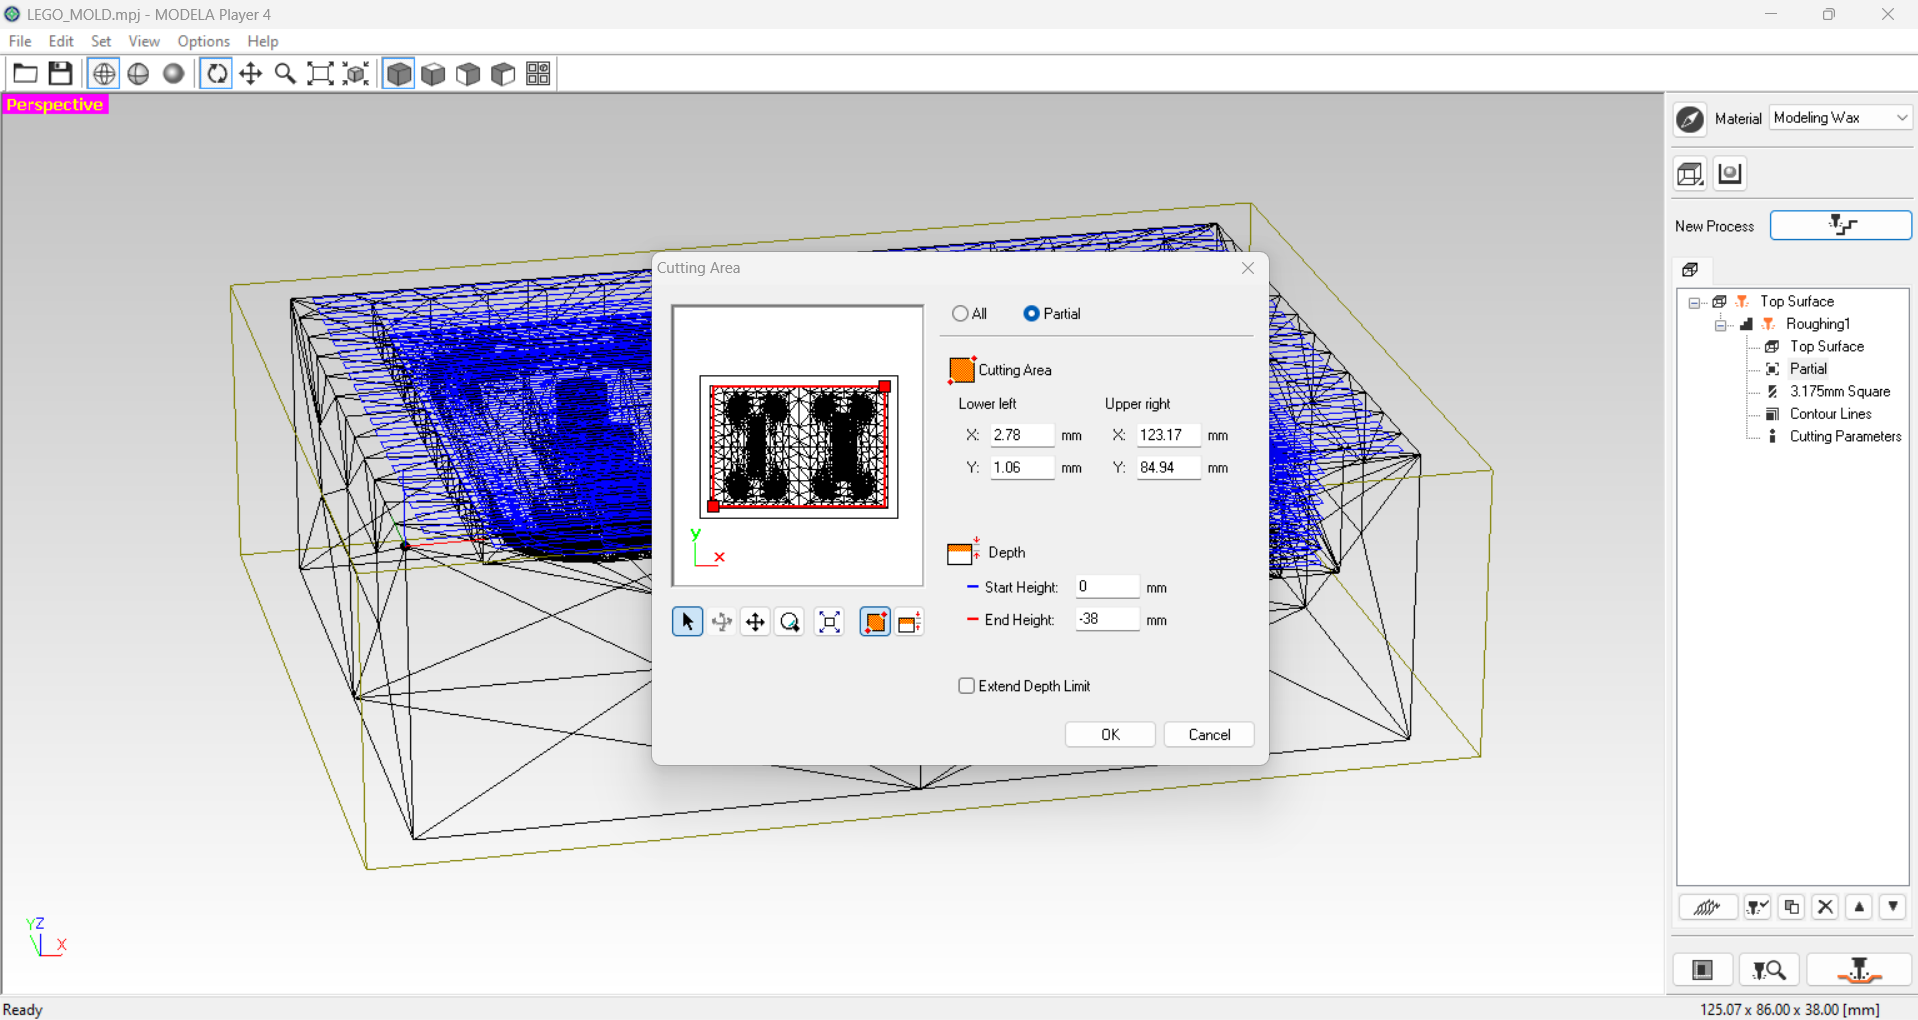
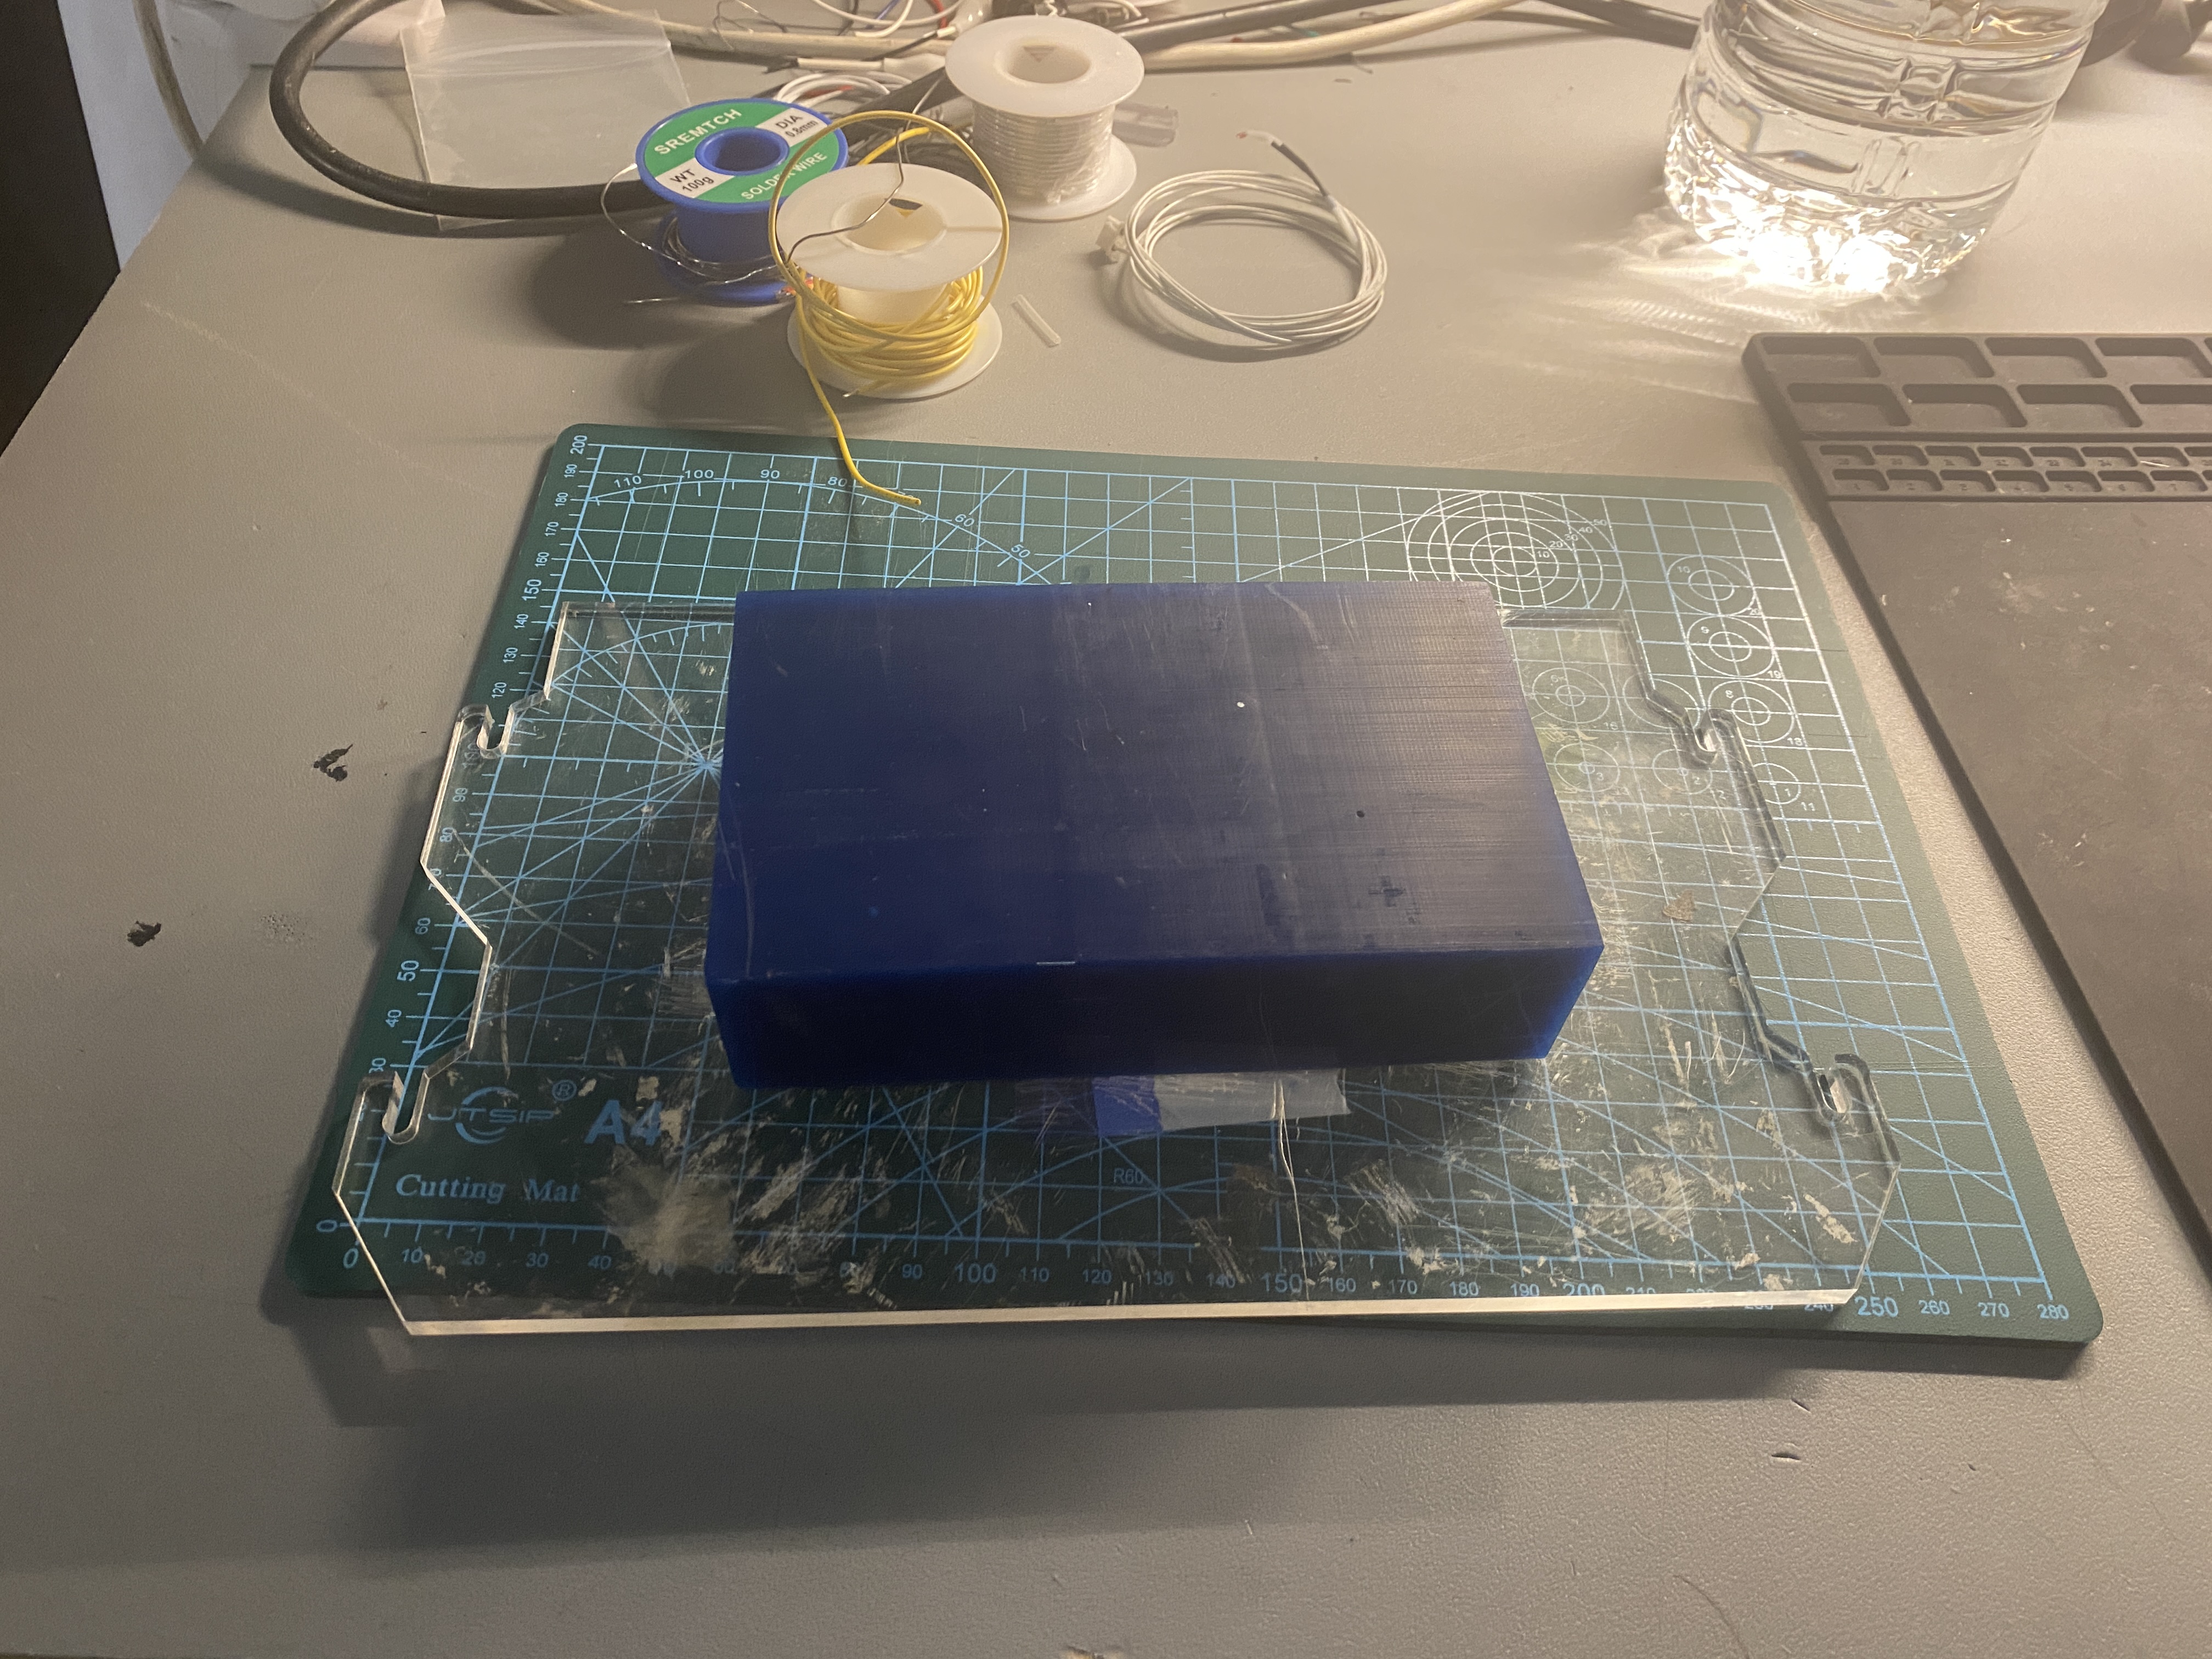
With the 3d model ready and after figuring out which endtool cpould be ideal to machine the piece (As the shape itself did not need a lot of deatil I only used one 3mm endtool) I did the gcode to machine the block of wax where the mold will be caseted.
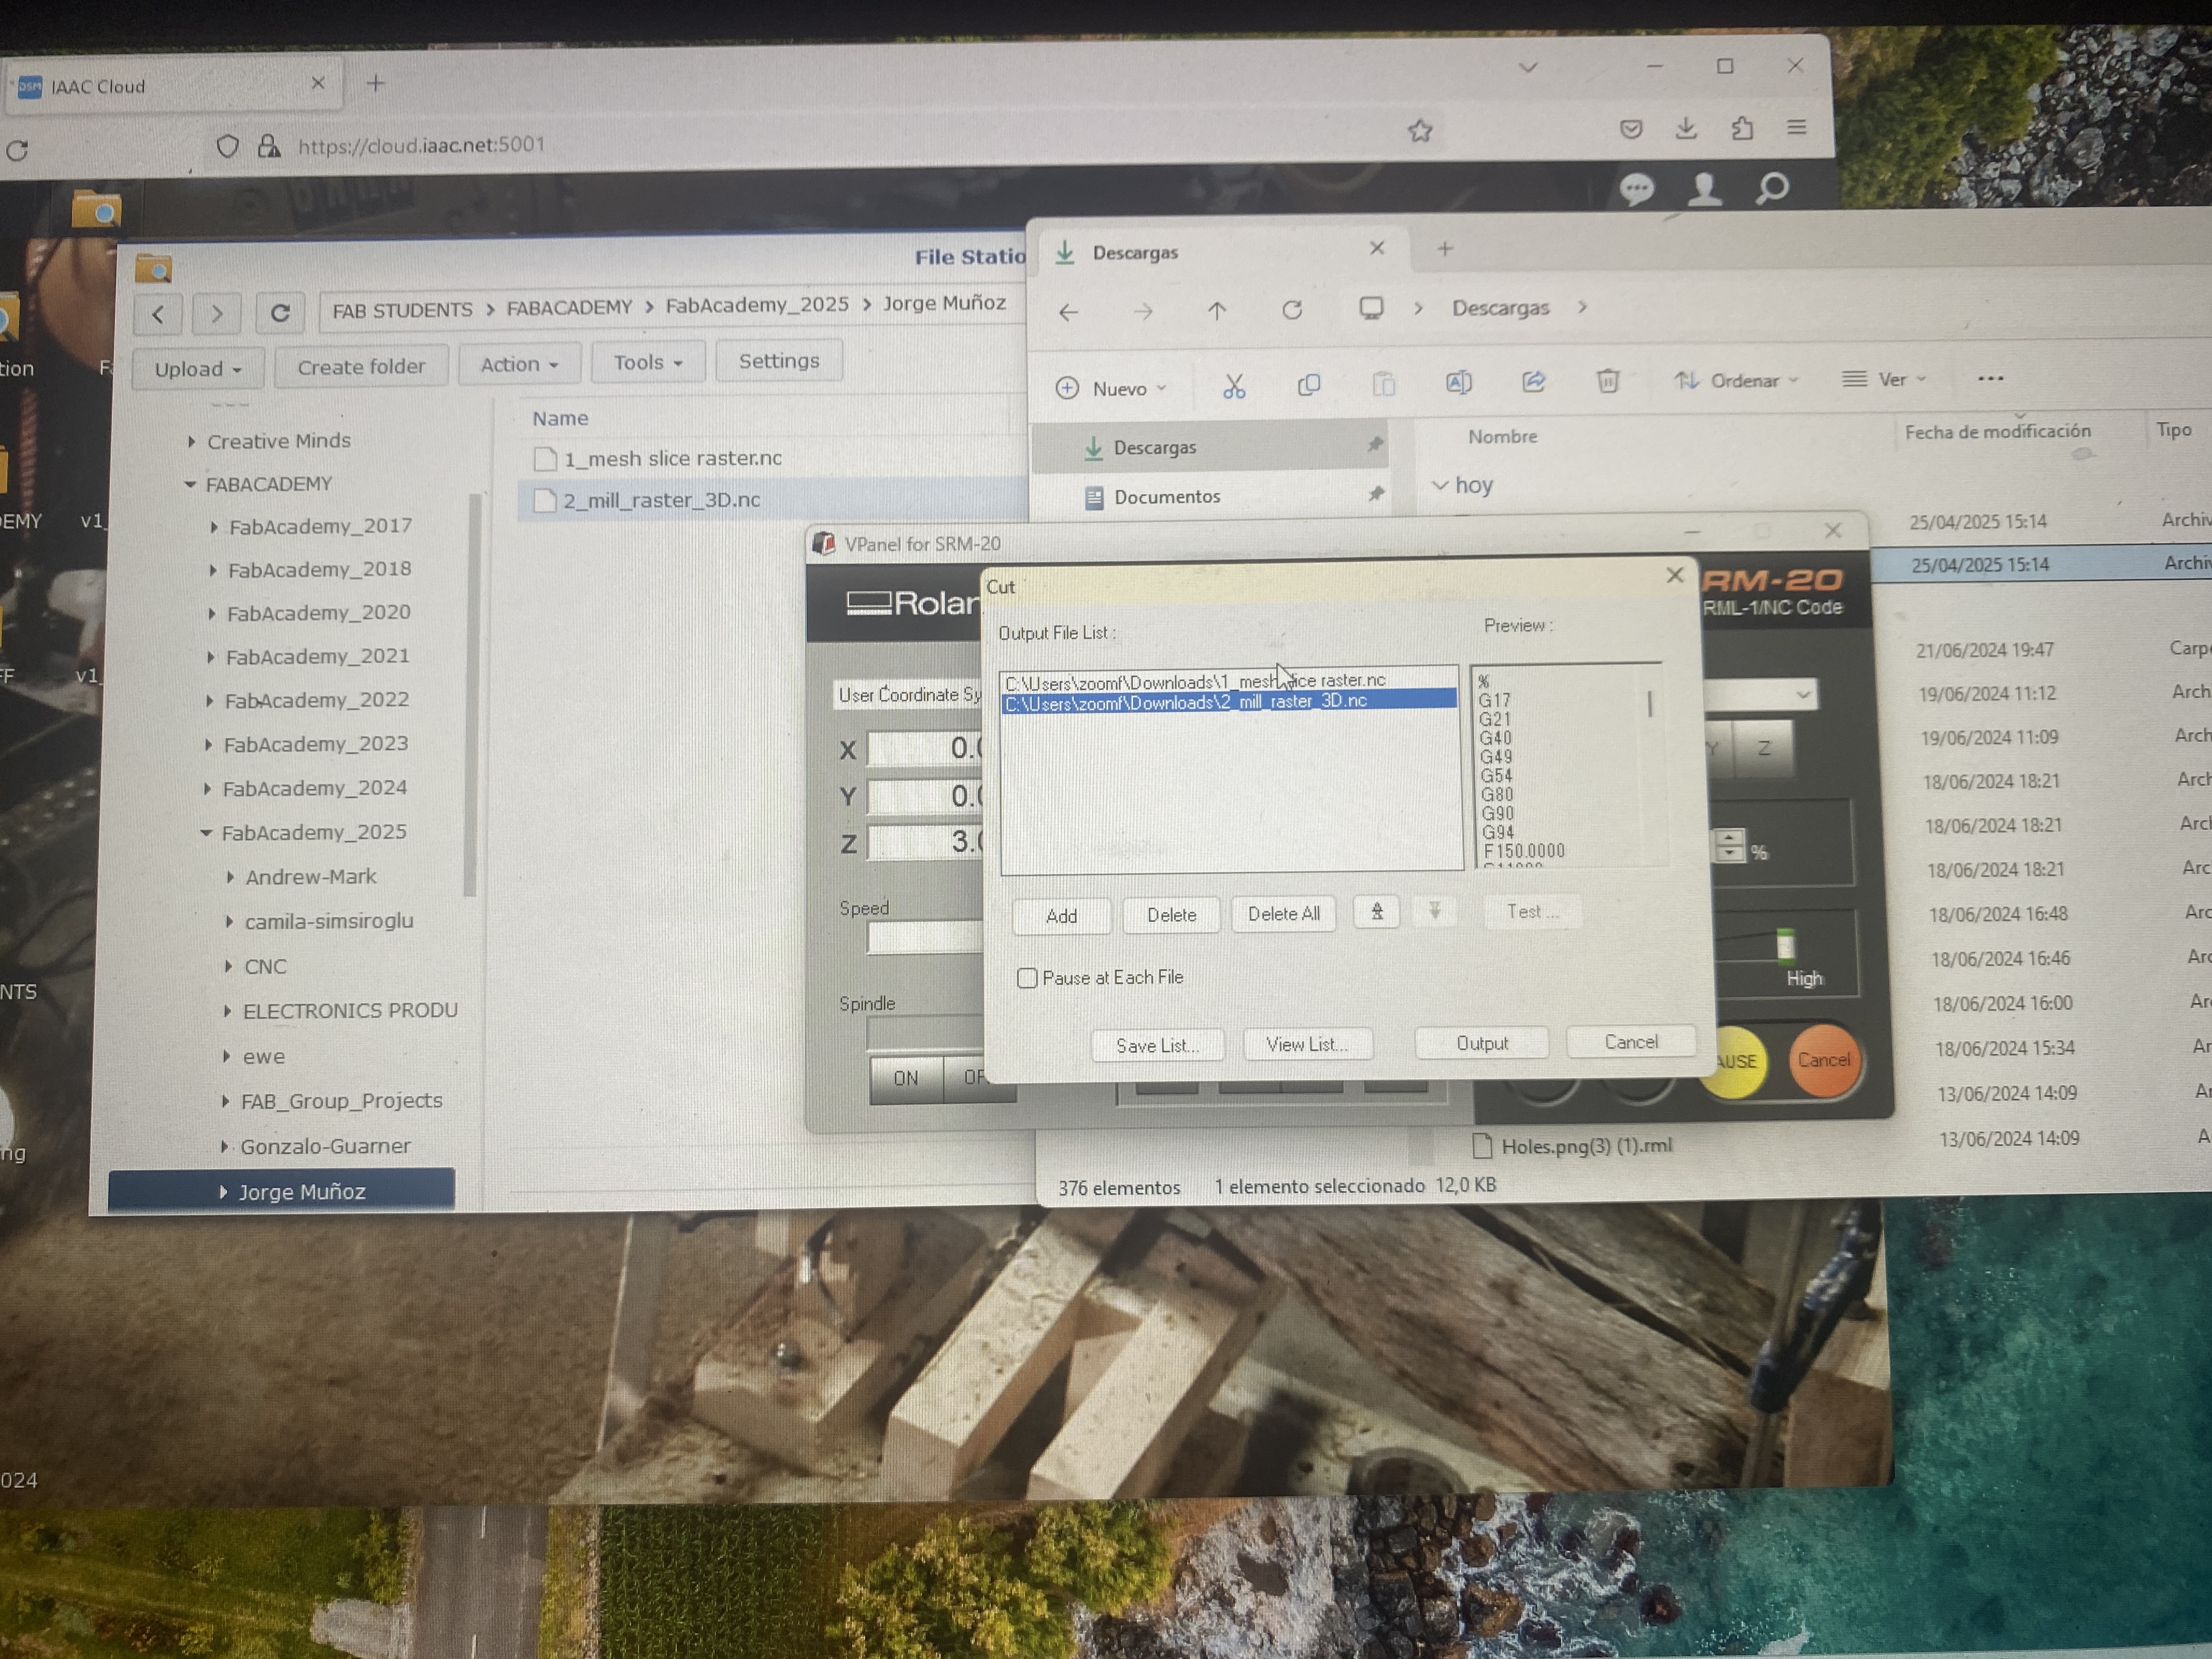
To make the gcode I followed two approaches. At first using Neil's advice I decided to try Mods project platform made by Neil himself and Nadya Peek. I followed his tutorial few times applyed to the roland machine in the lab but I was completly unsuccesful making it properly work. Cuts were too deep

After seeing that this method was highly unsuccesful, I tried Modela V4 software in the lab, with the tools already configured on it. After obtaining the gcode, i stuck the wax block to the base using tape, ran the surfacing, roughing and finishing codes and completed the fistr part of the process

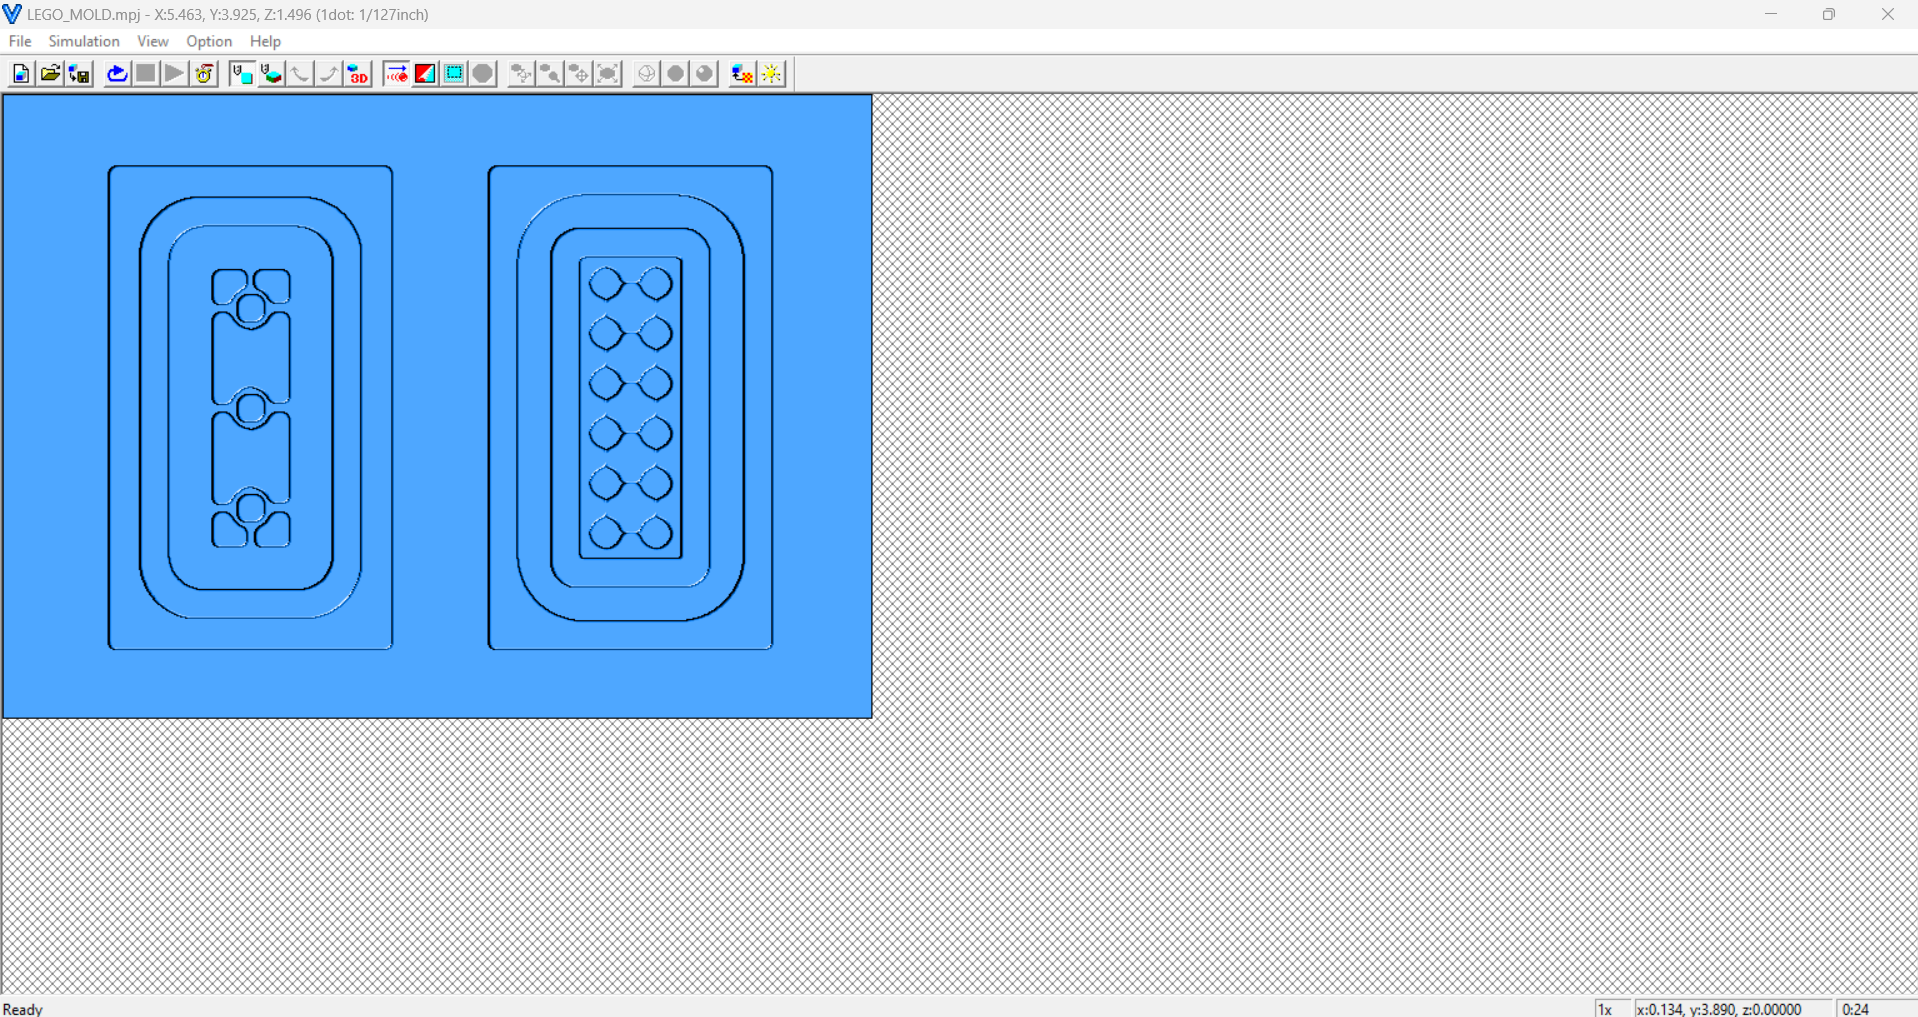
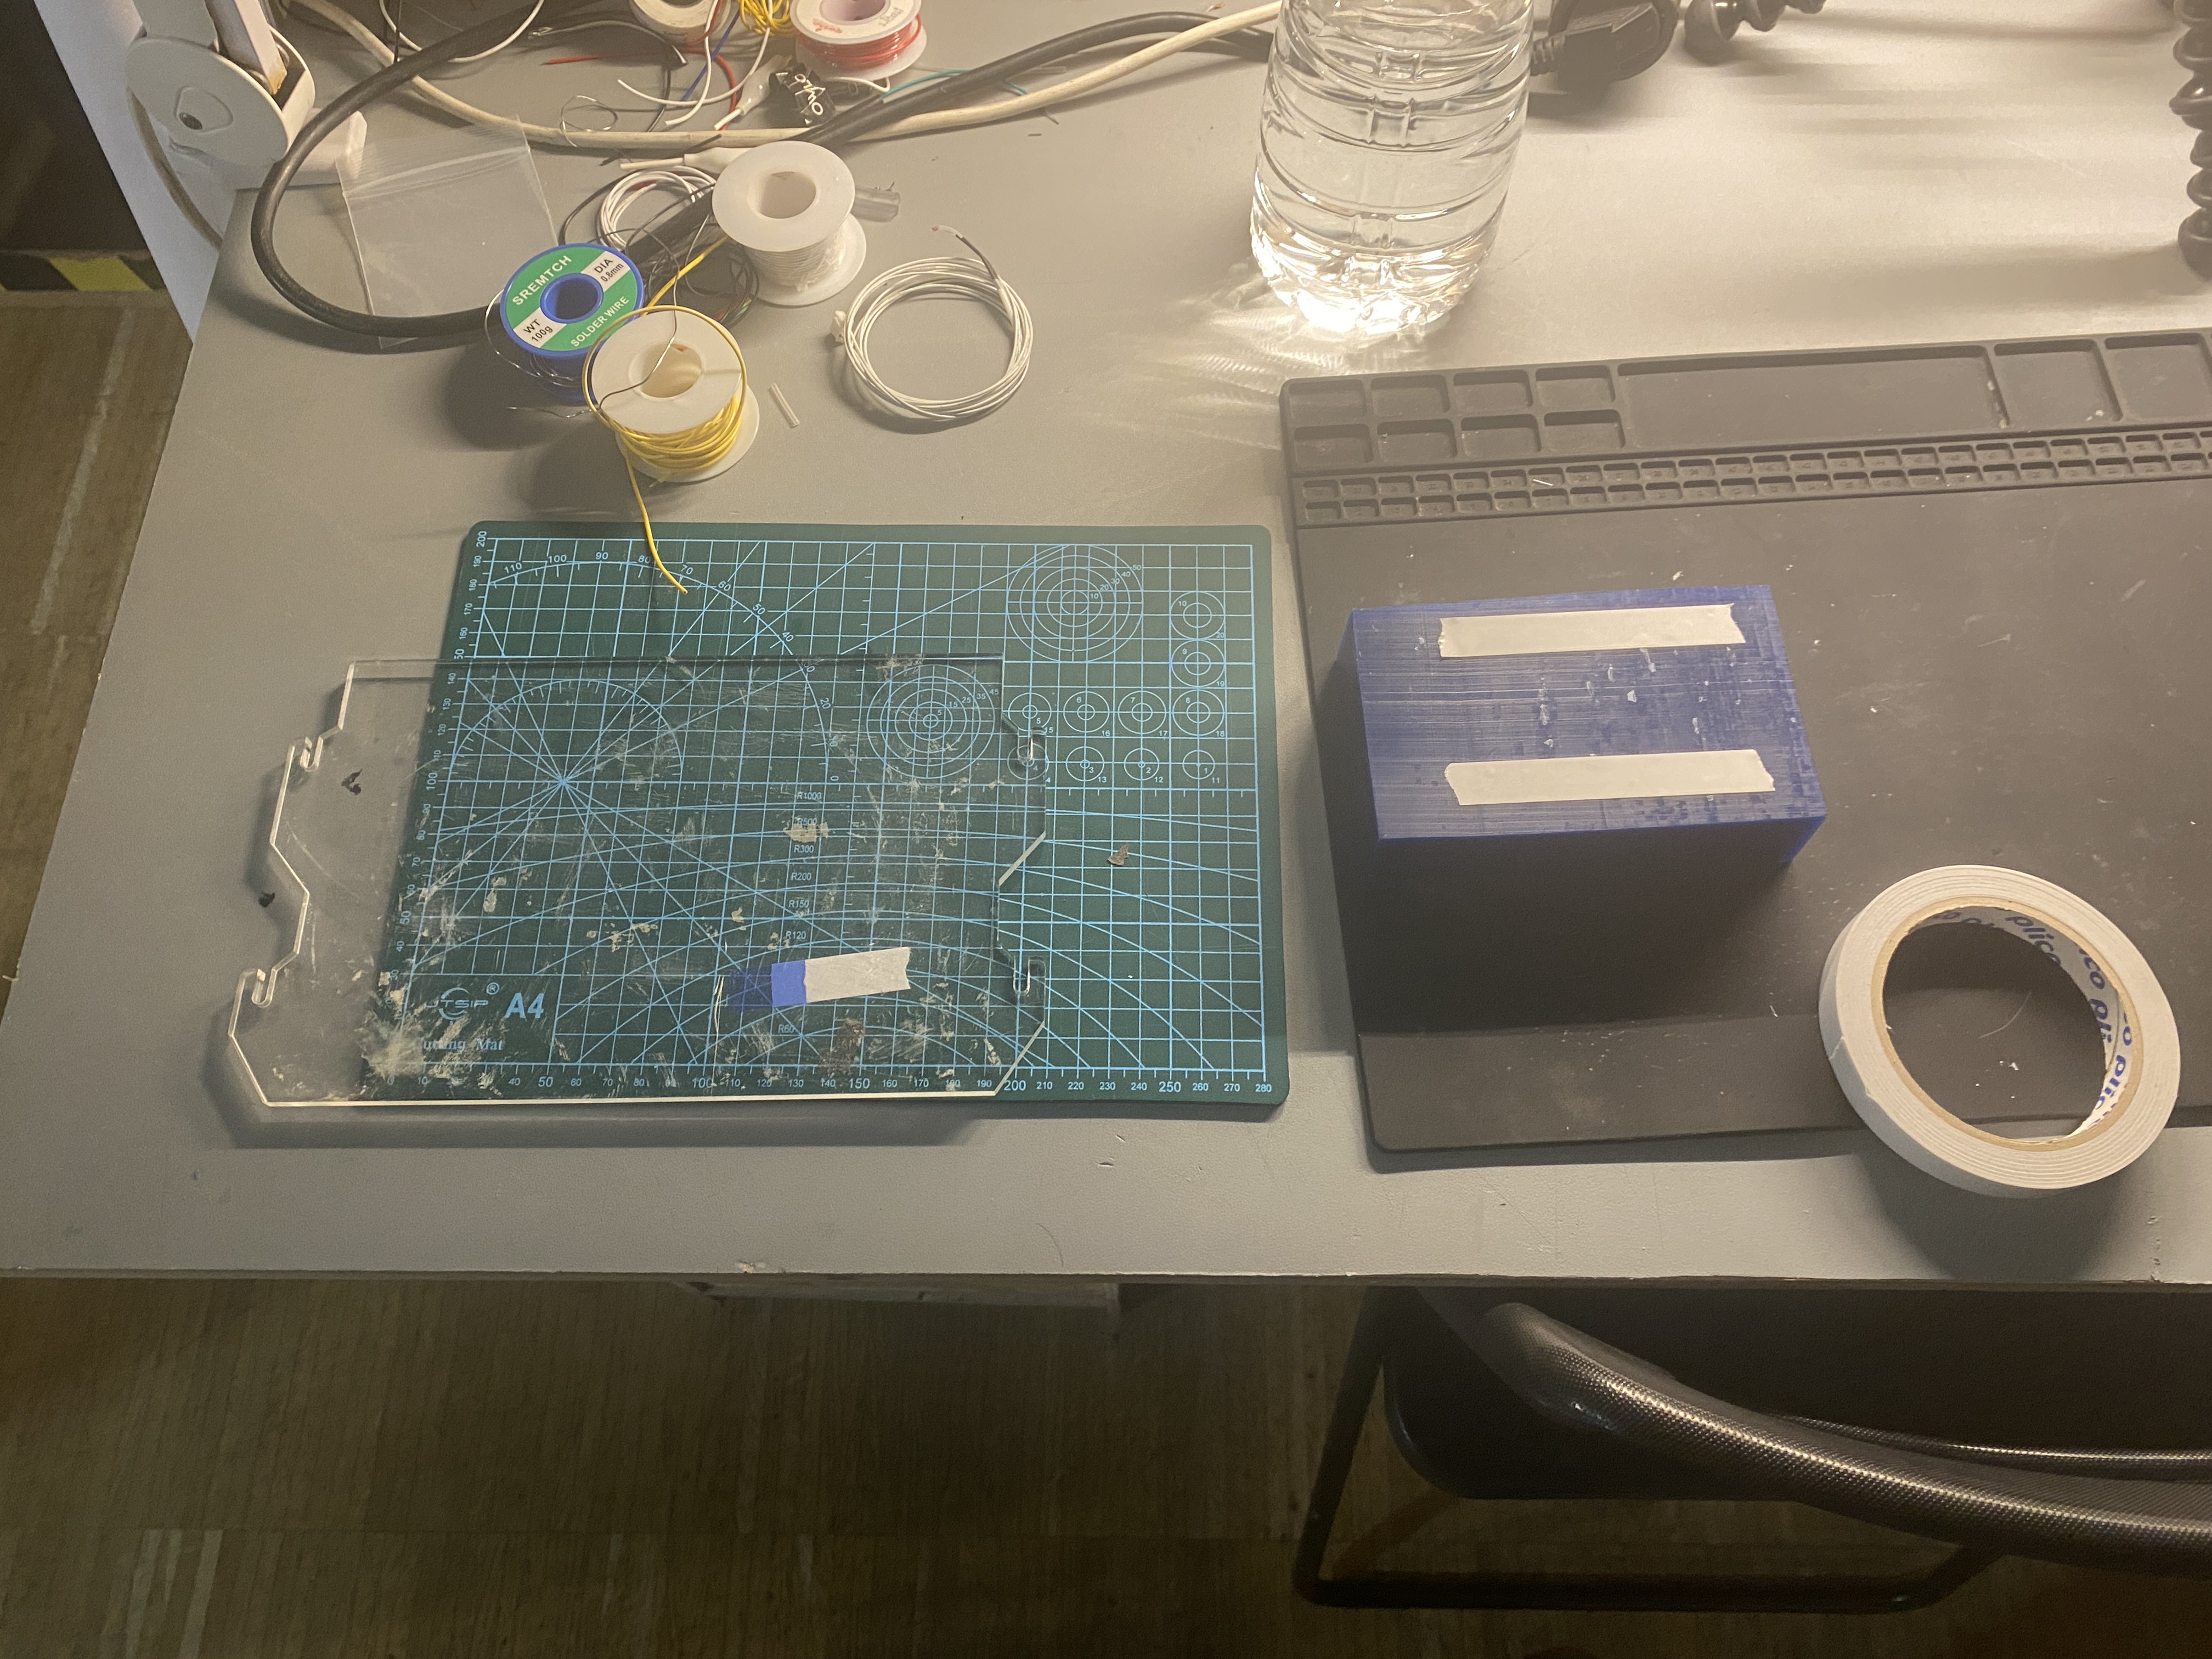
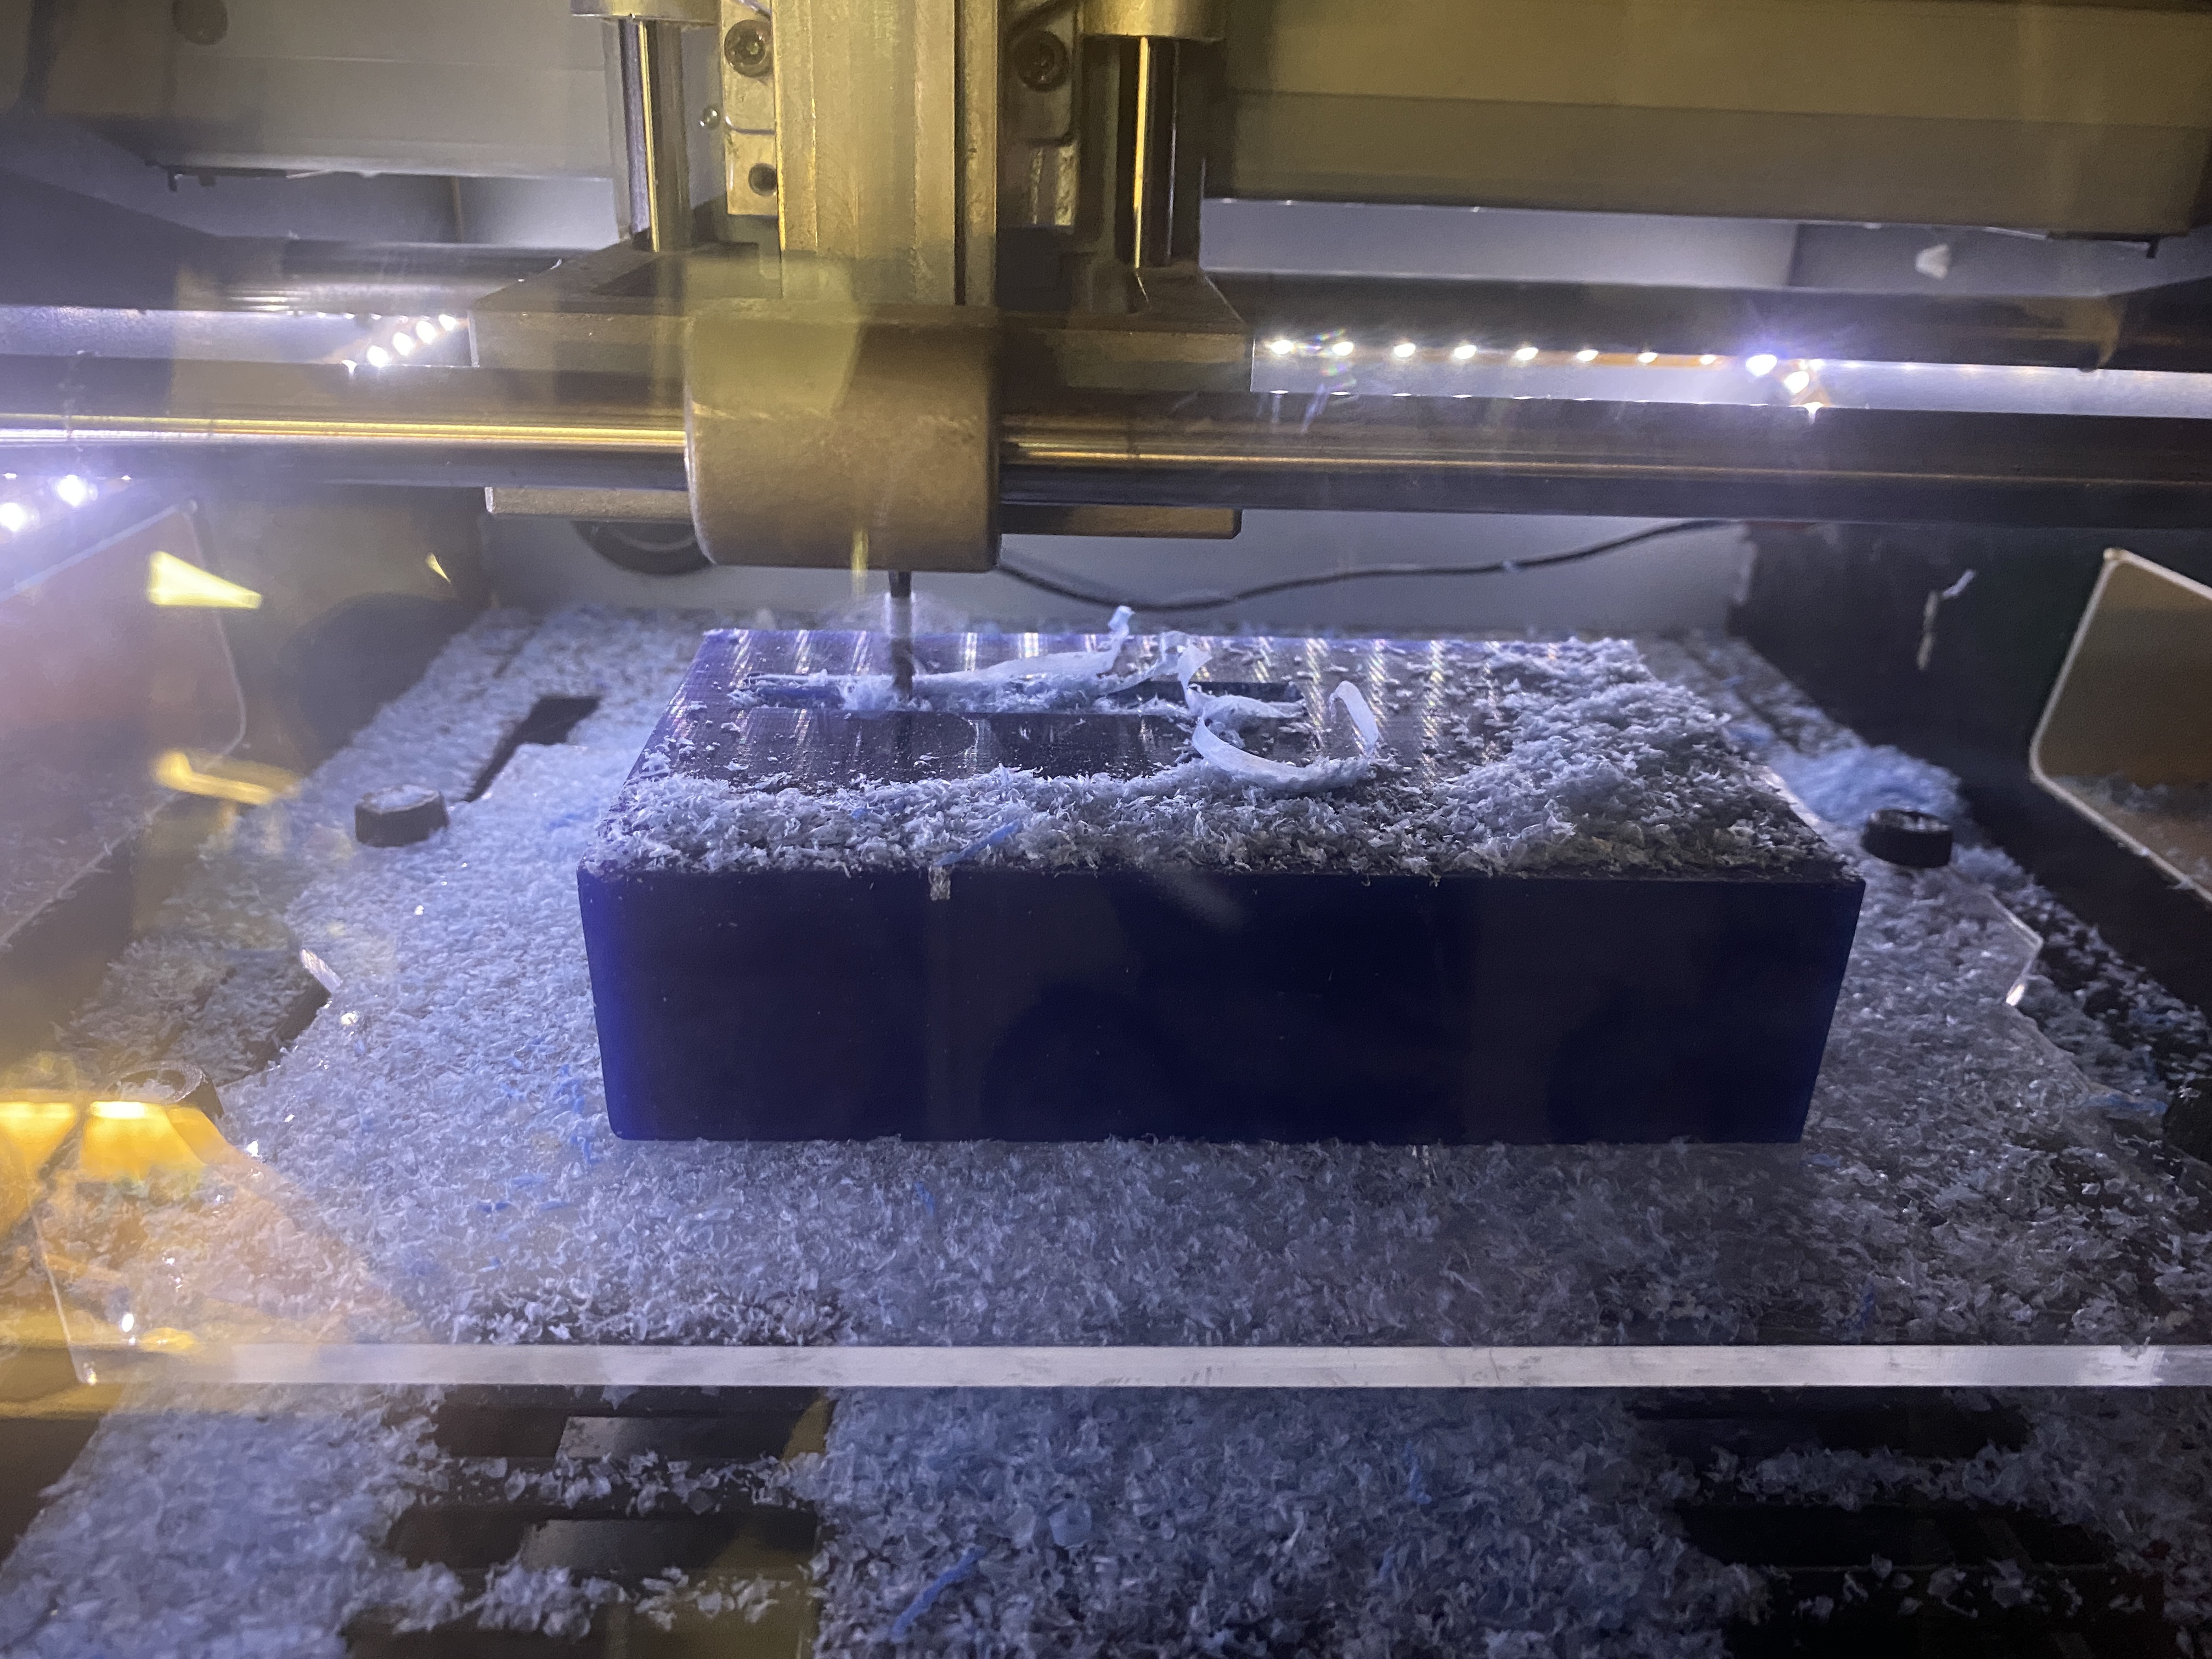
The block seemed to have some bubles inside which caused huge air spaces in the surfacing of the piece. To solve these issues I used clay and a bit of manual skill to cover them for the cast.
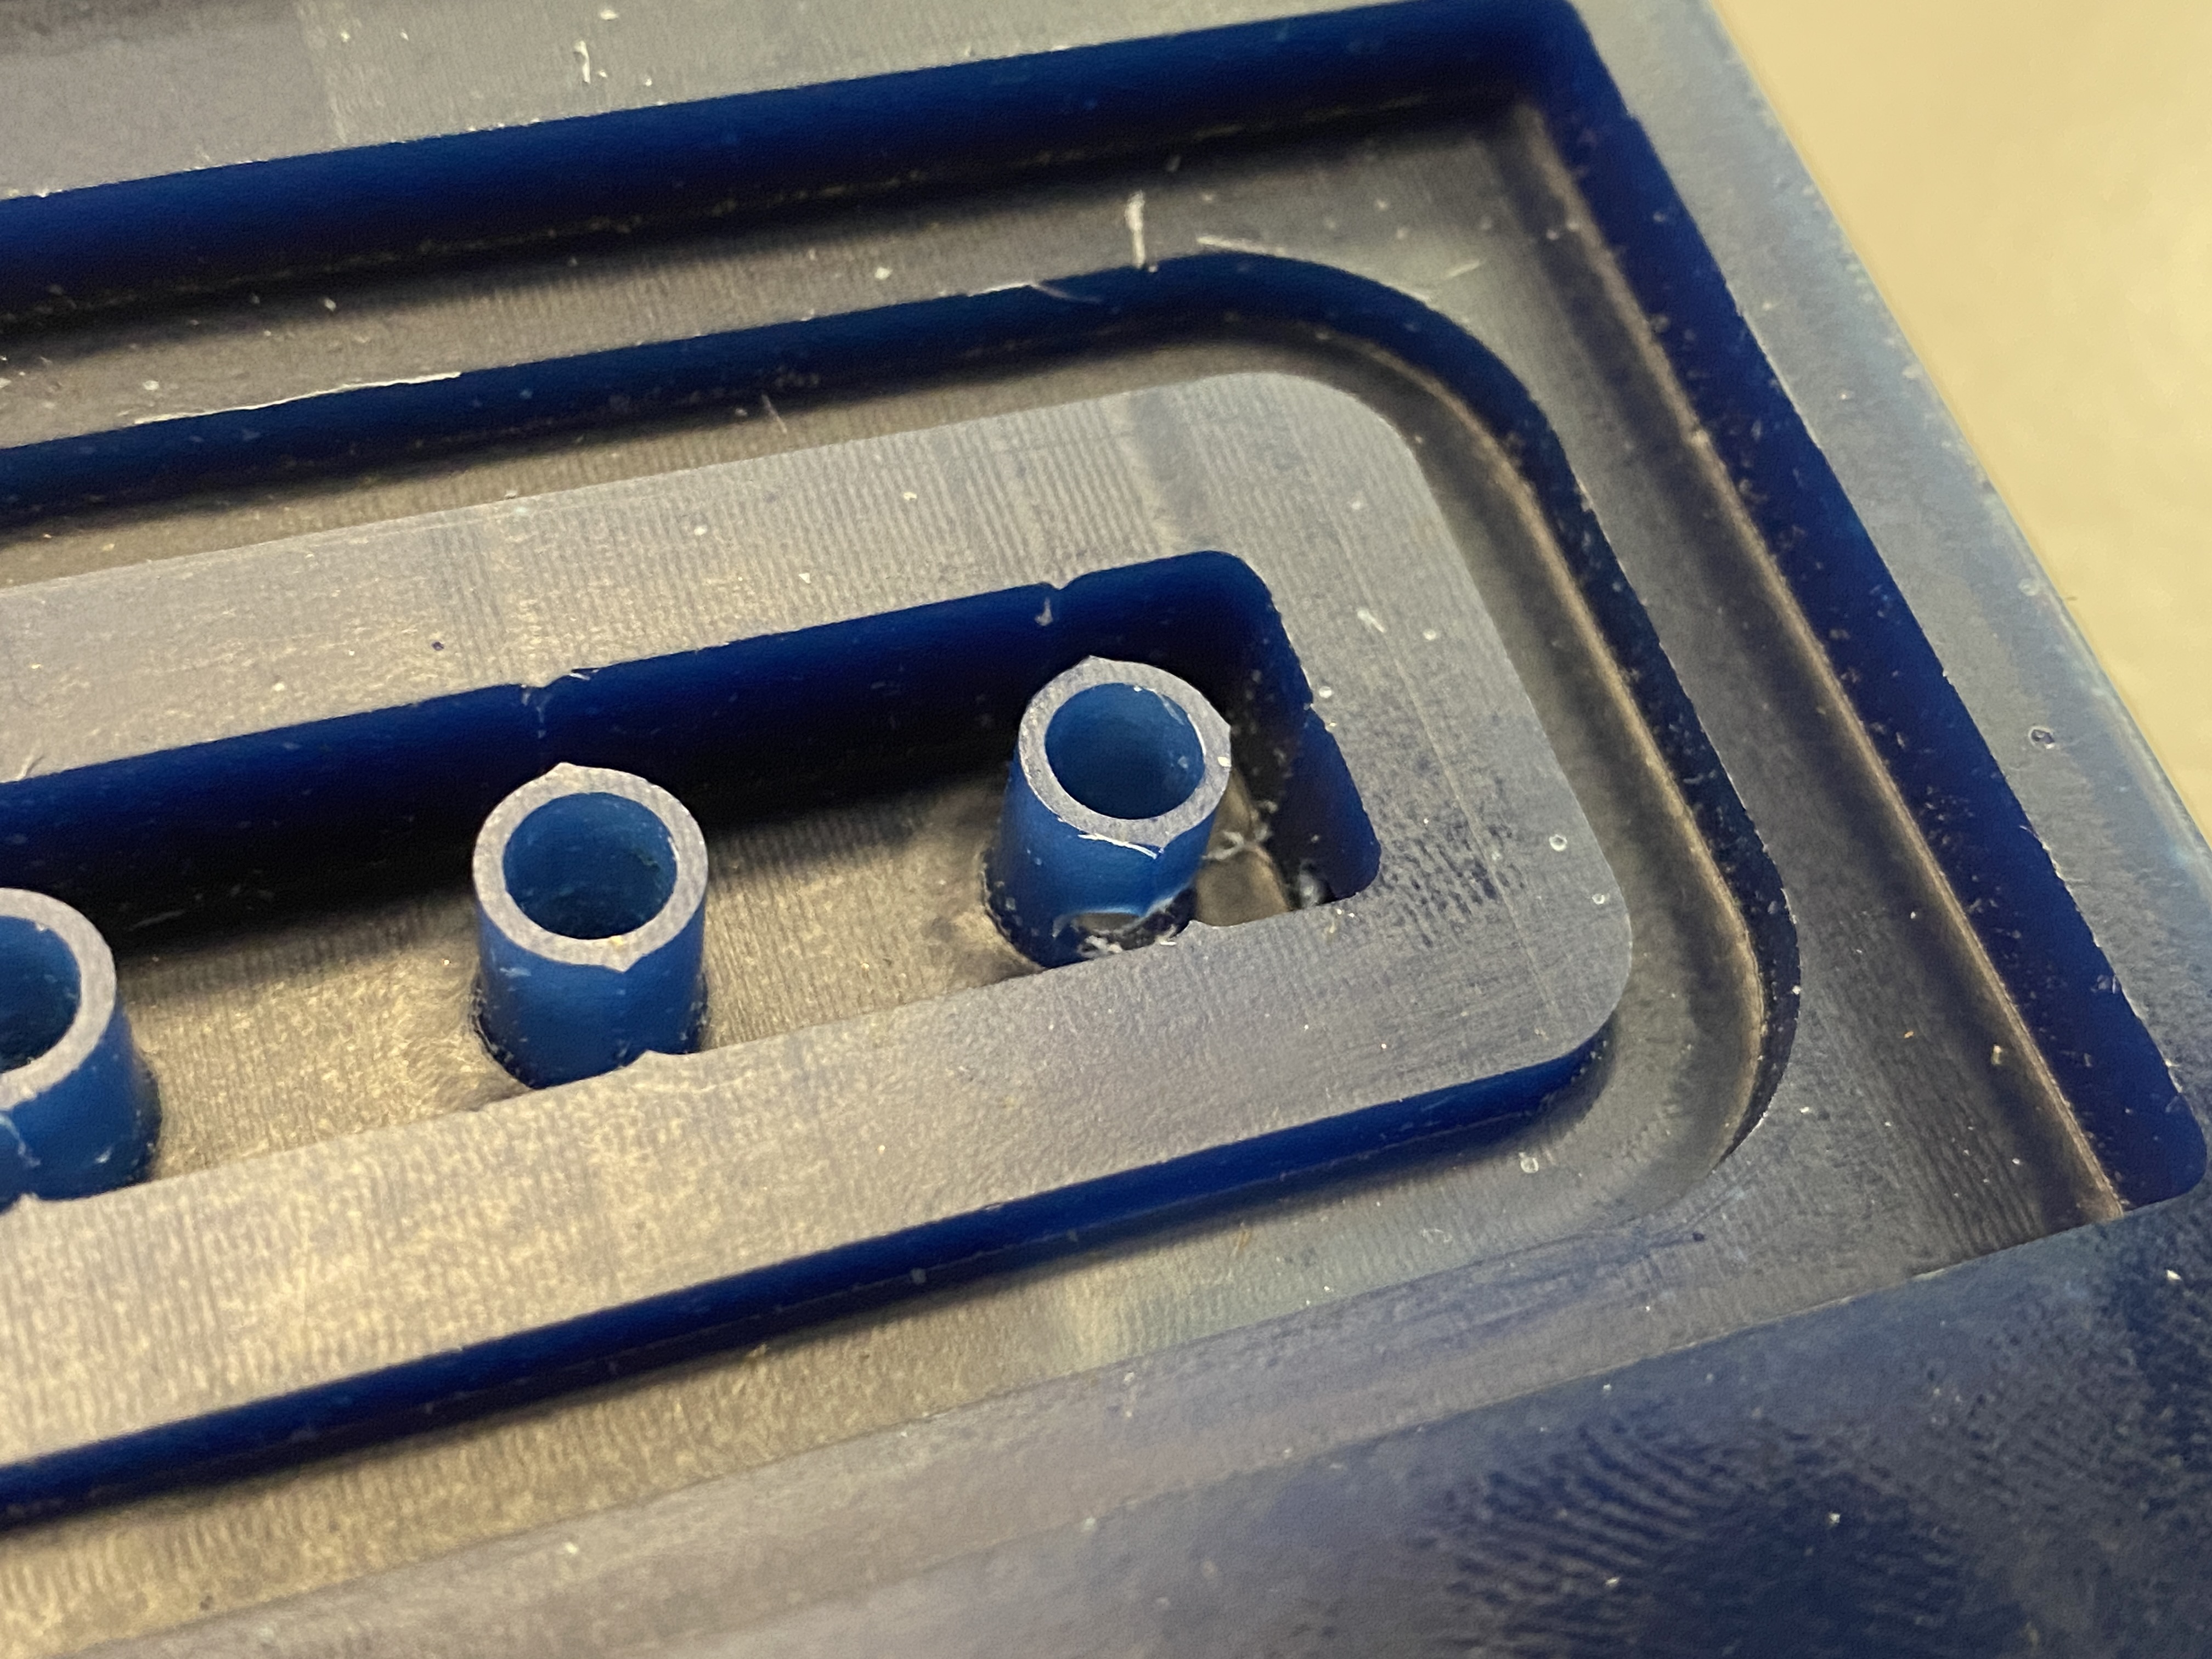
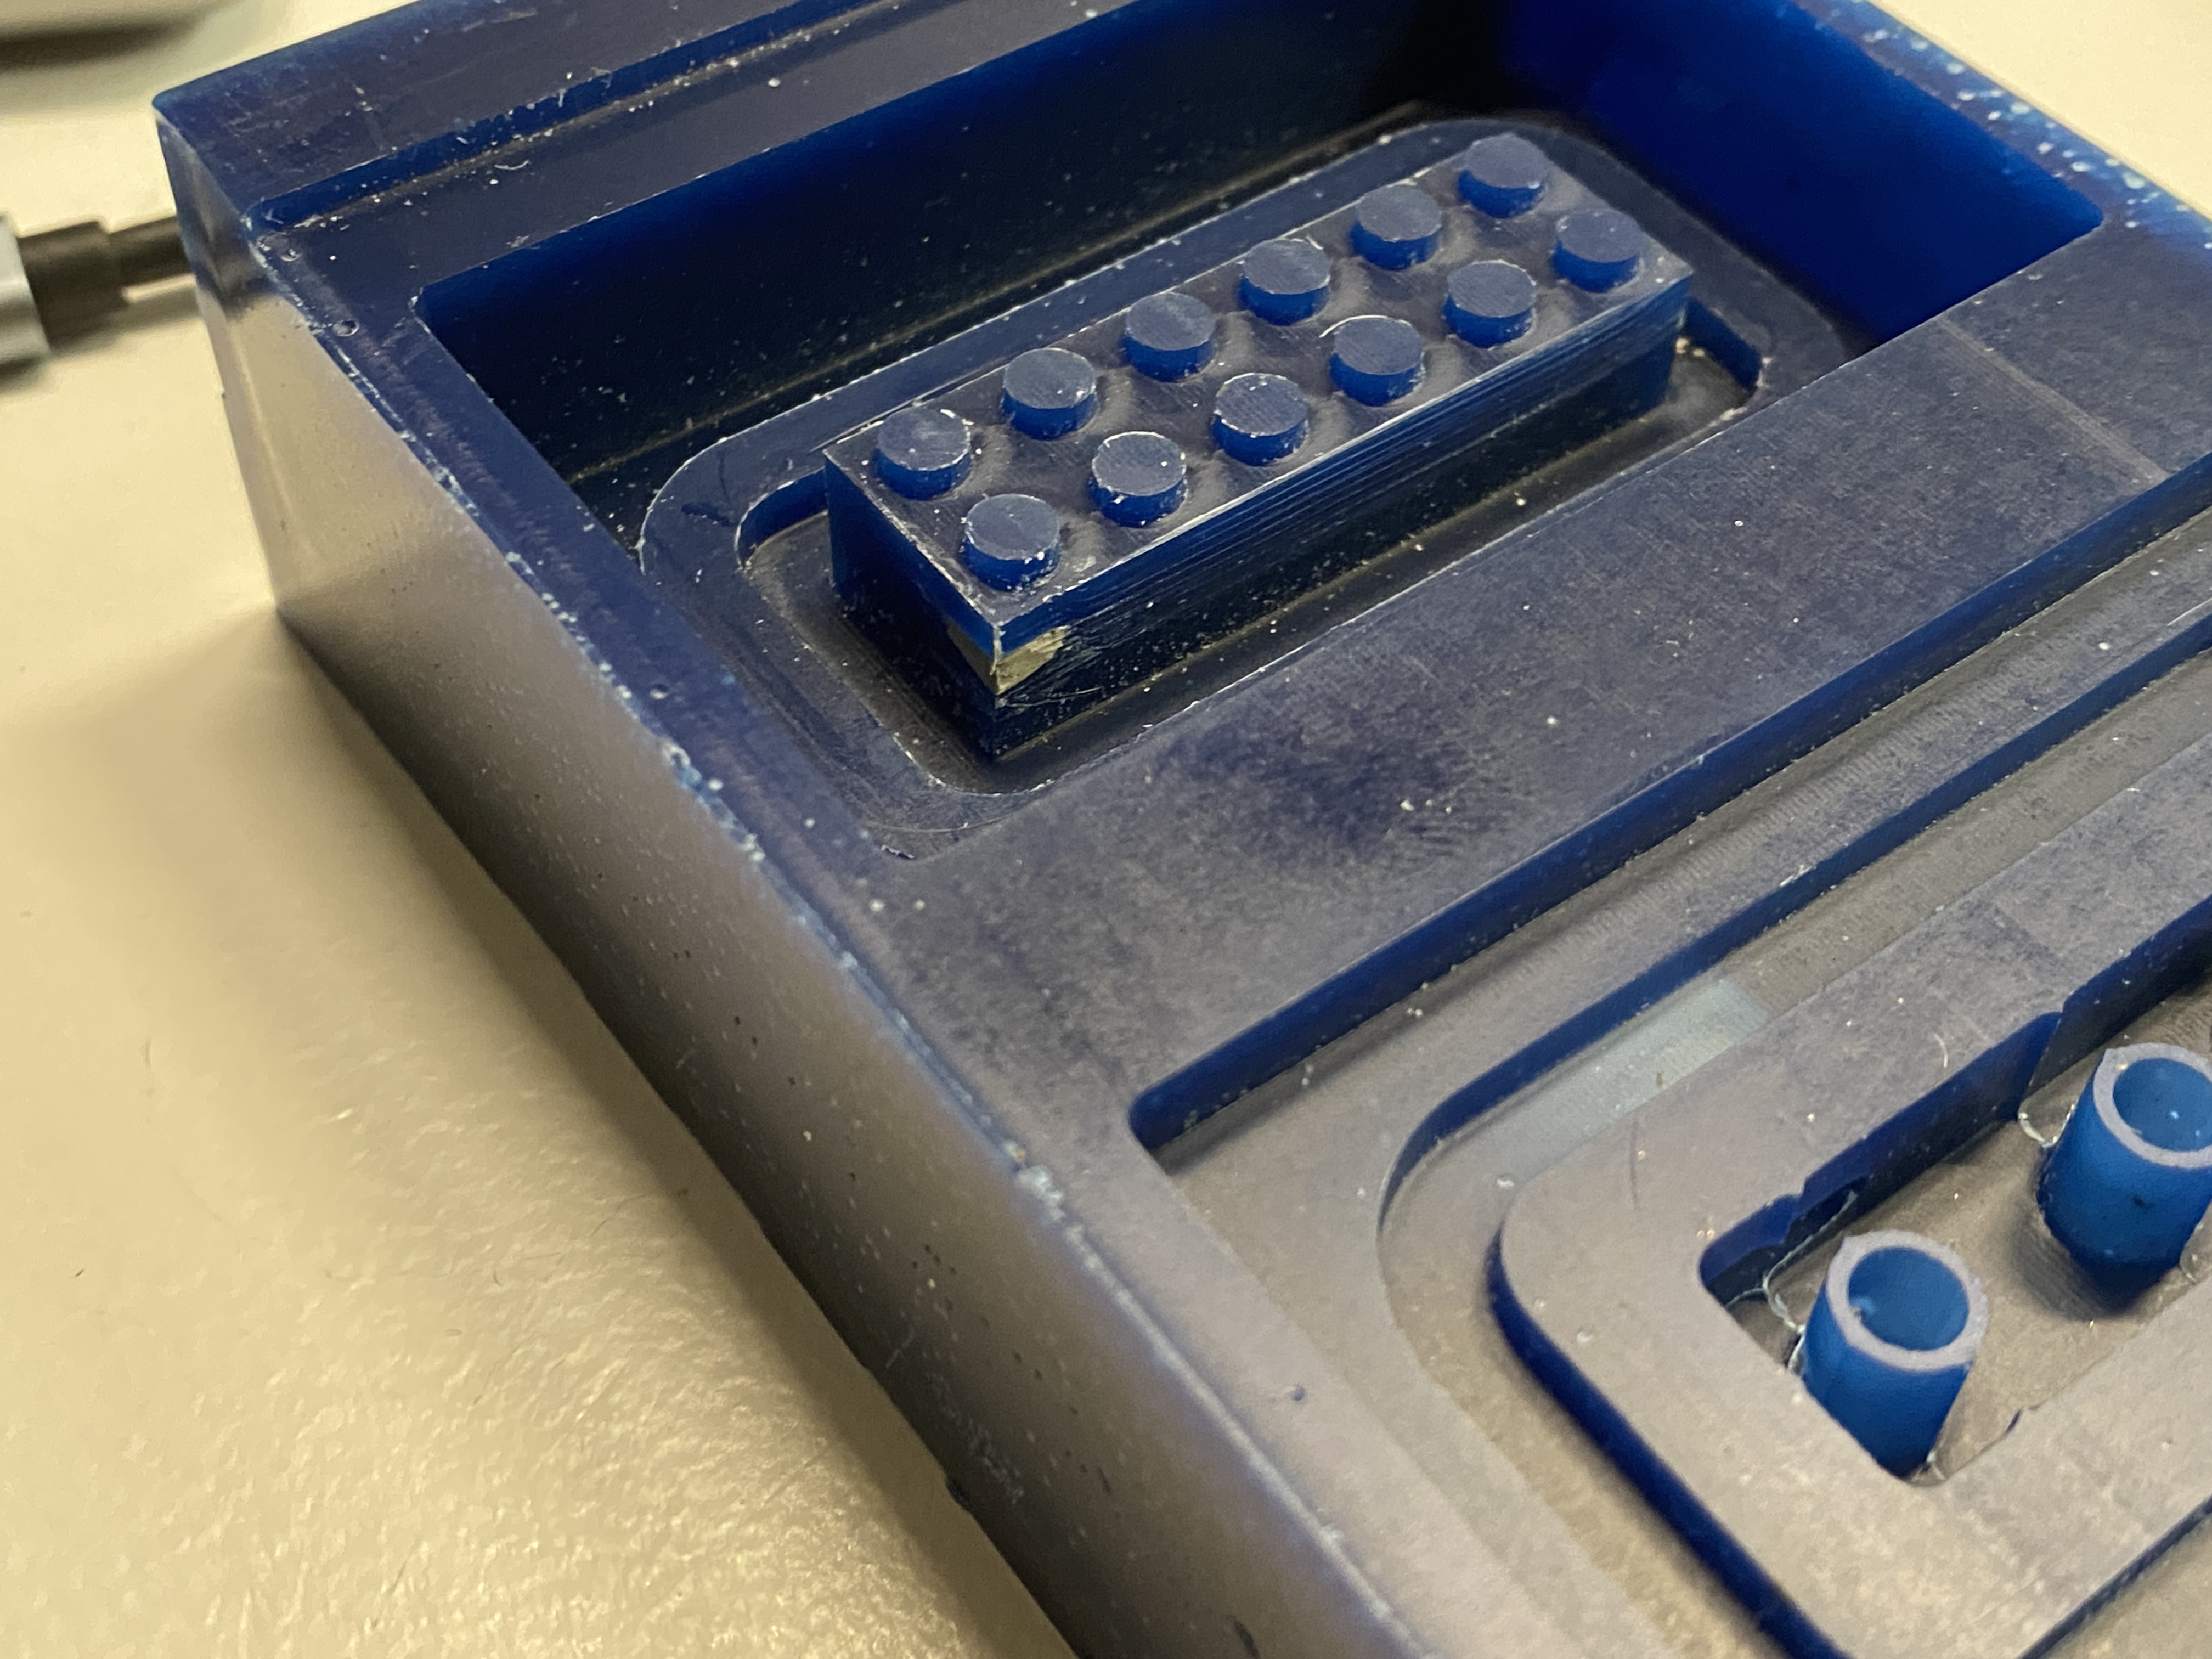
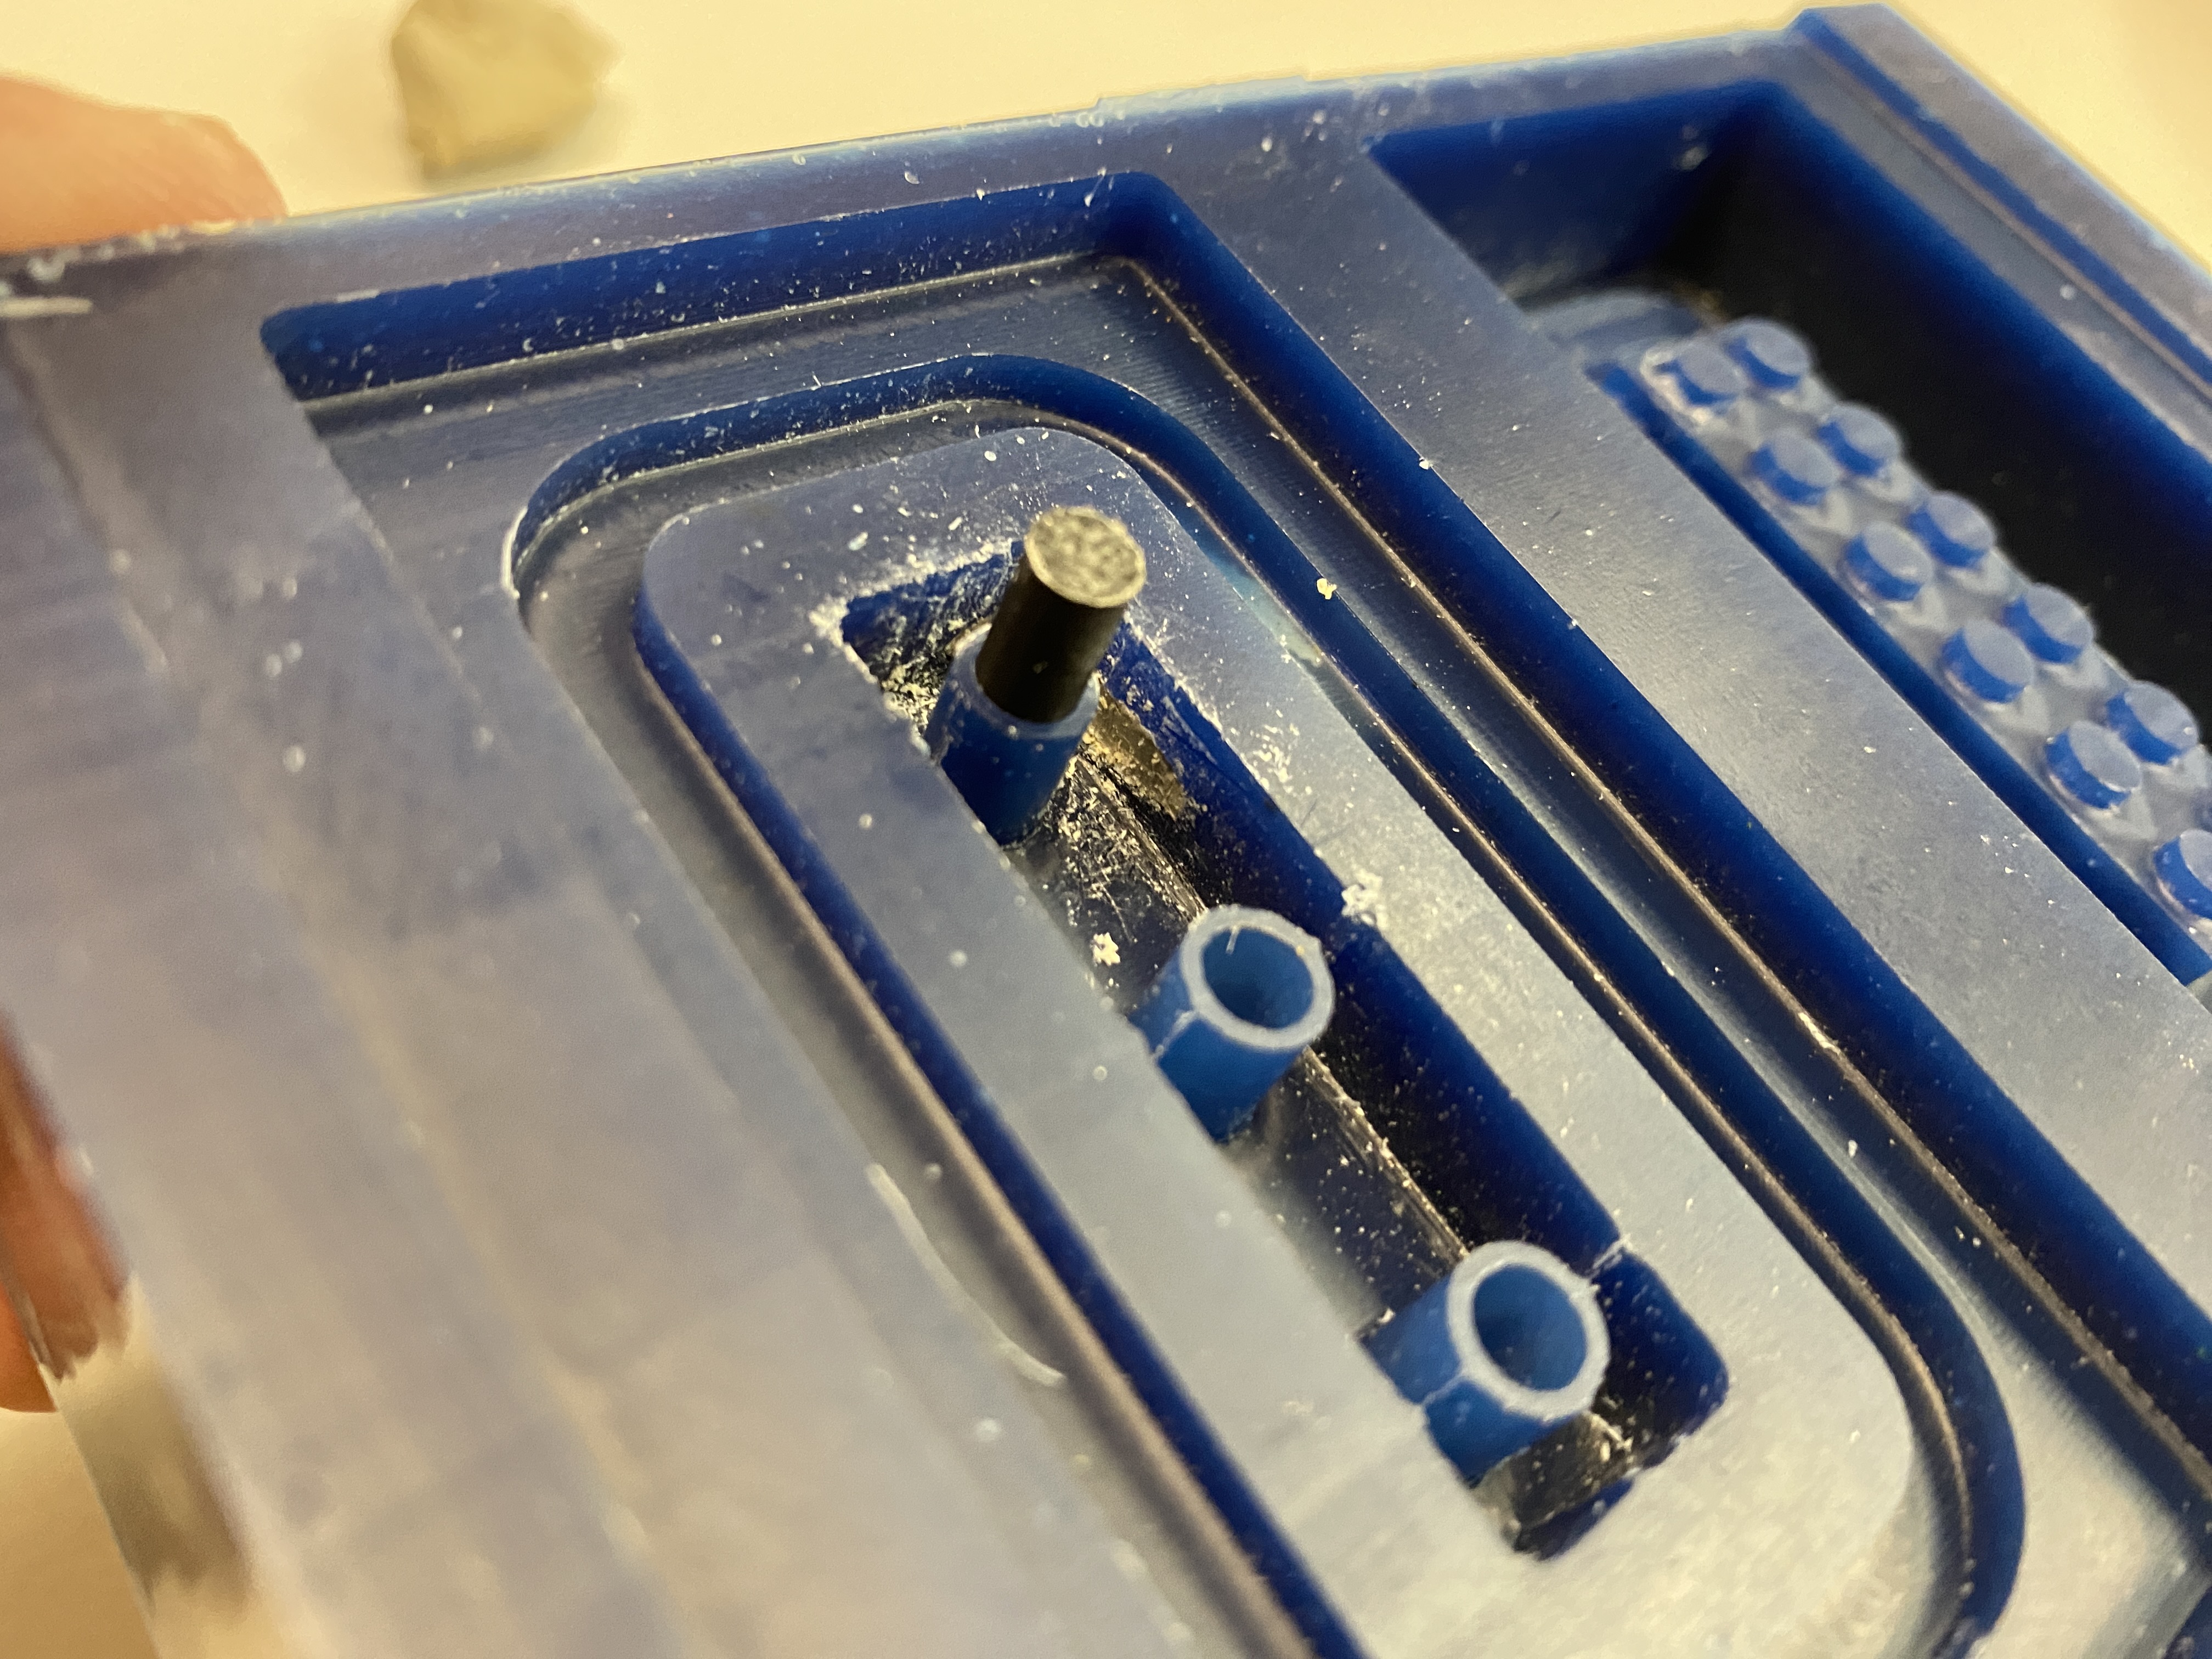
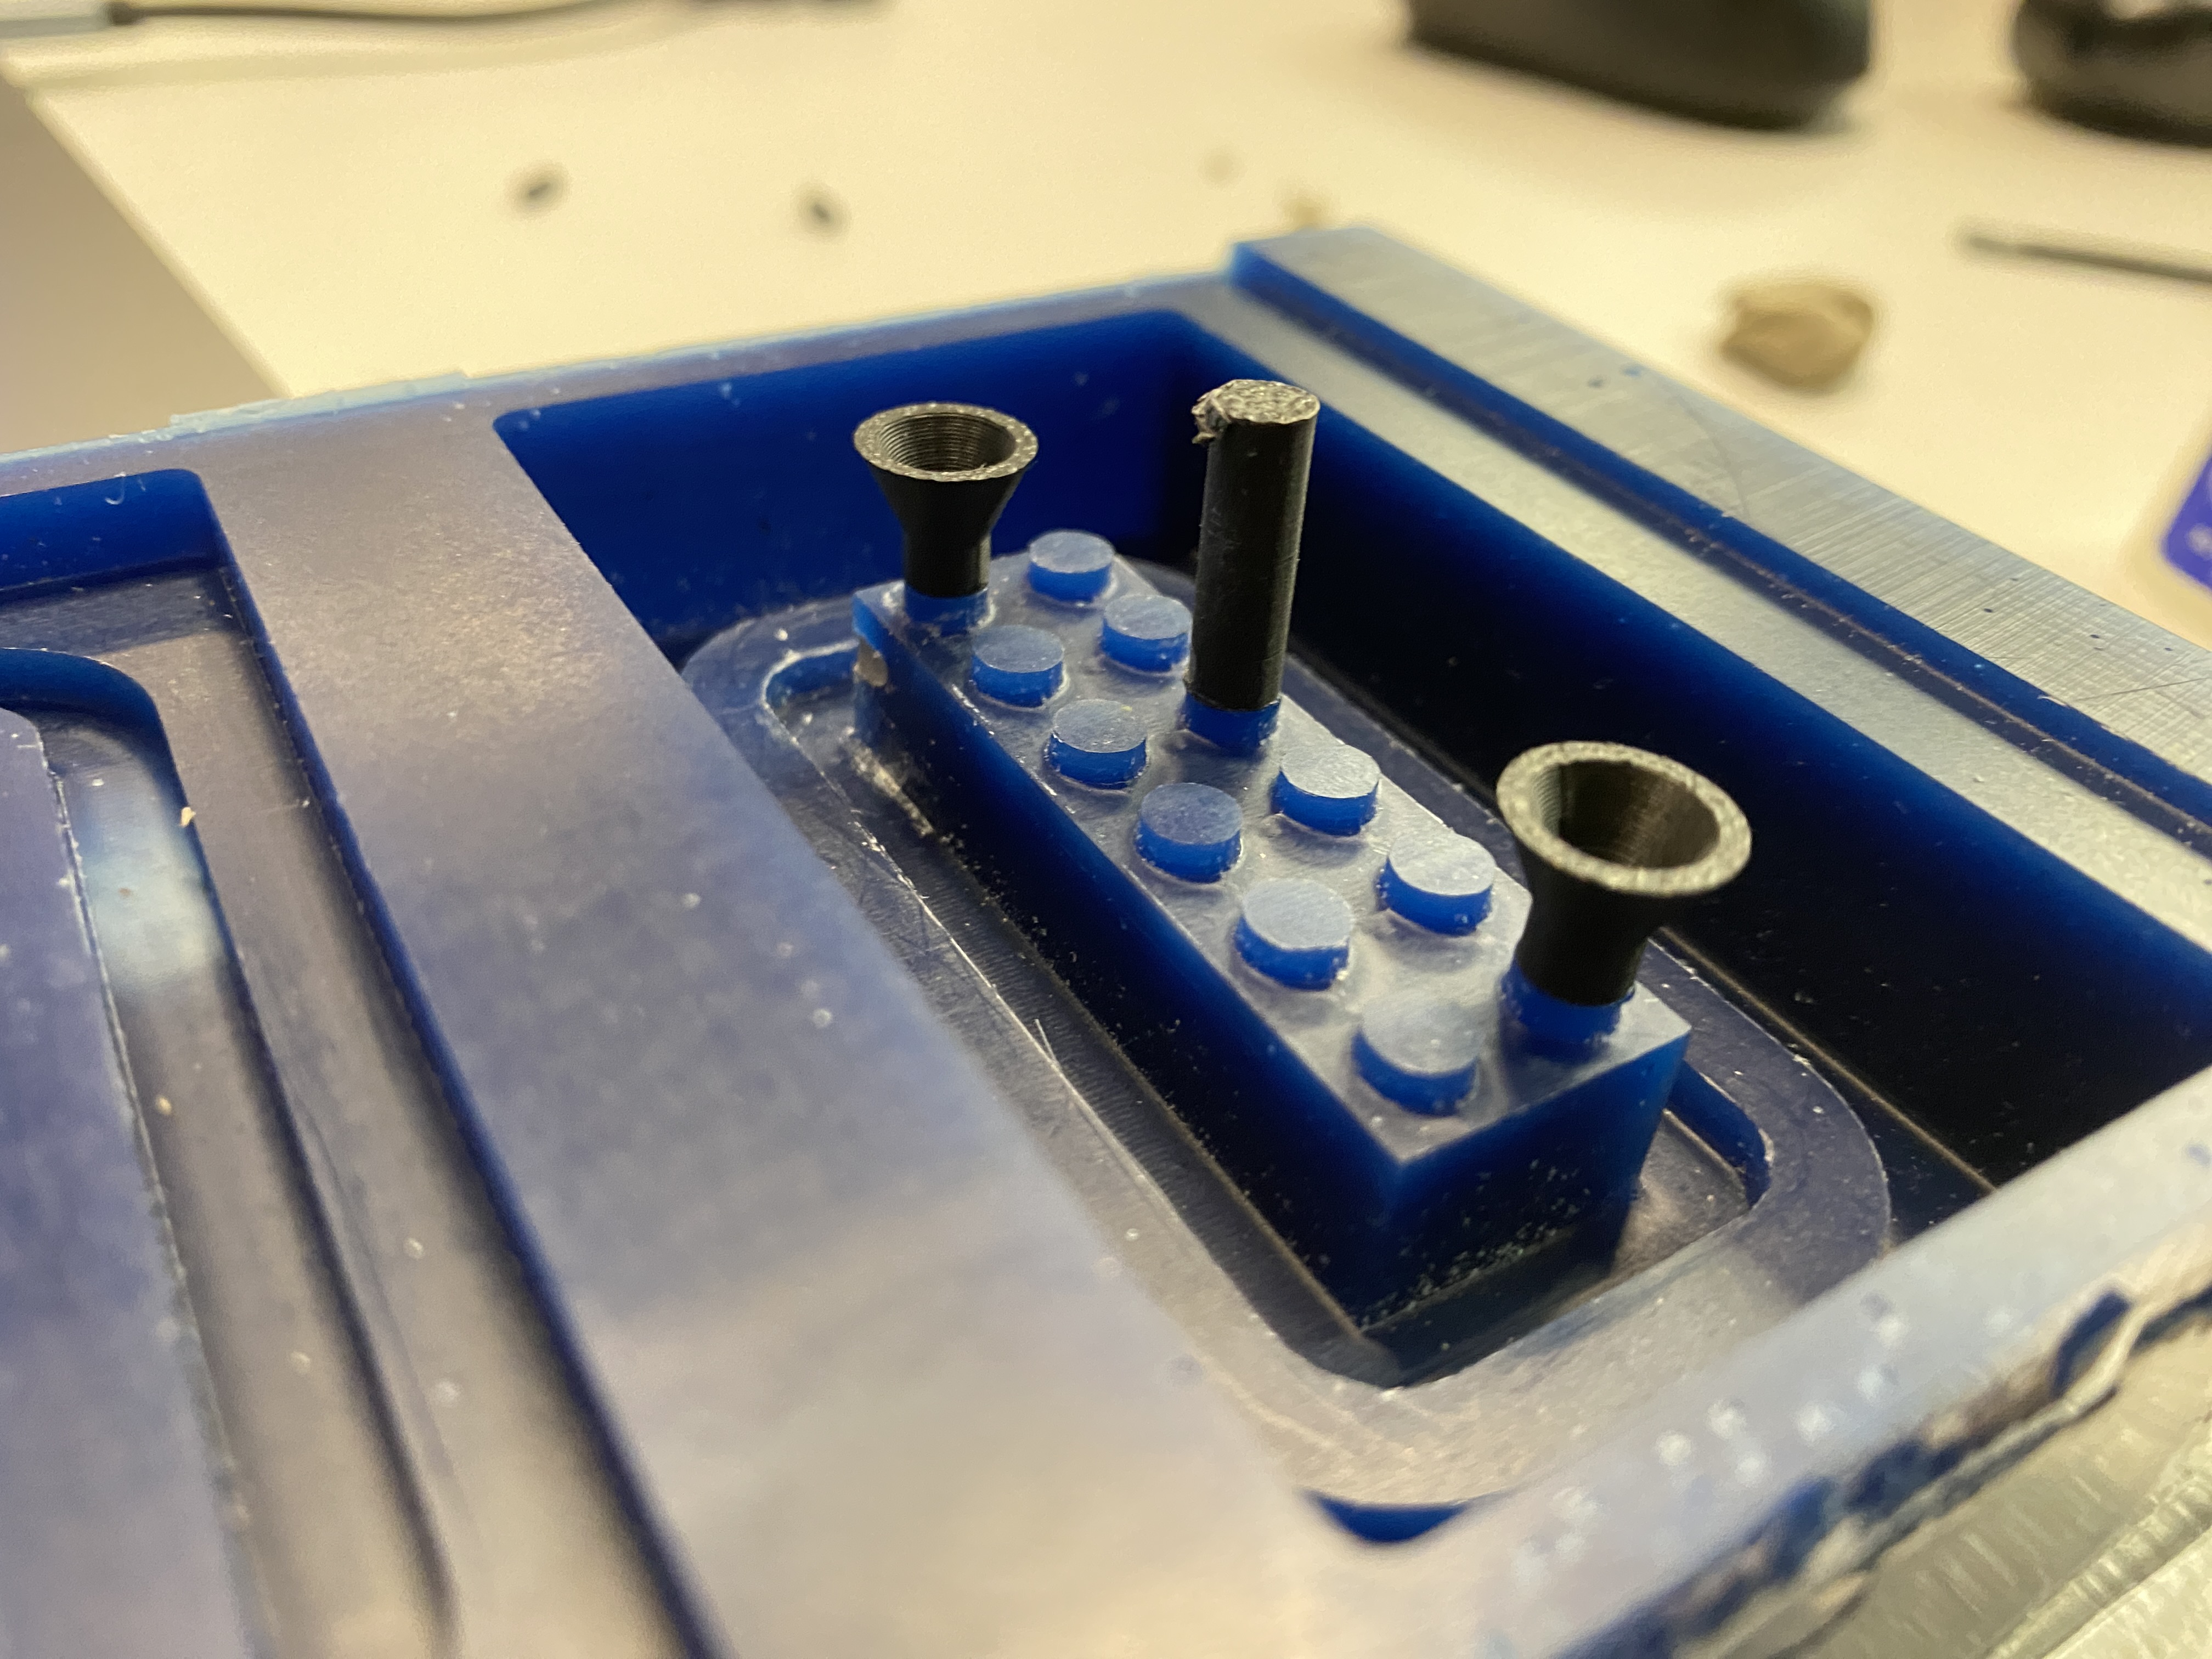
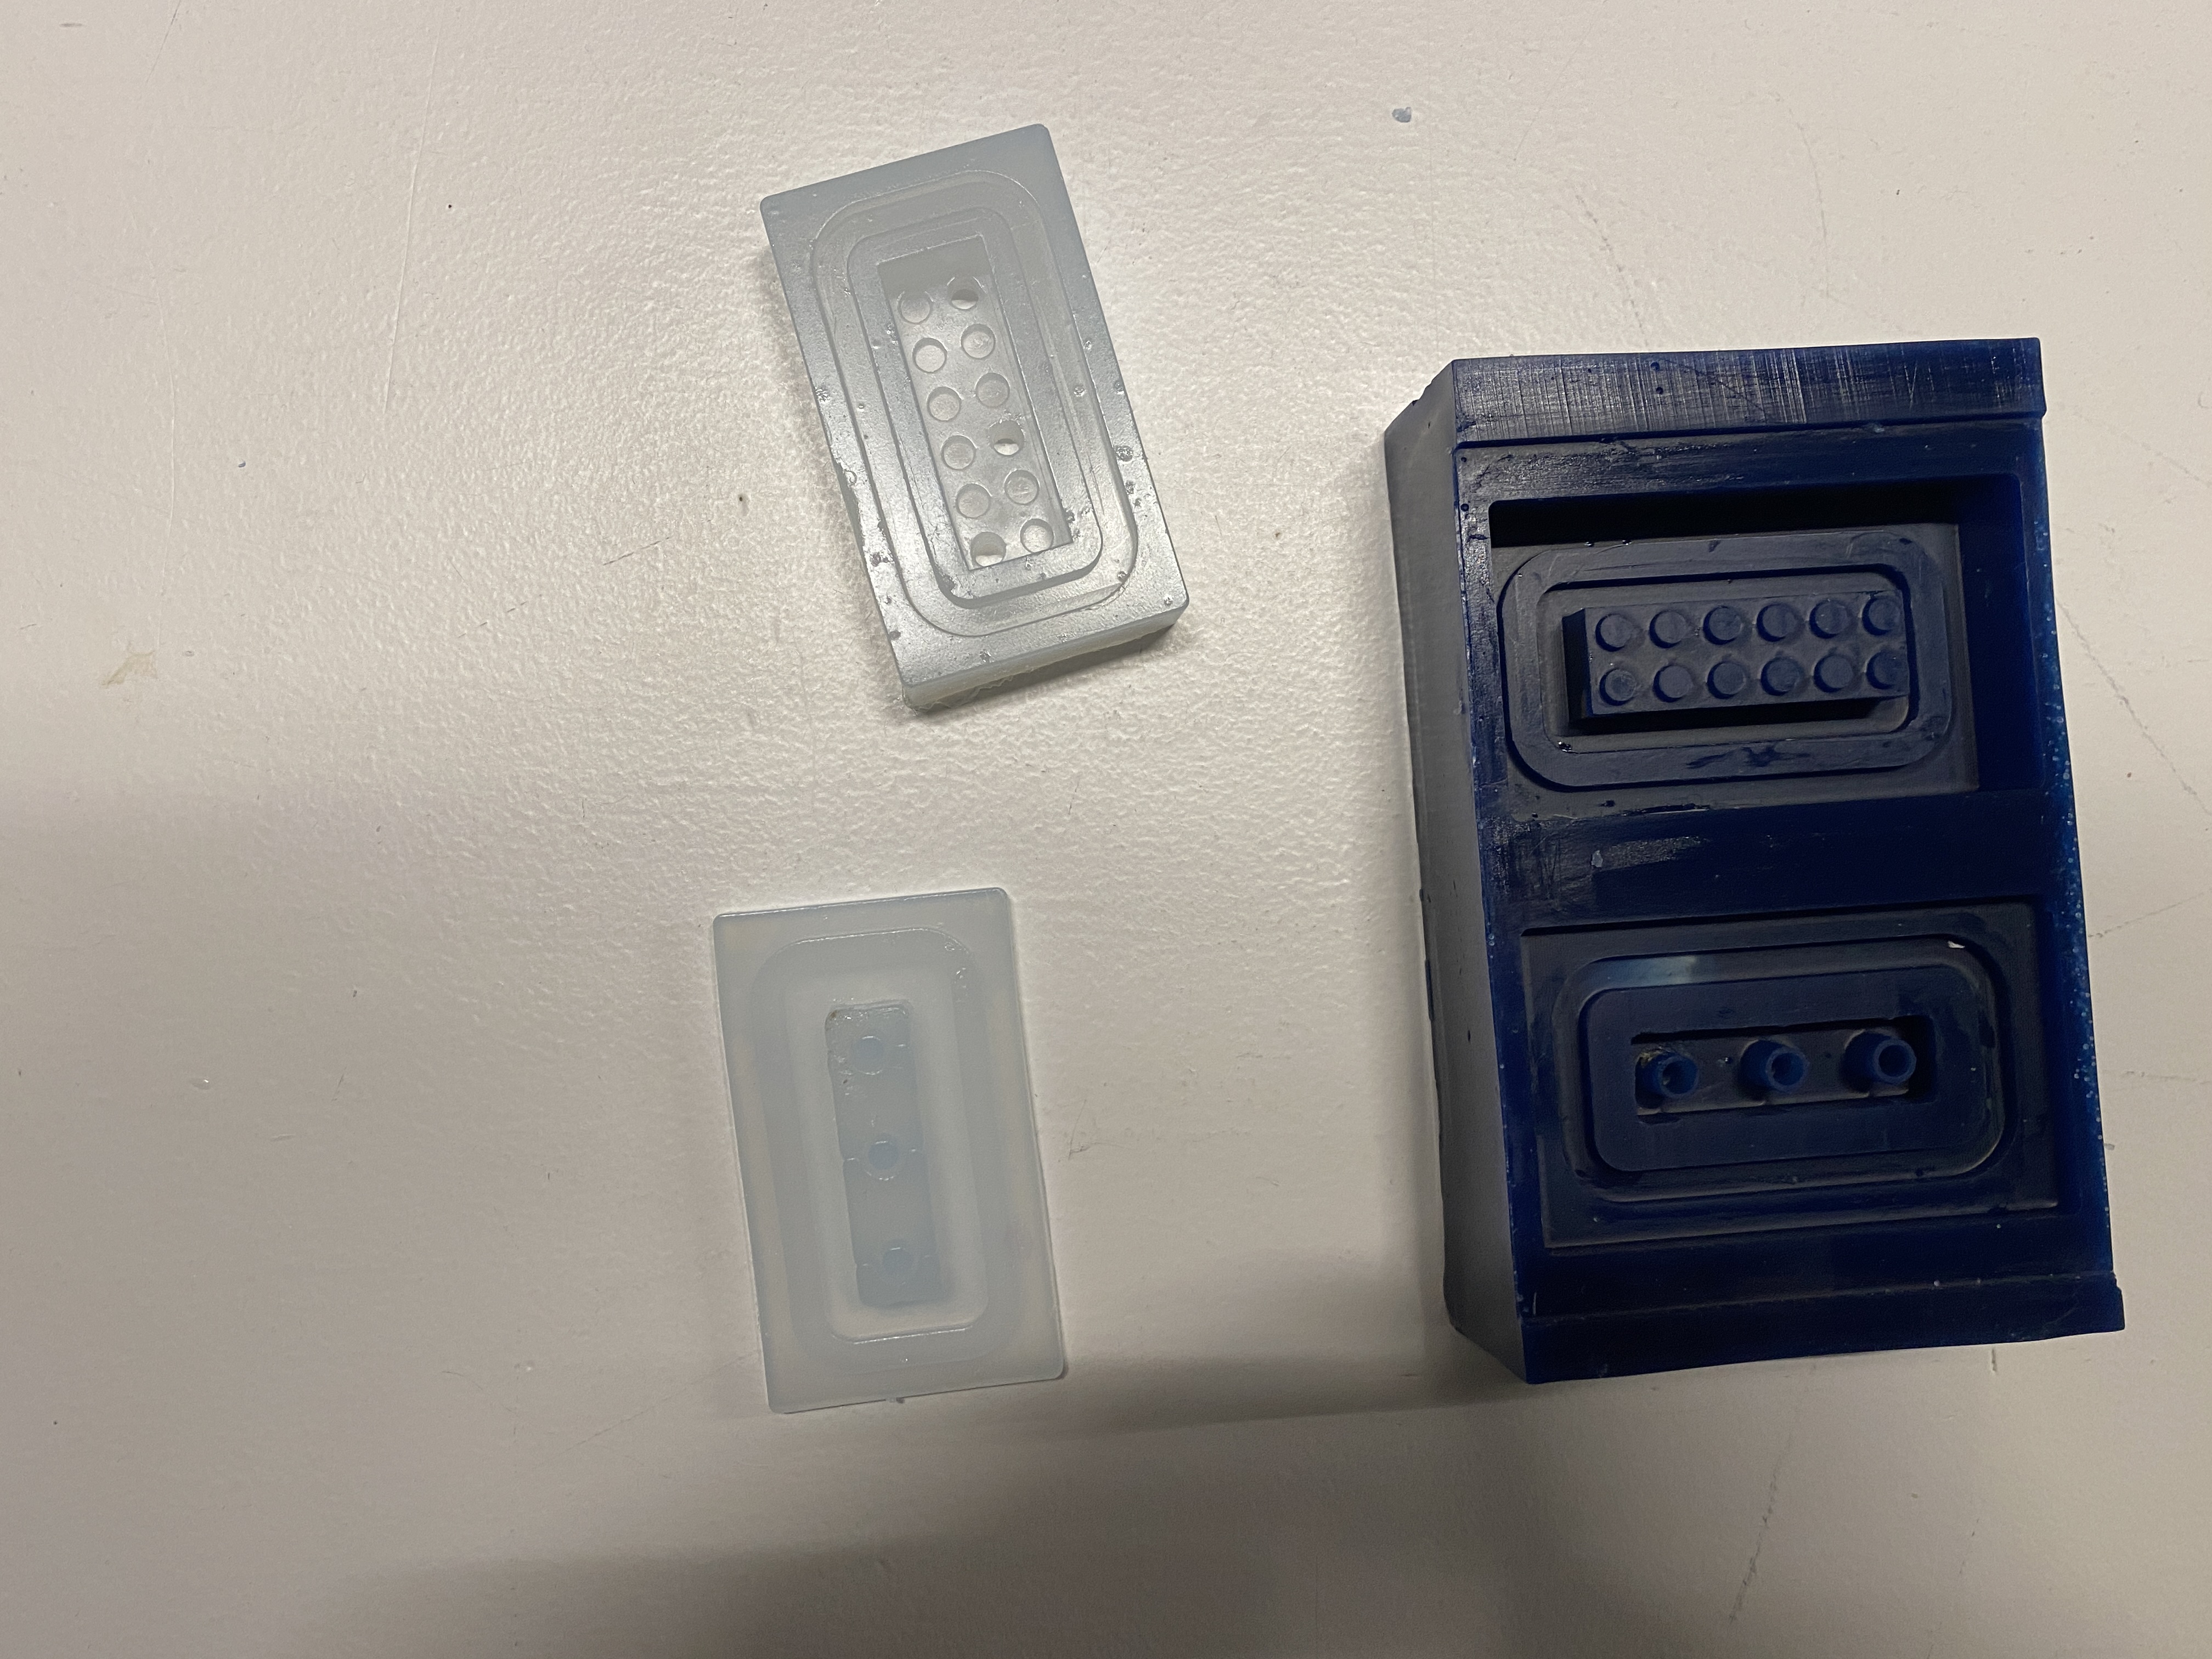
With the block ready, I casted the mold. FIrts step was to add the breather and the mouth to be able to pour the material later. For this I printed two breather and the moth with the bambu and glued them to the lego fitting parts calculating they had the same diameter. After this, I casted two types of sillicon, one very soft and a harder one. Outy of this process a mold that gets fixated on itself will be produced, allowing to do a second resin cast to obtain the piece.
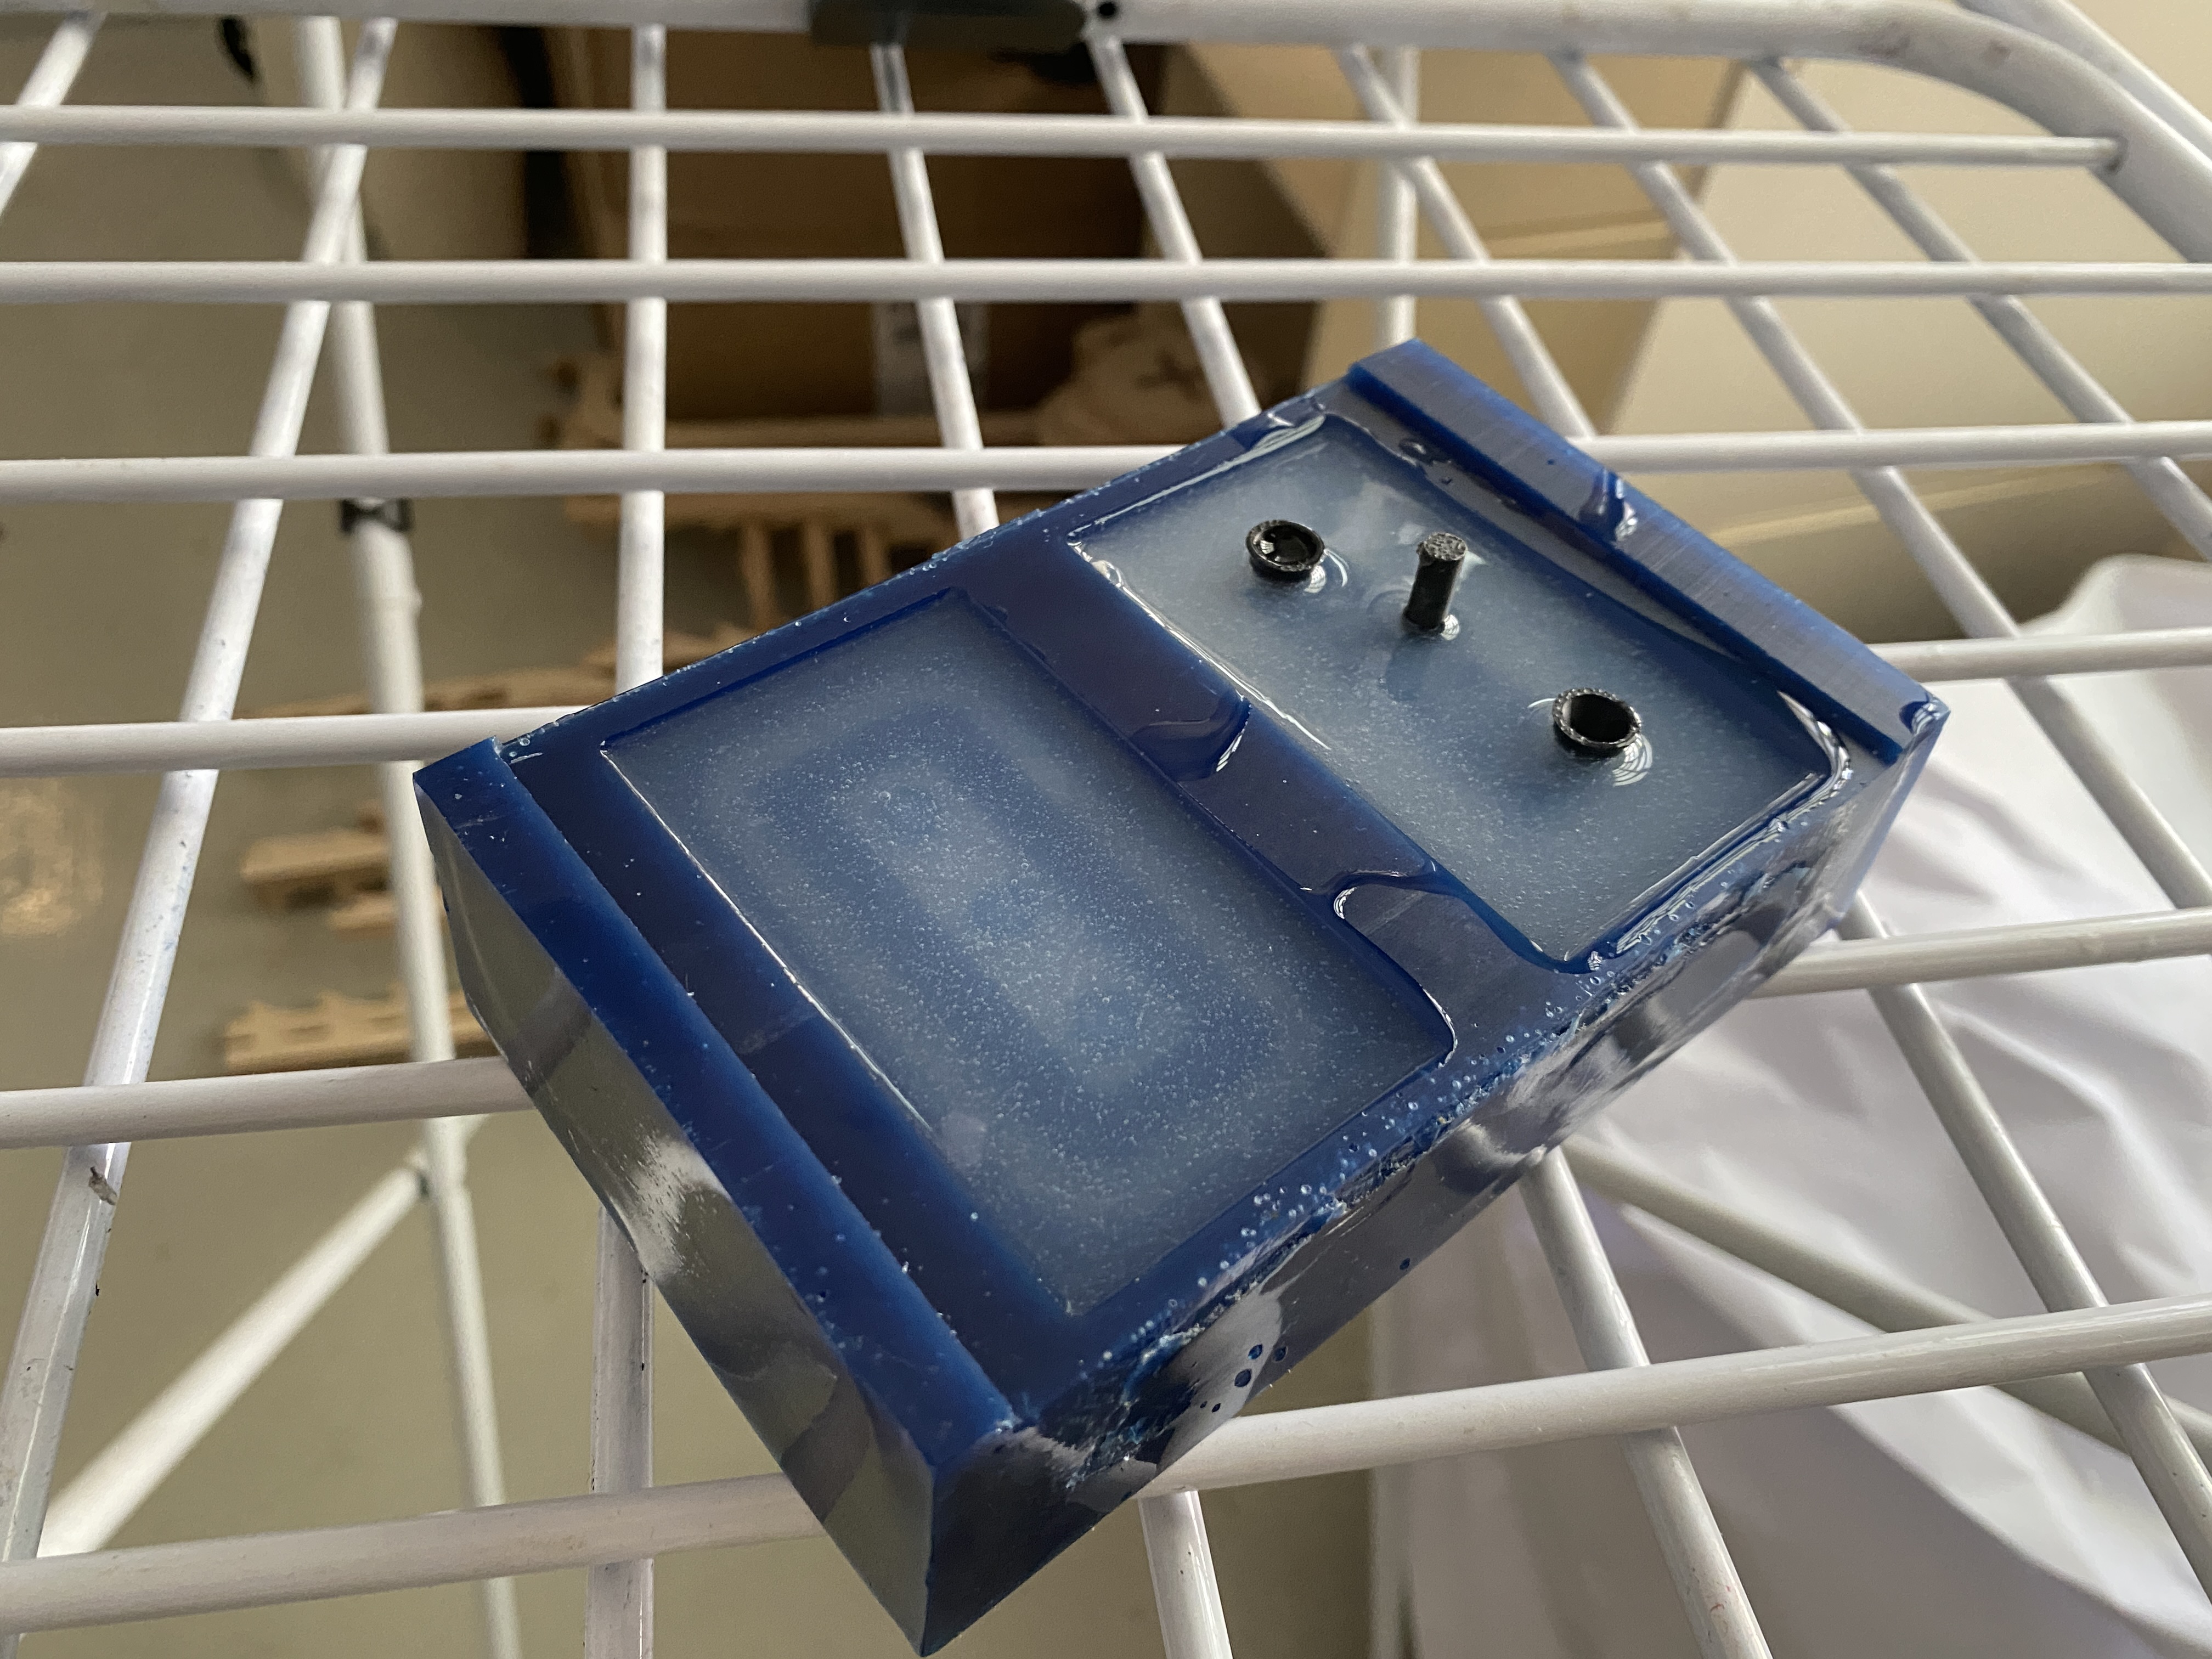
For the harder sillicone i also placed the mold inside the vacum mahcine in order to take out the bubles generated while pouring it.
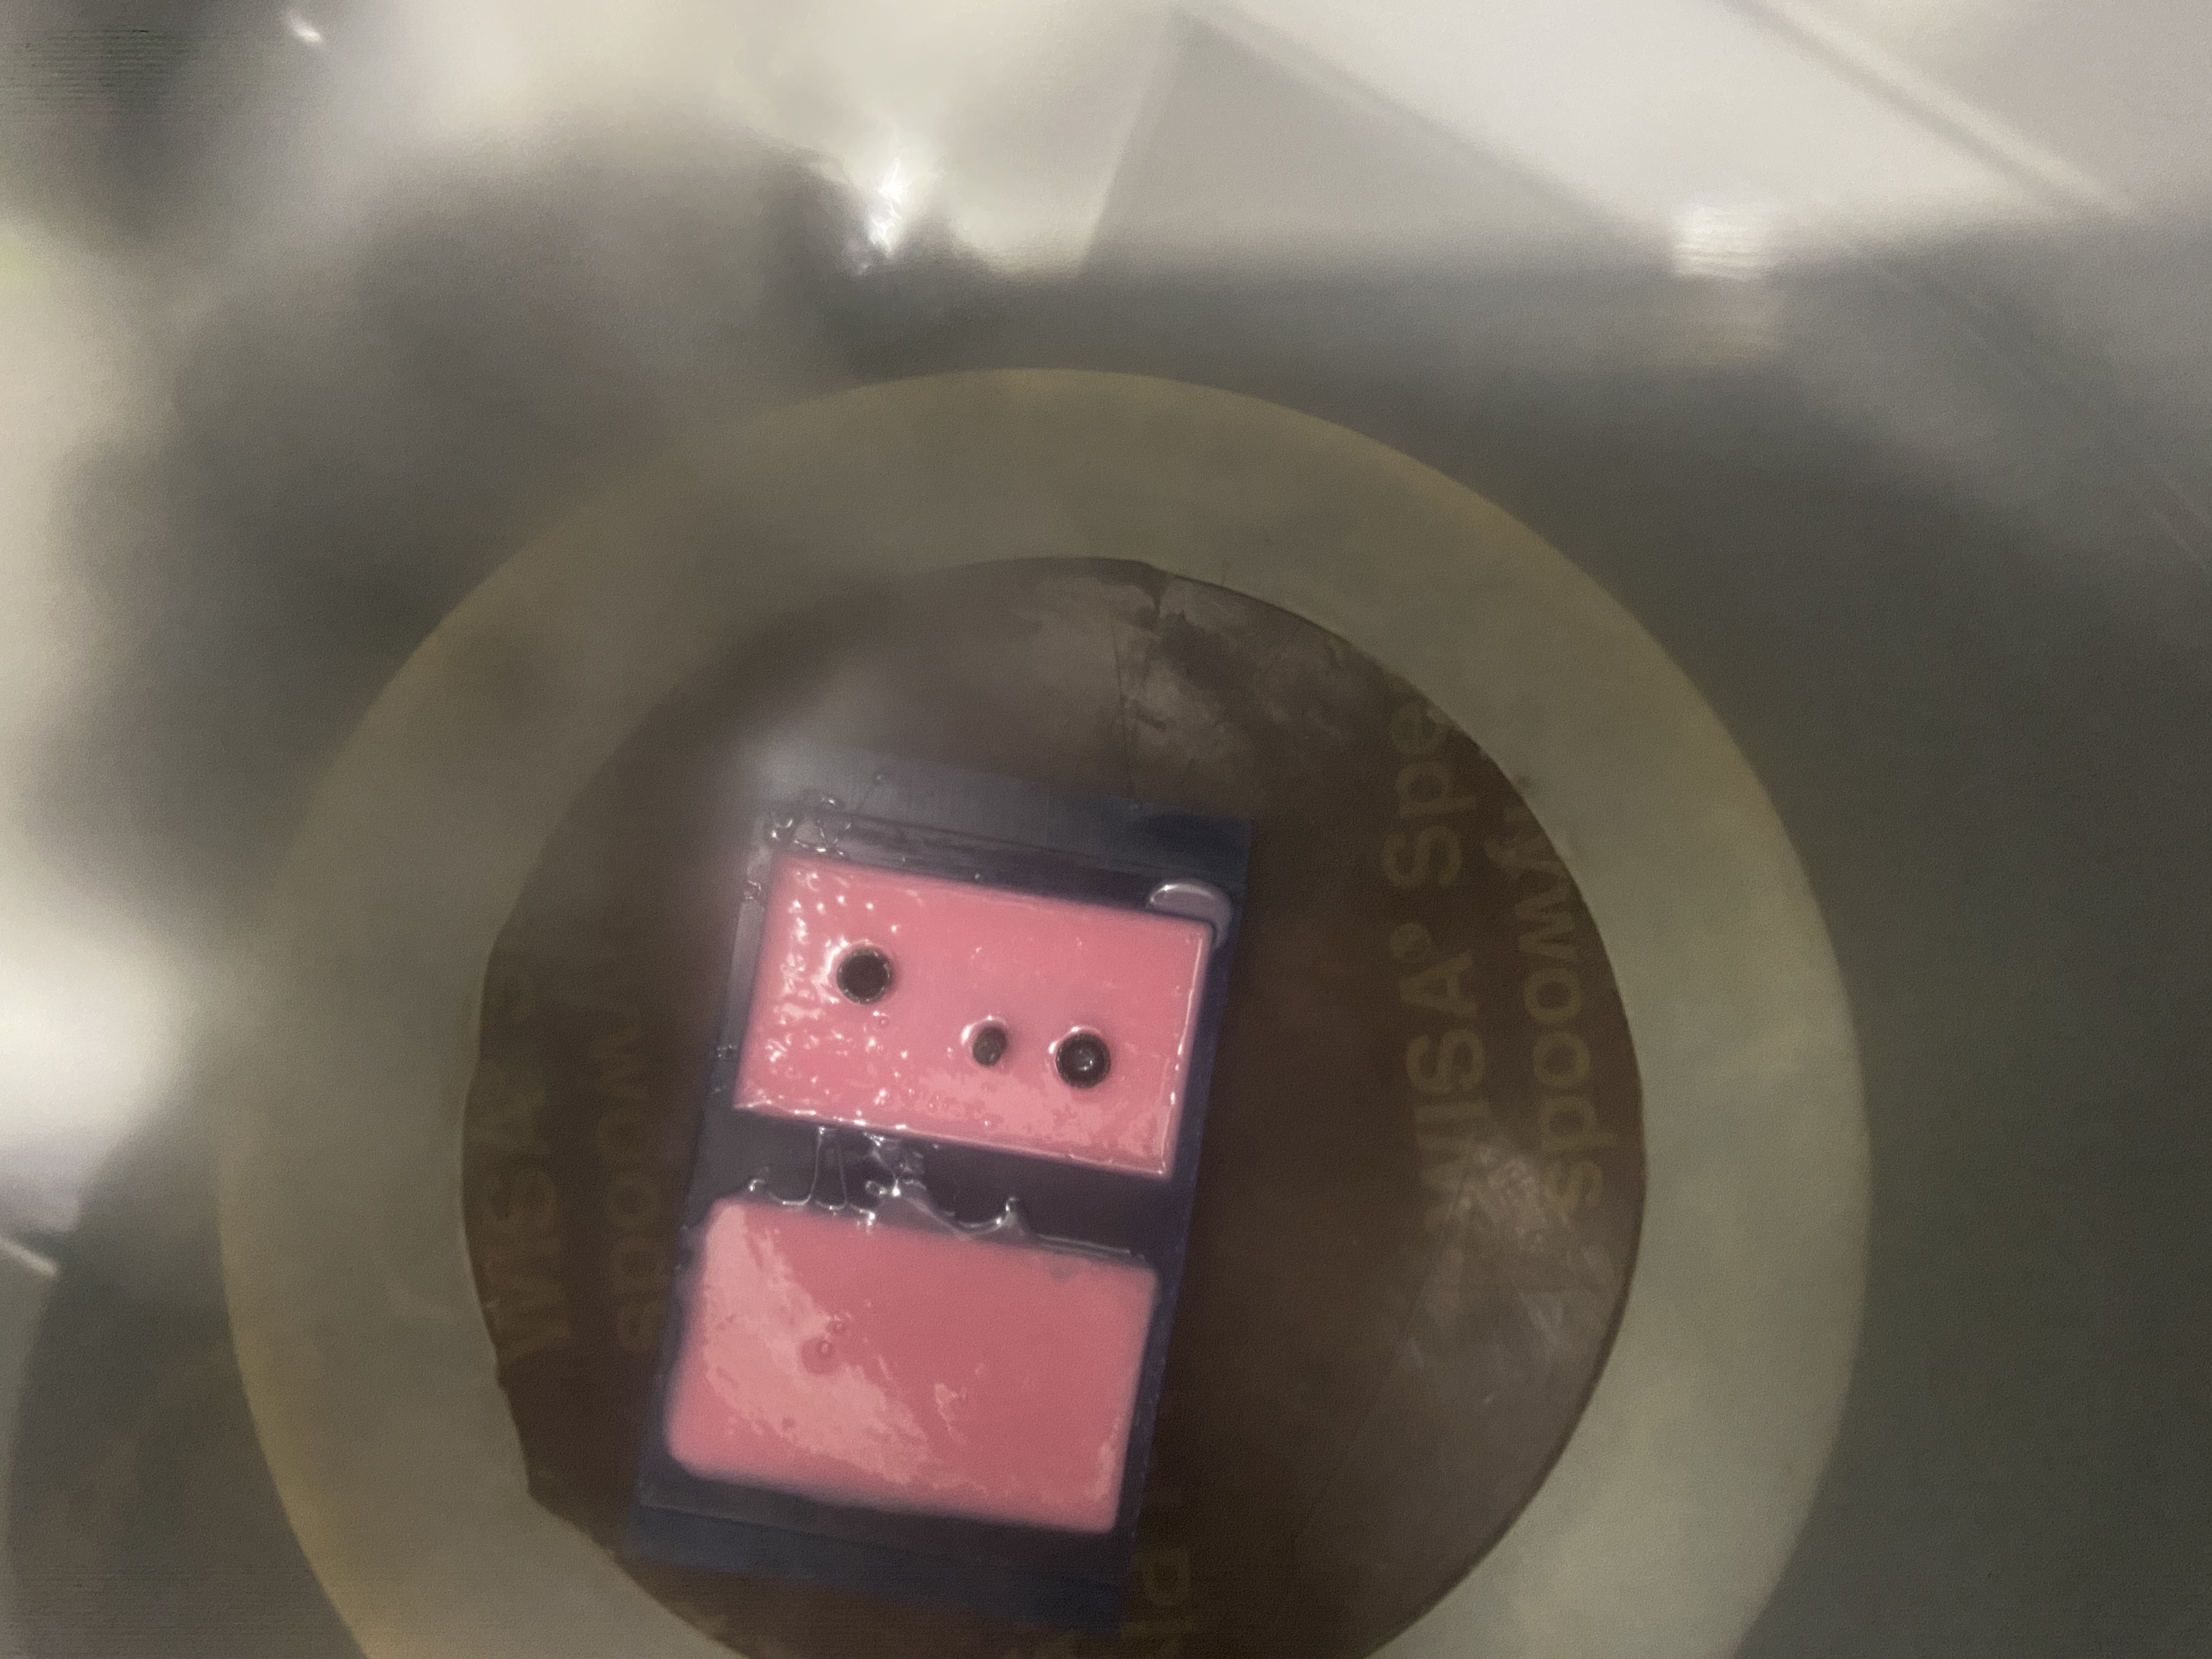
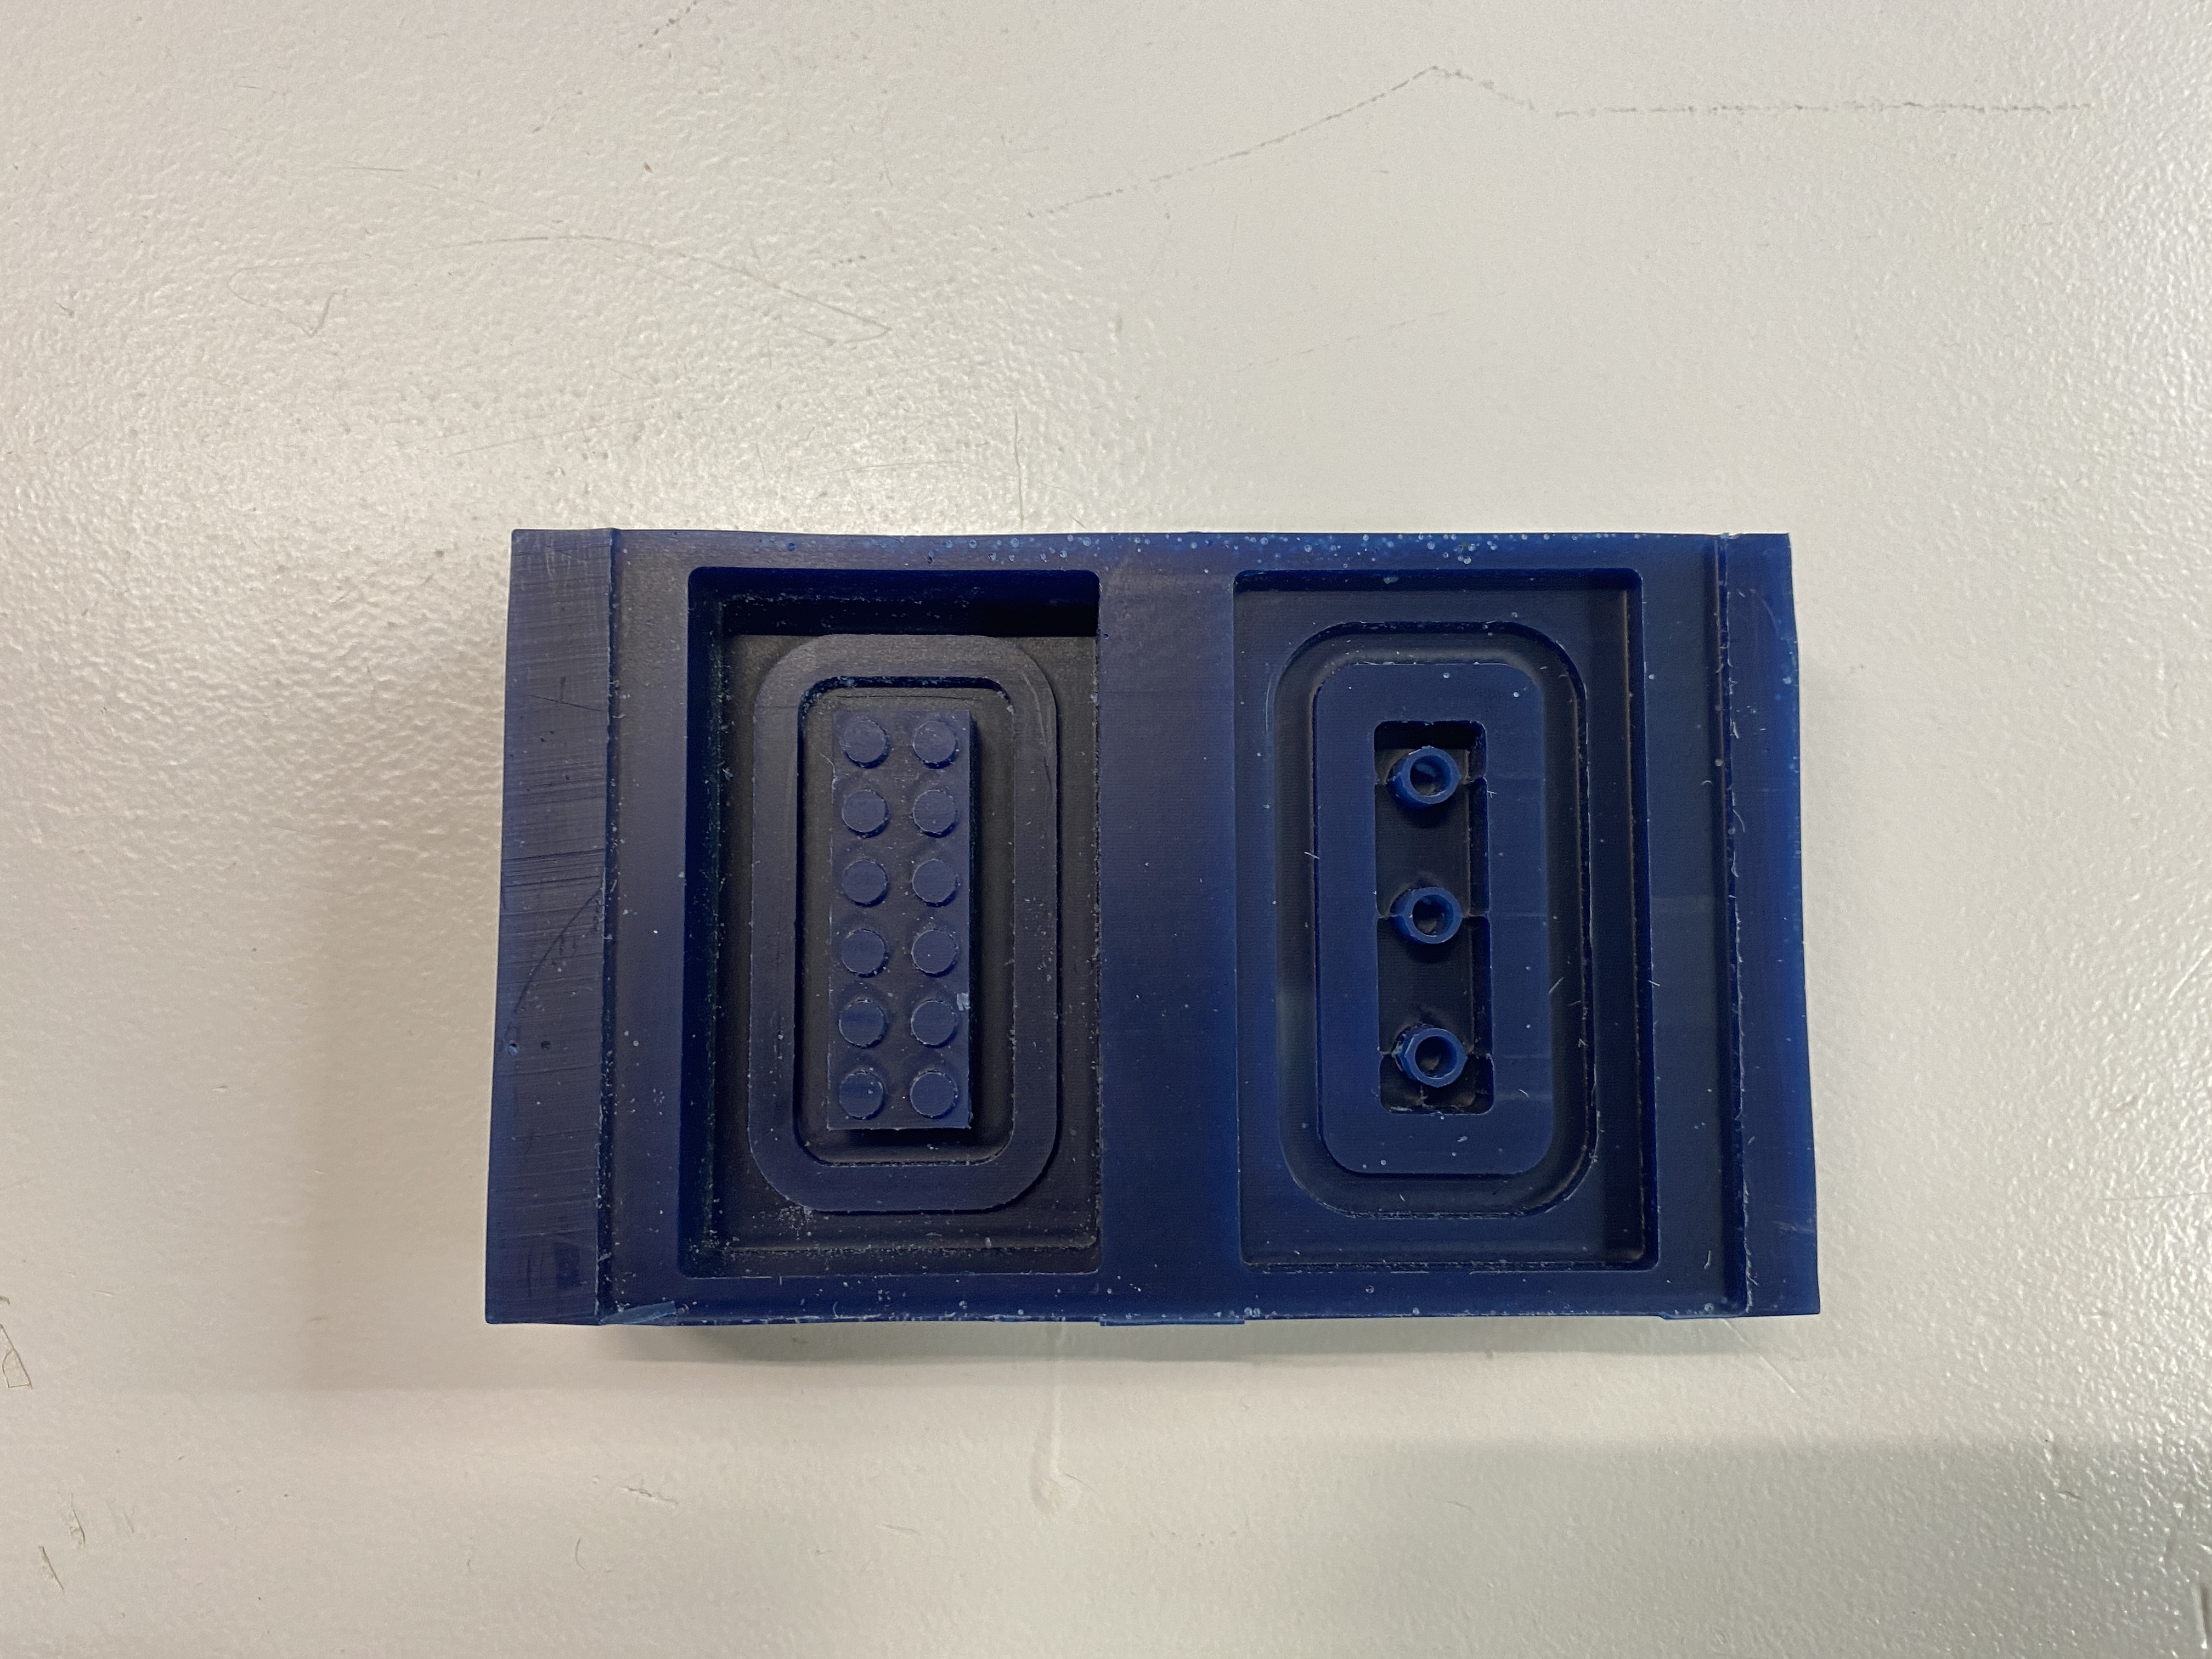
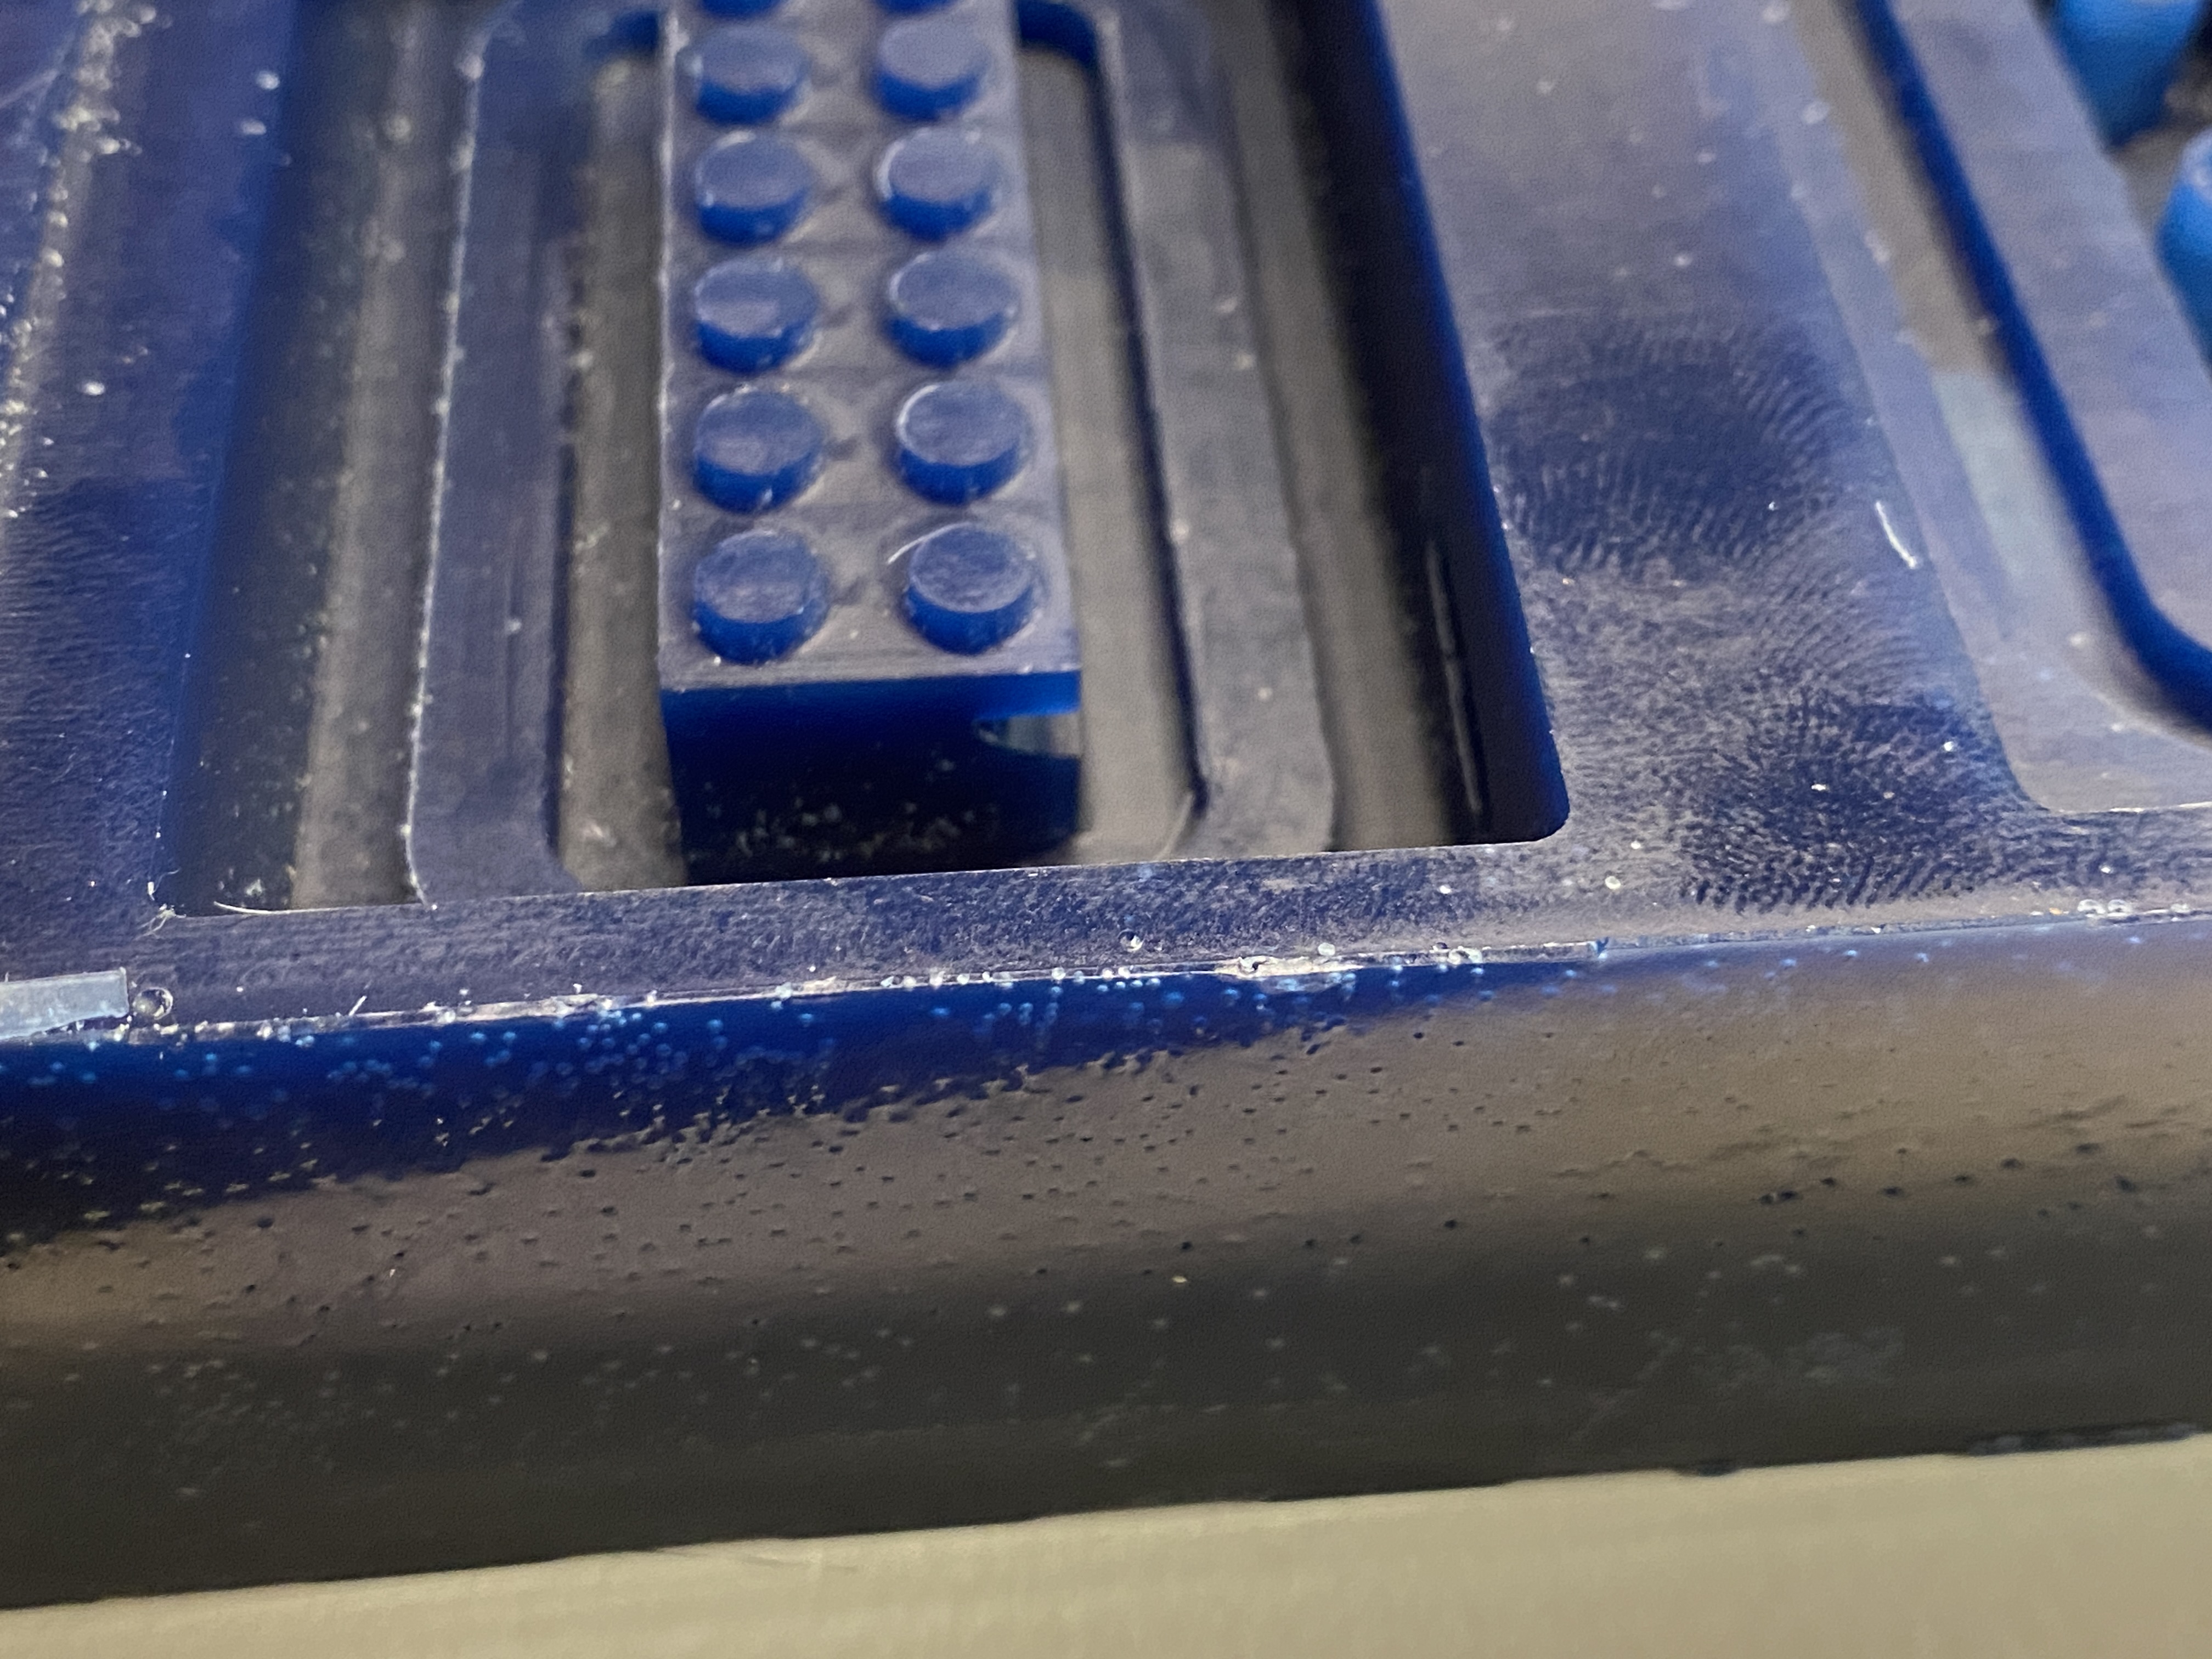
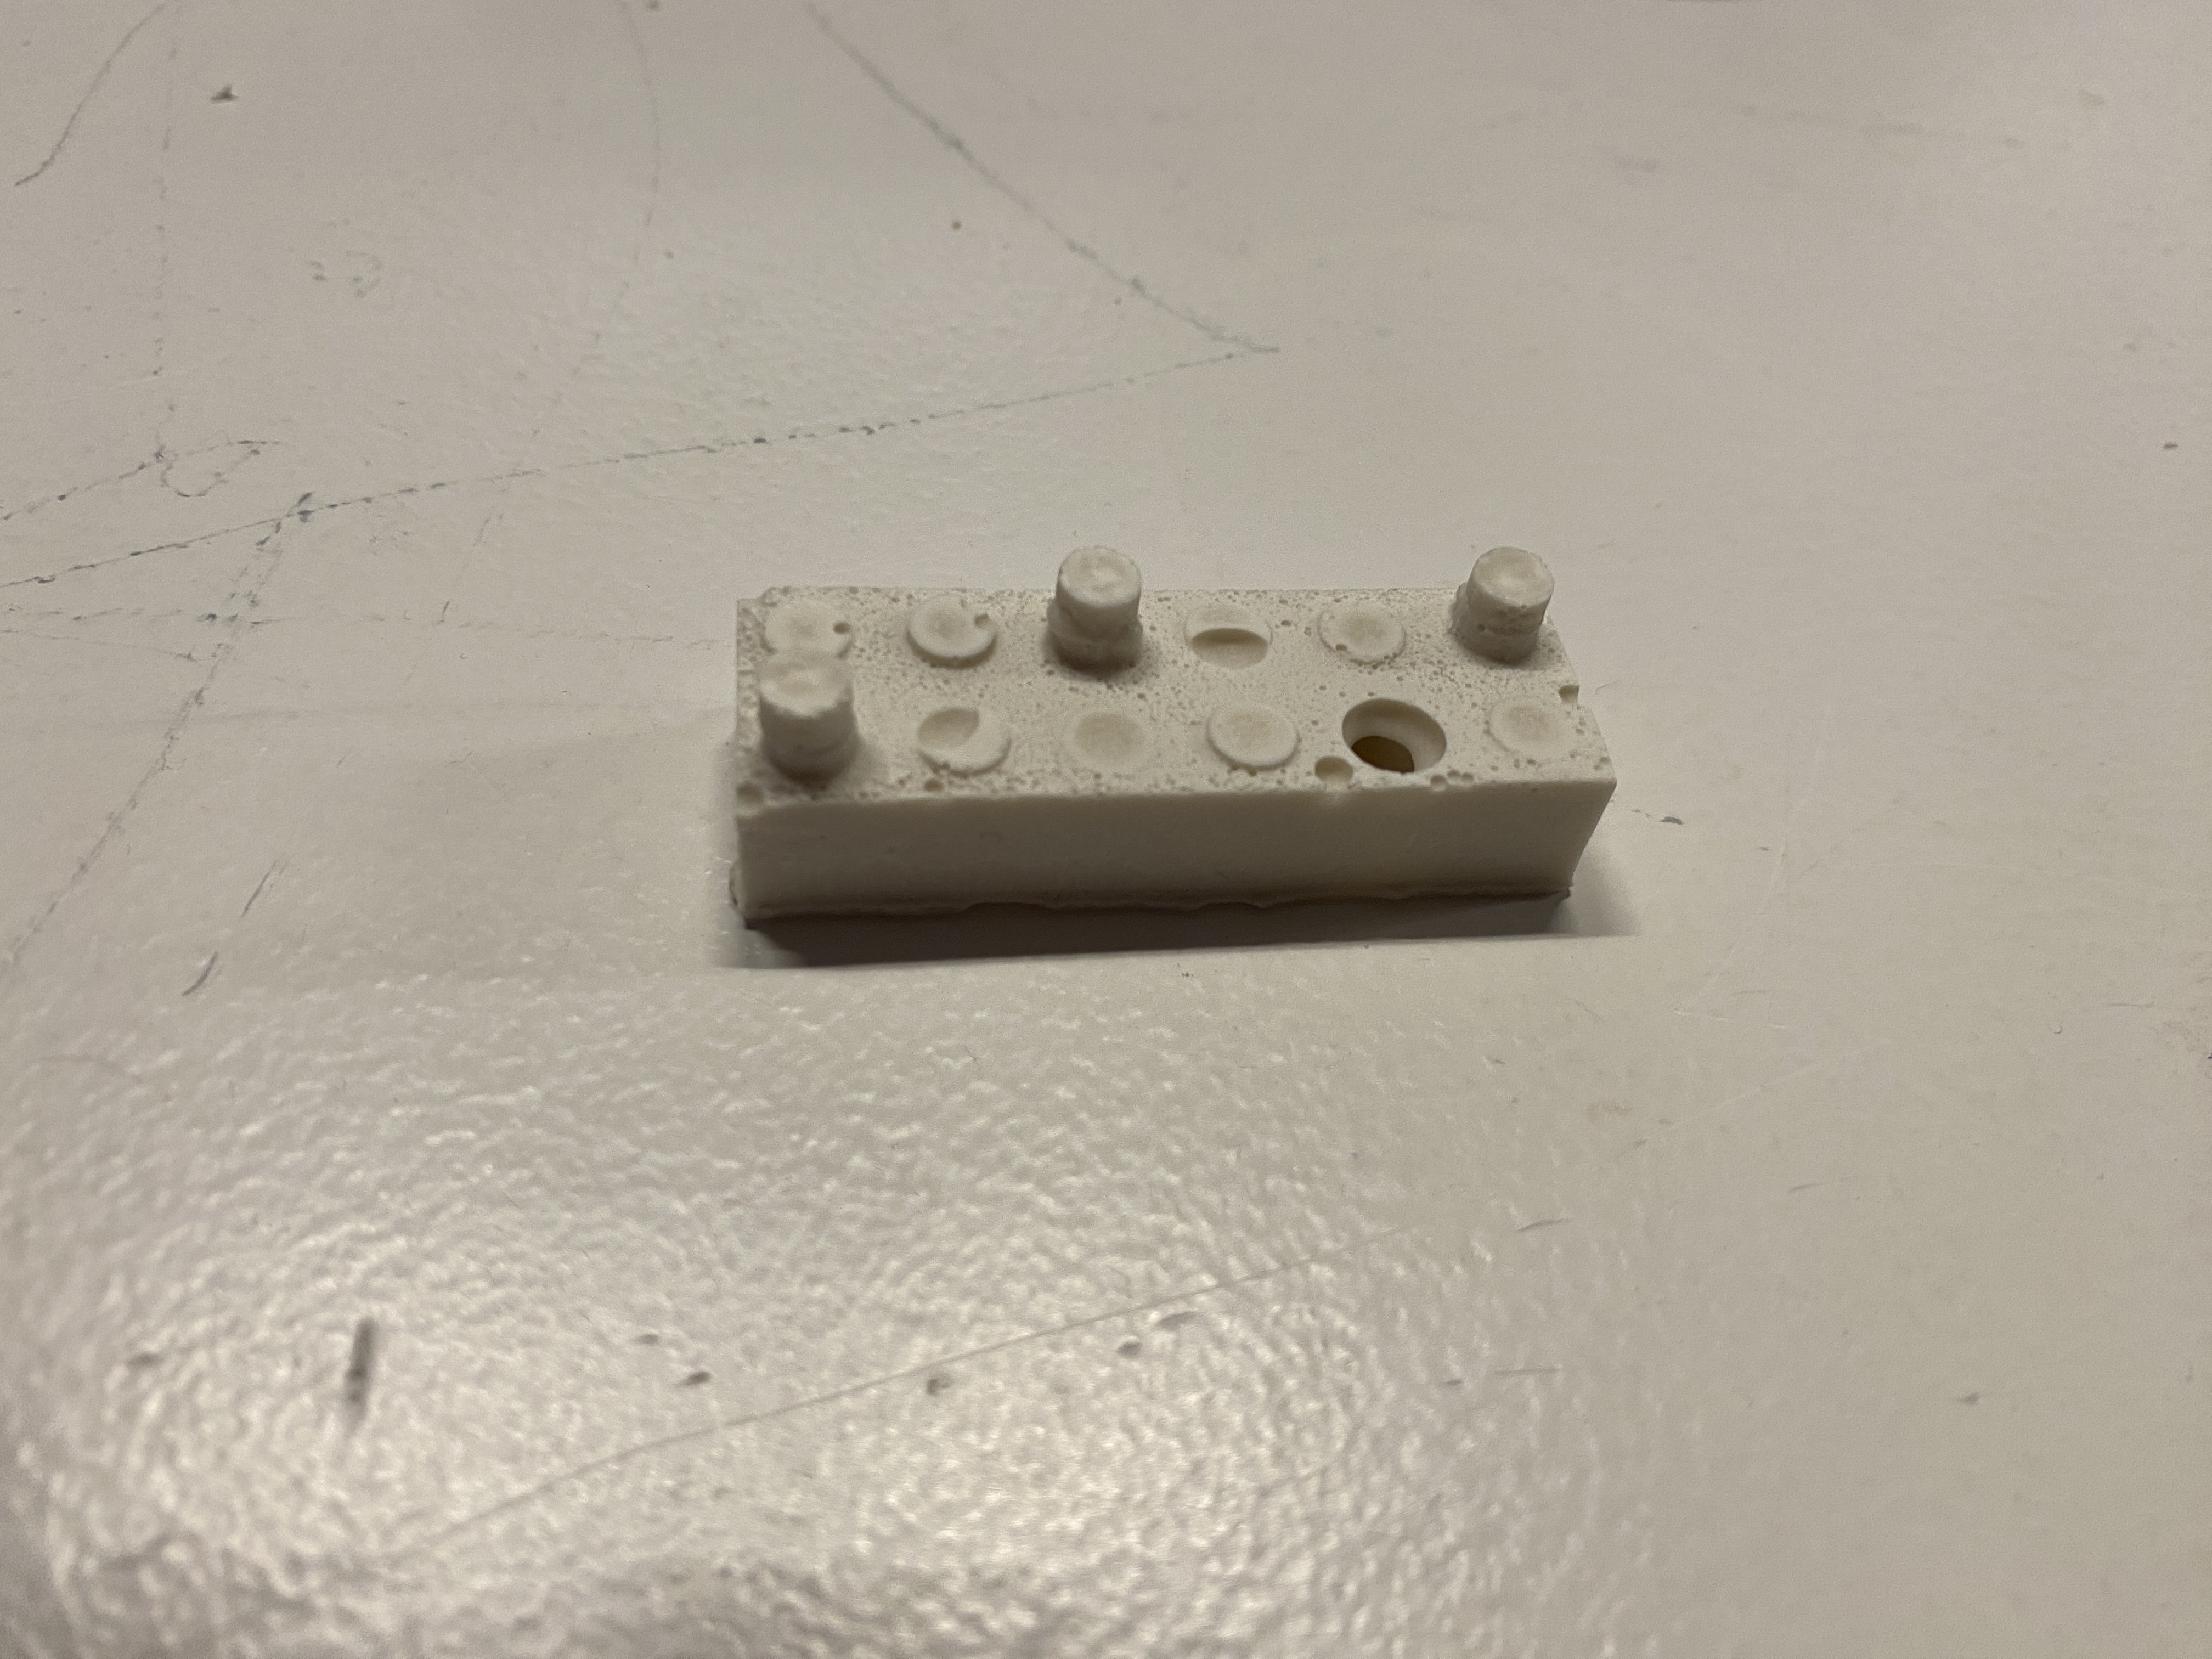
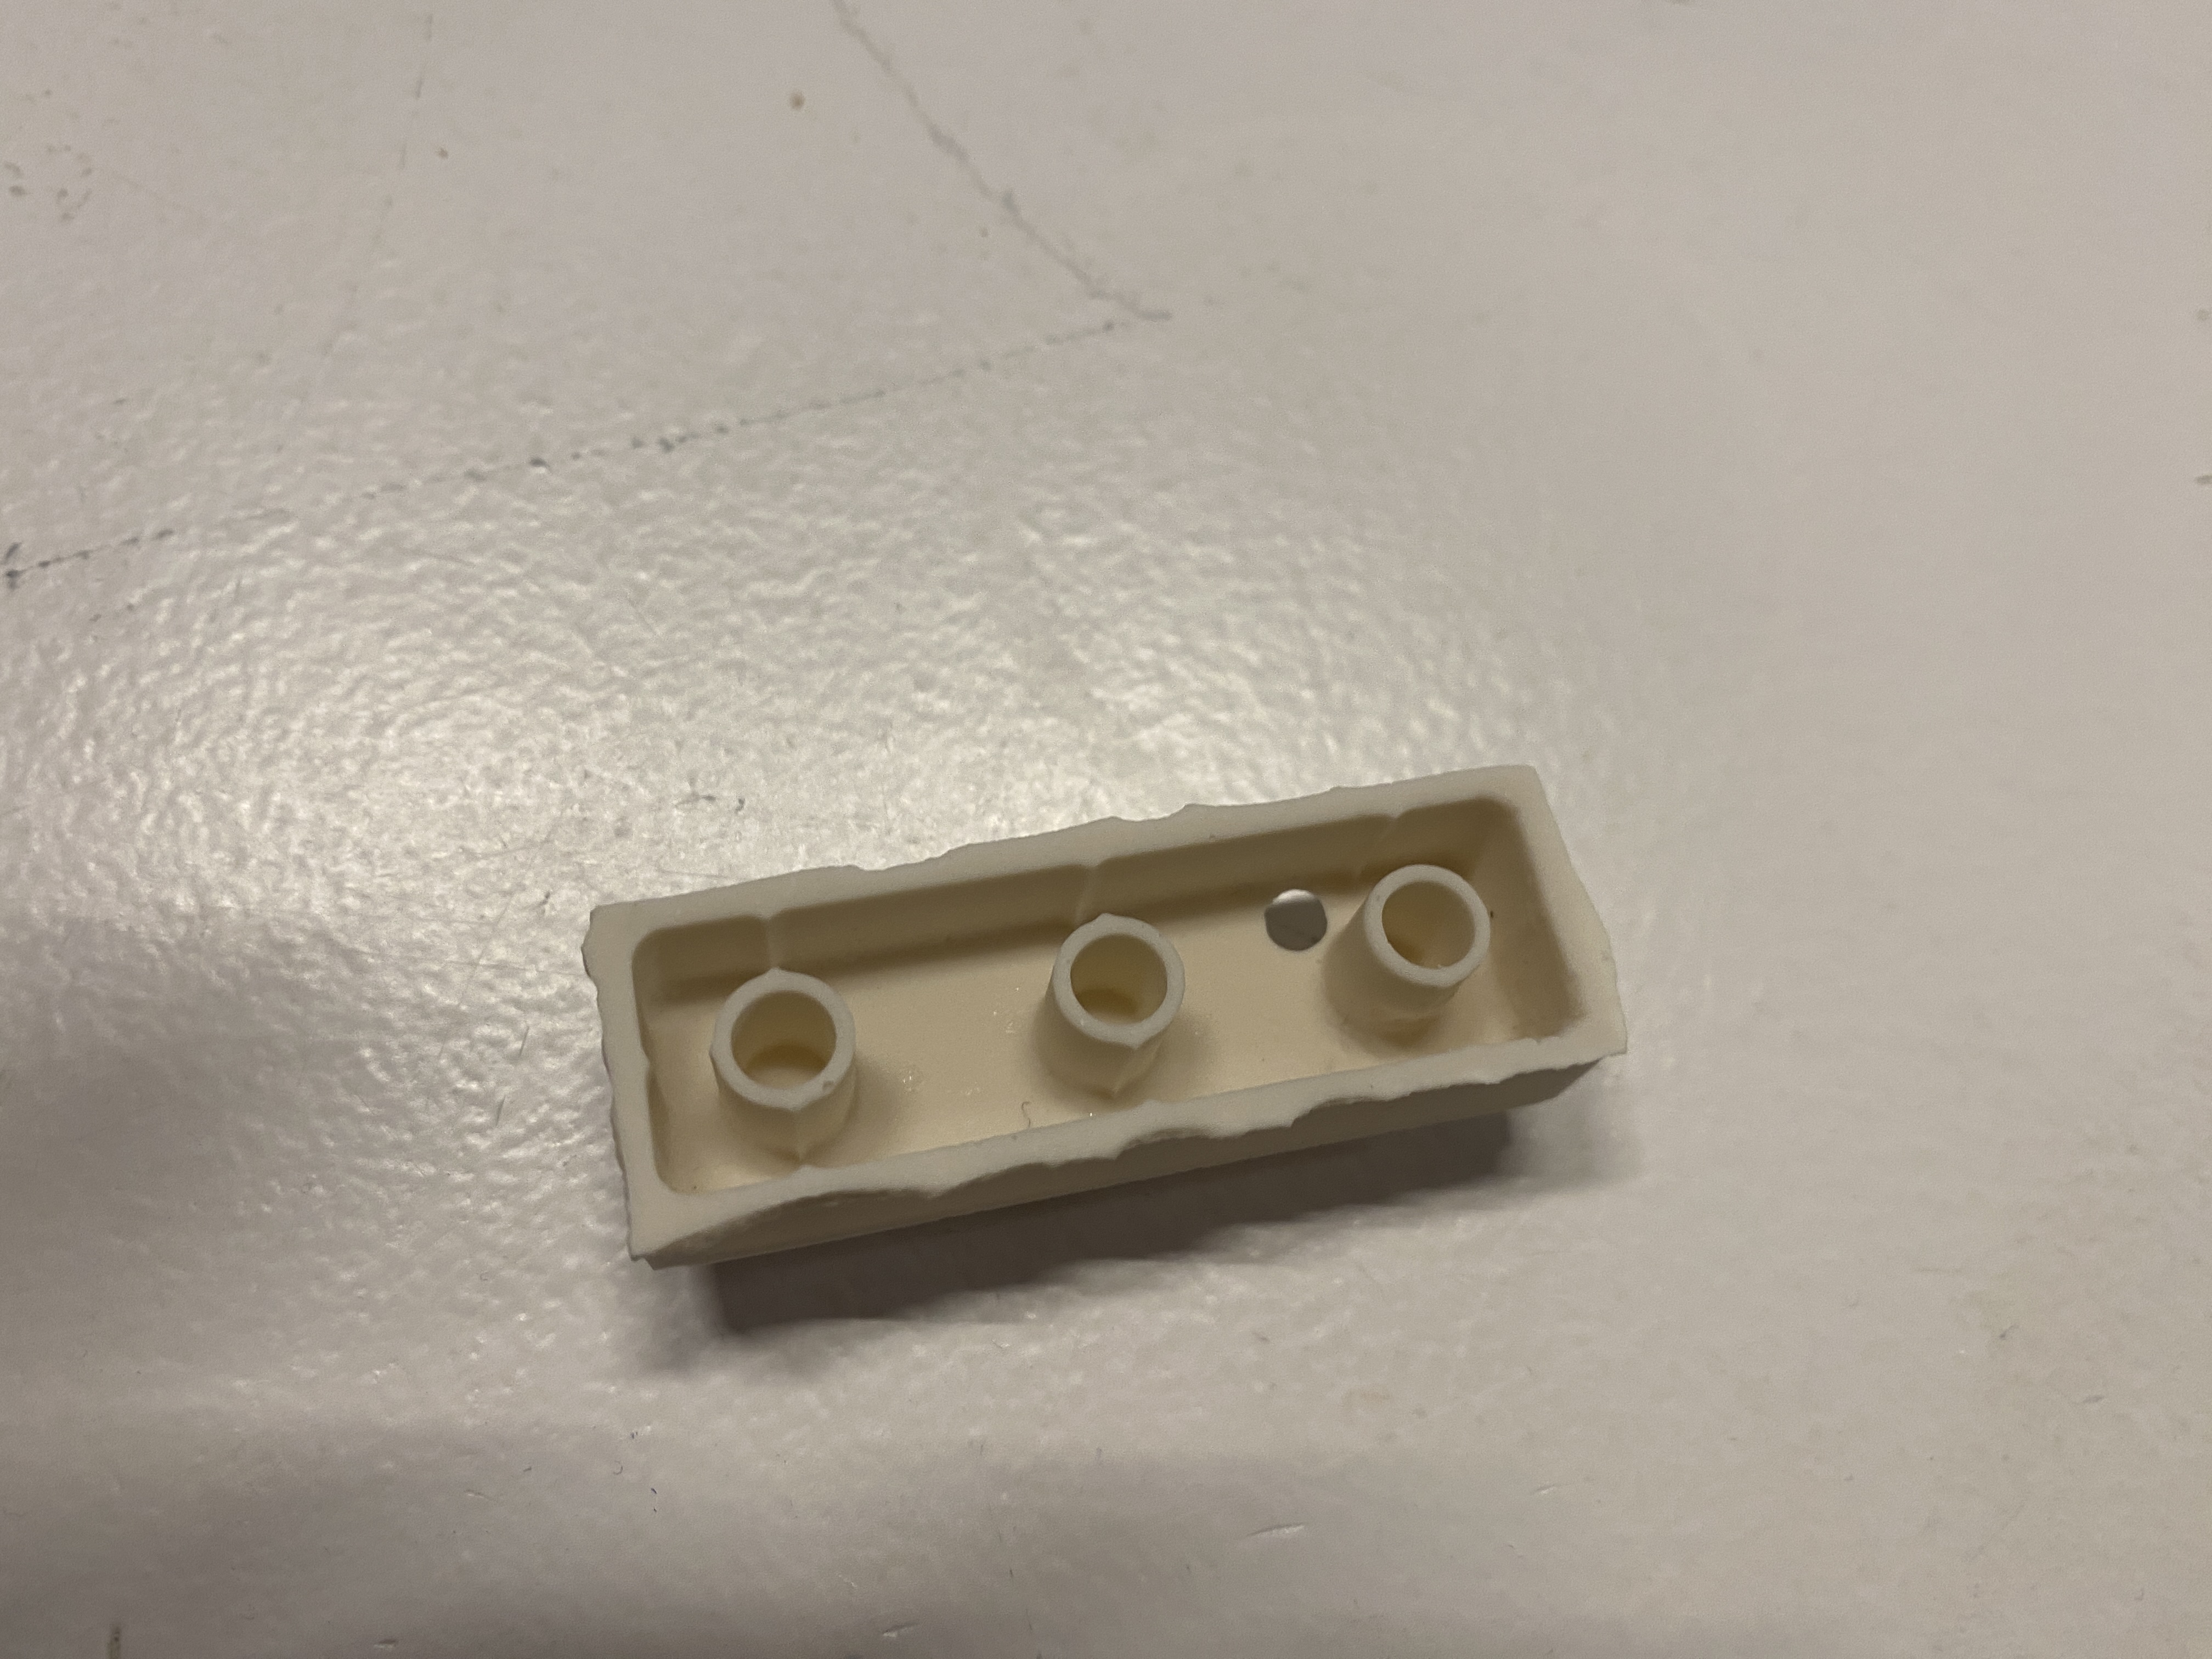
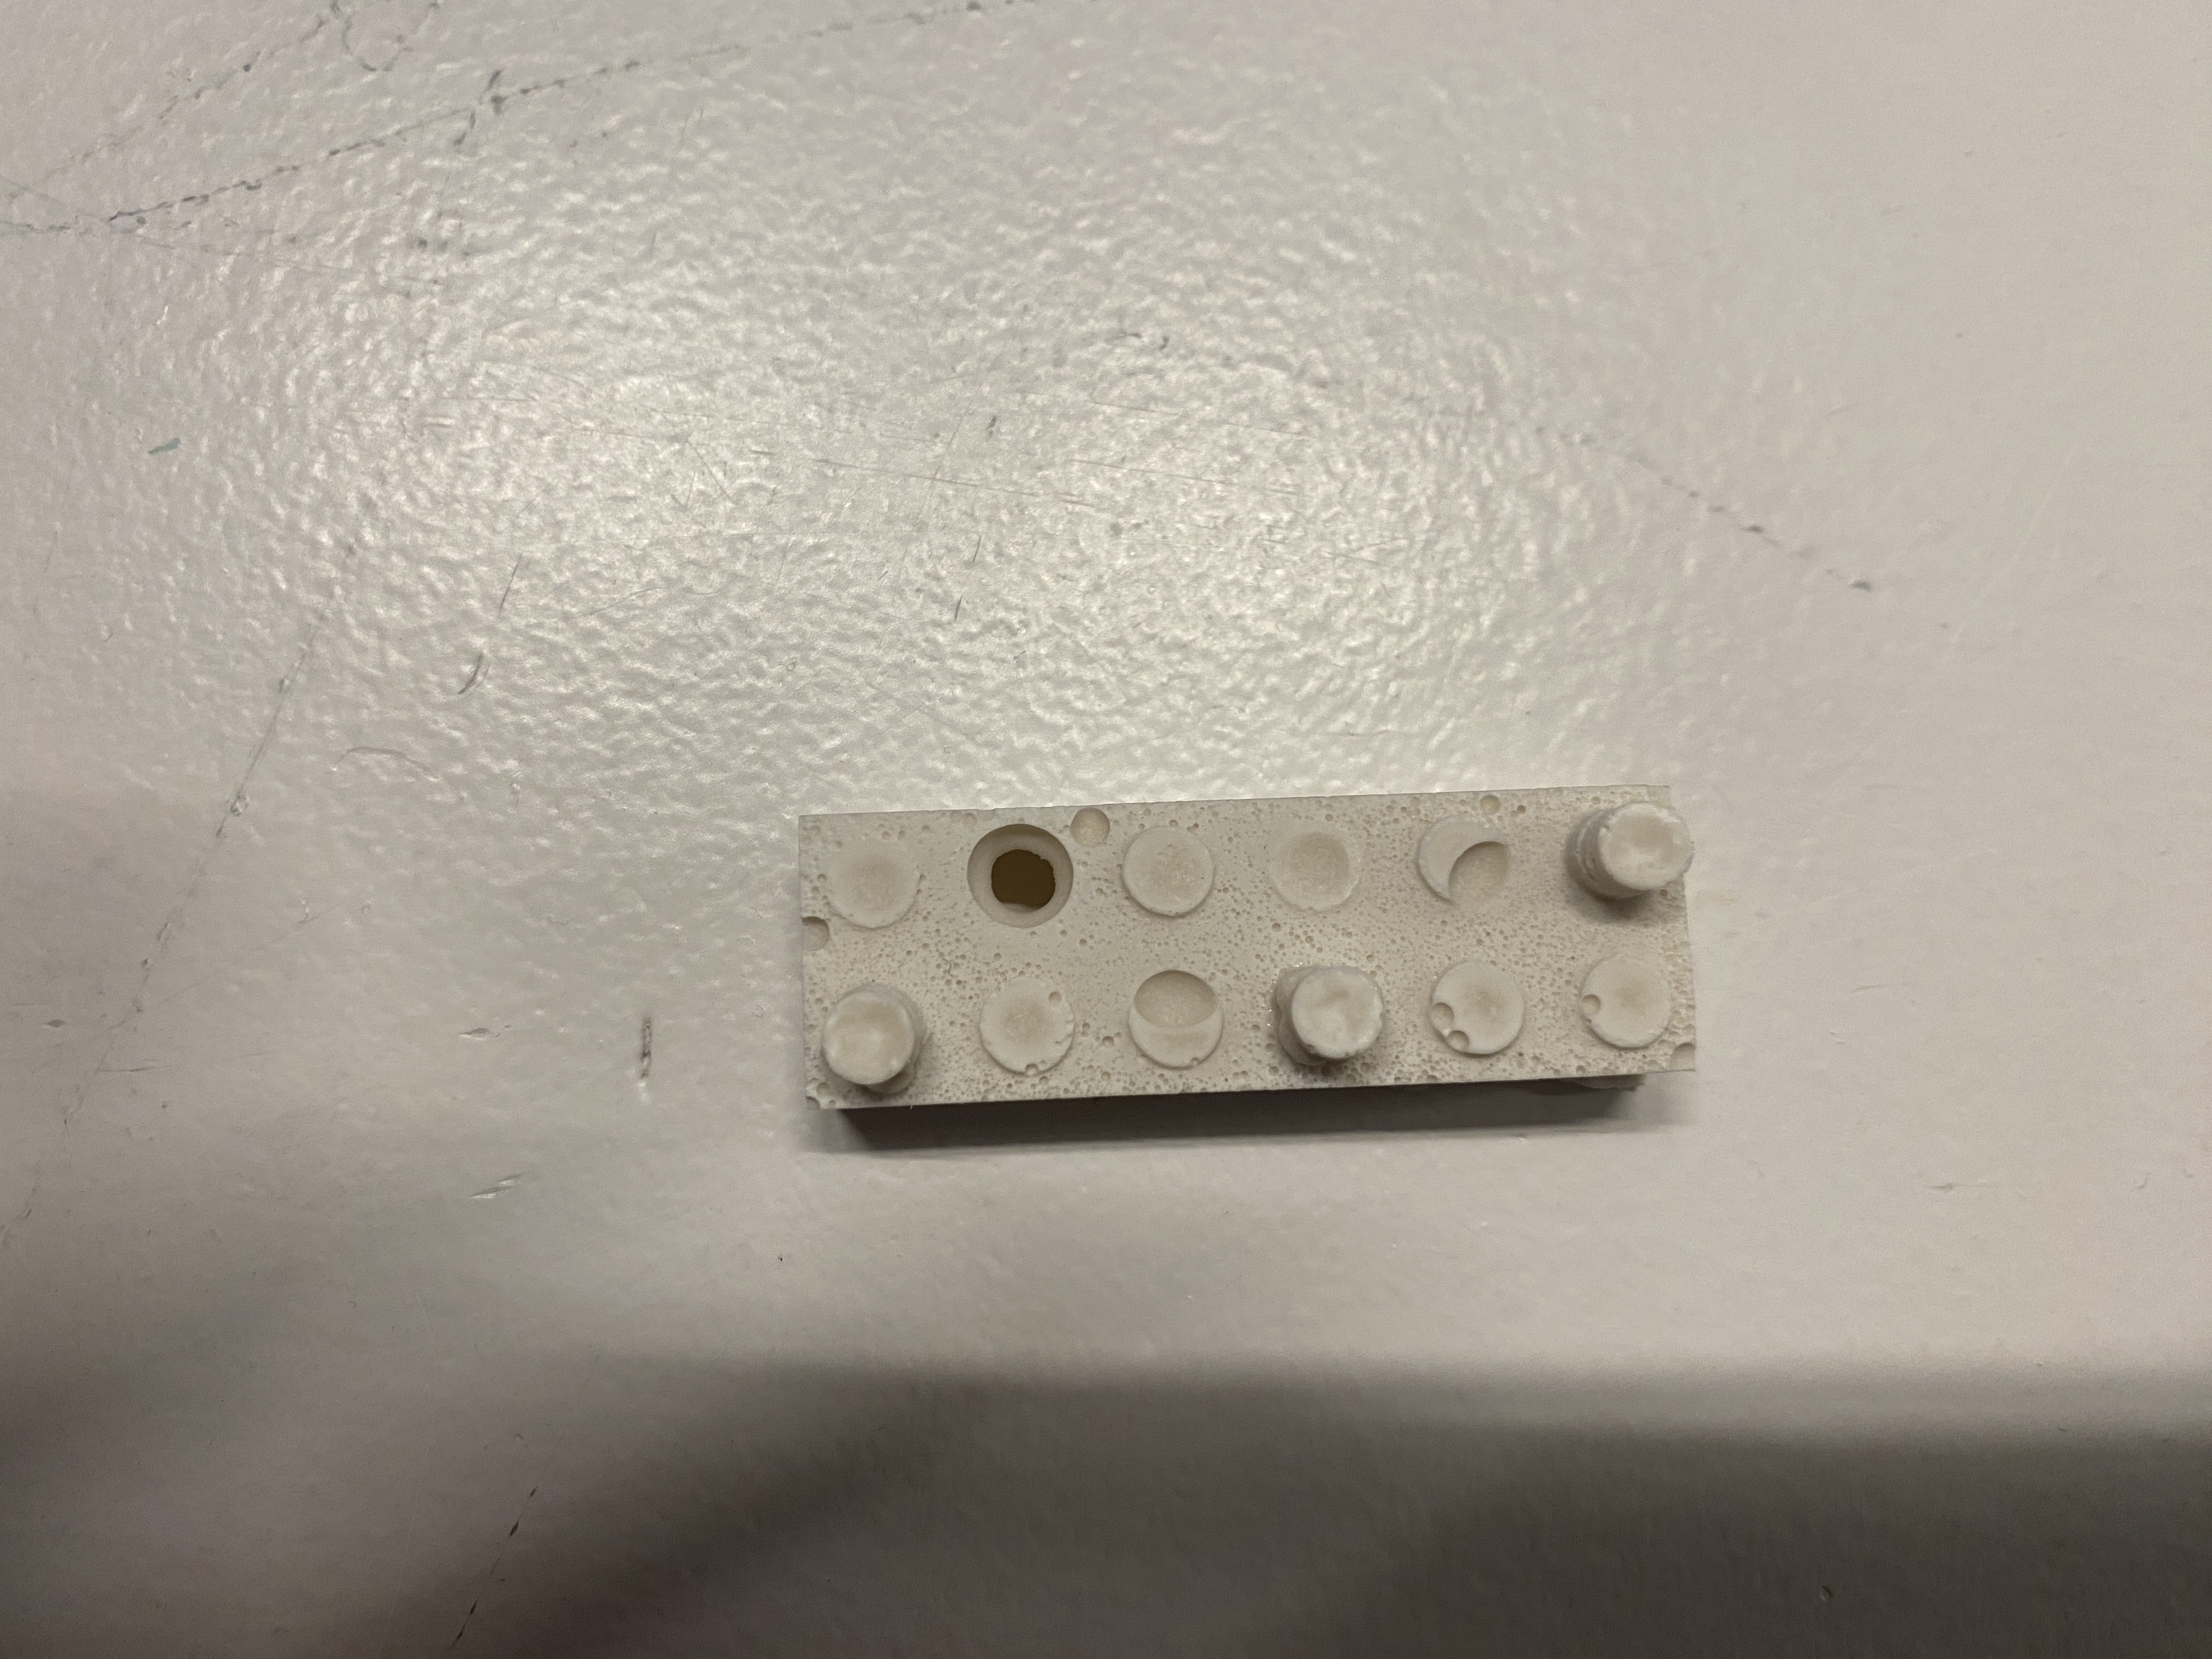
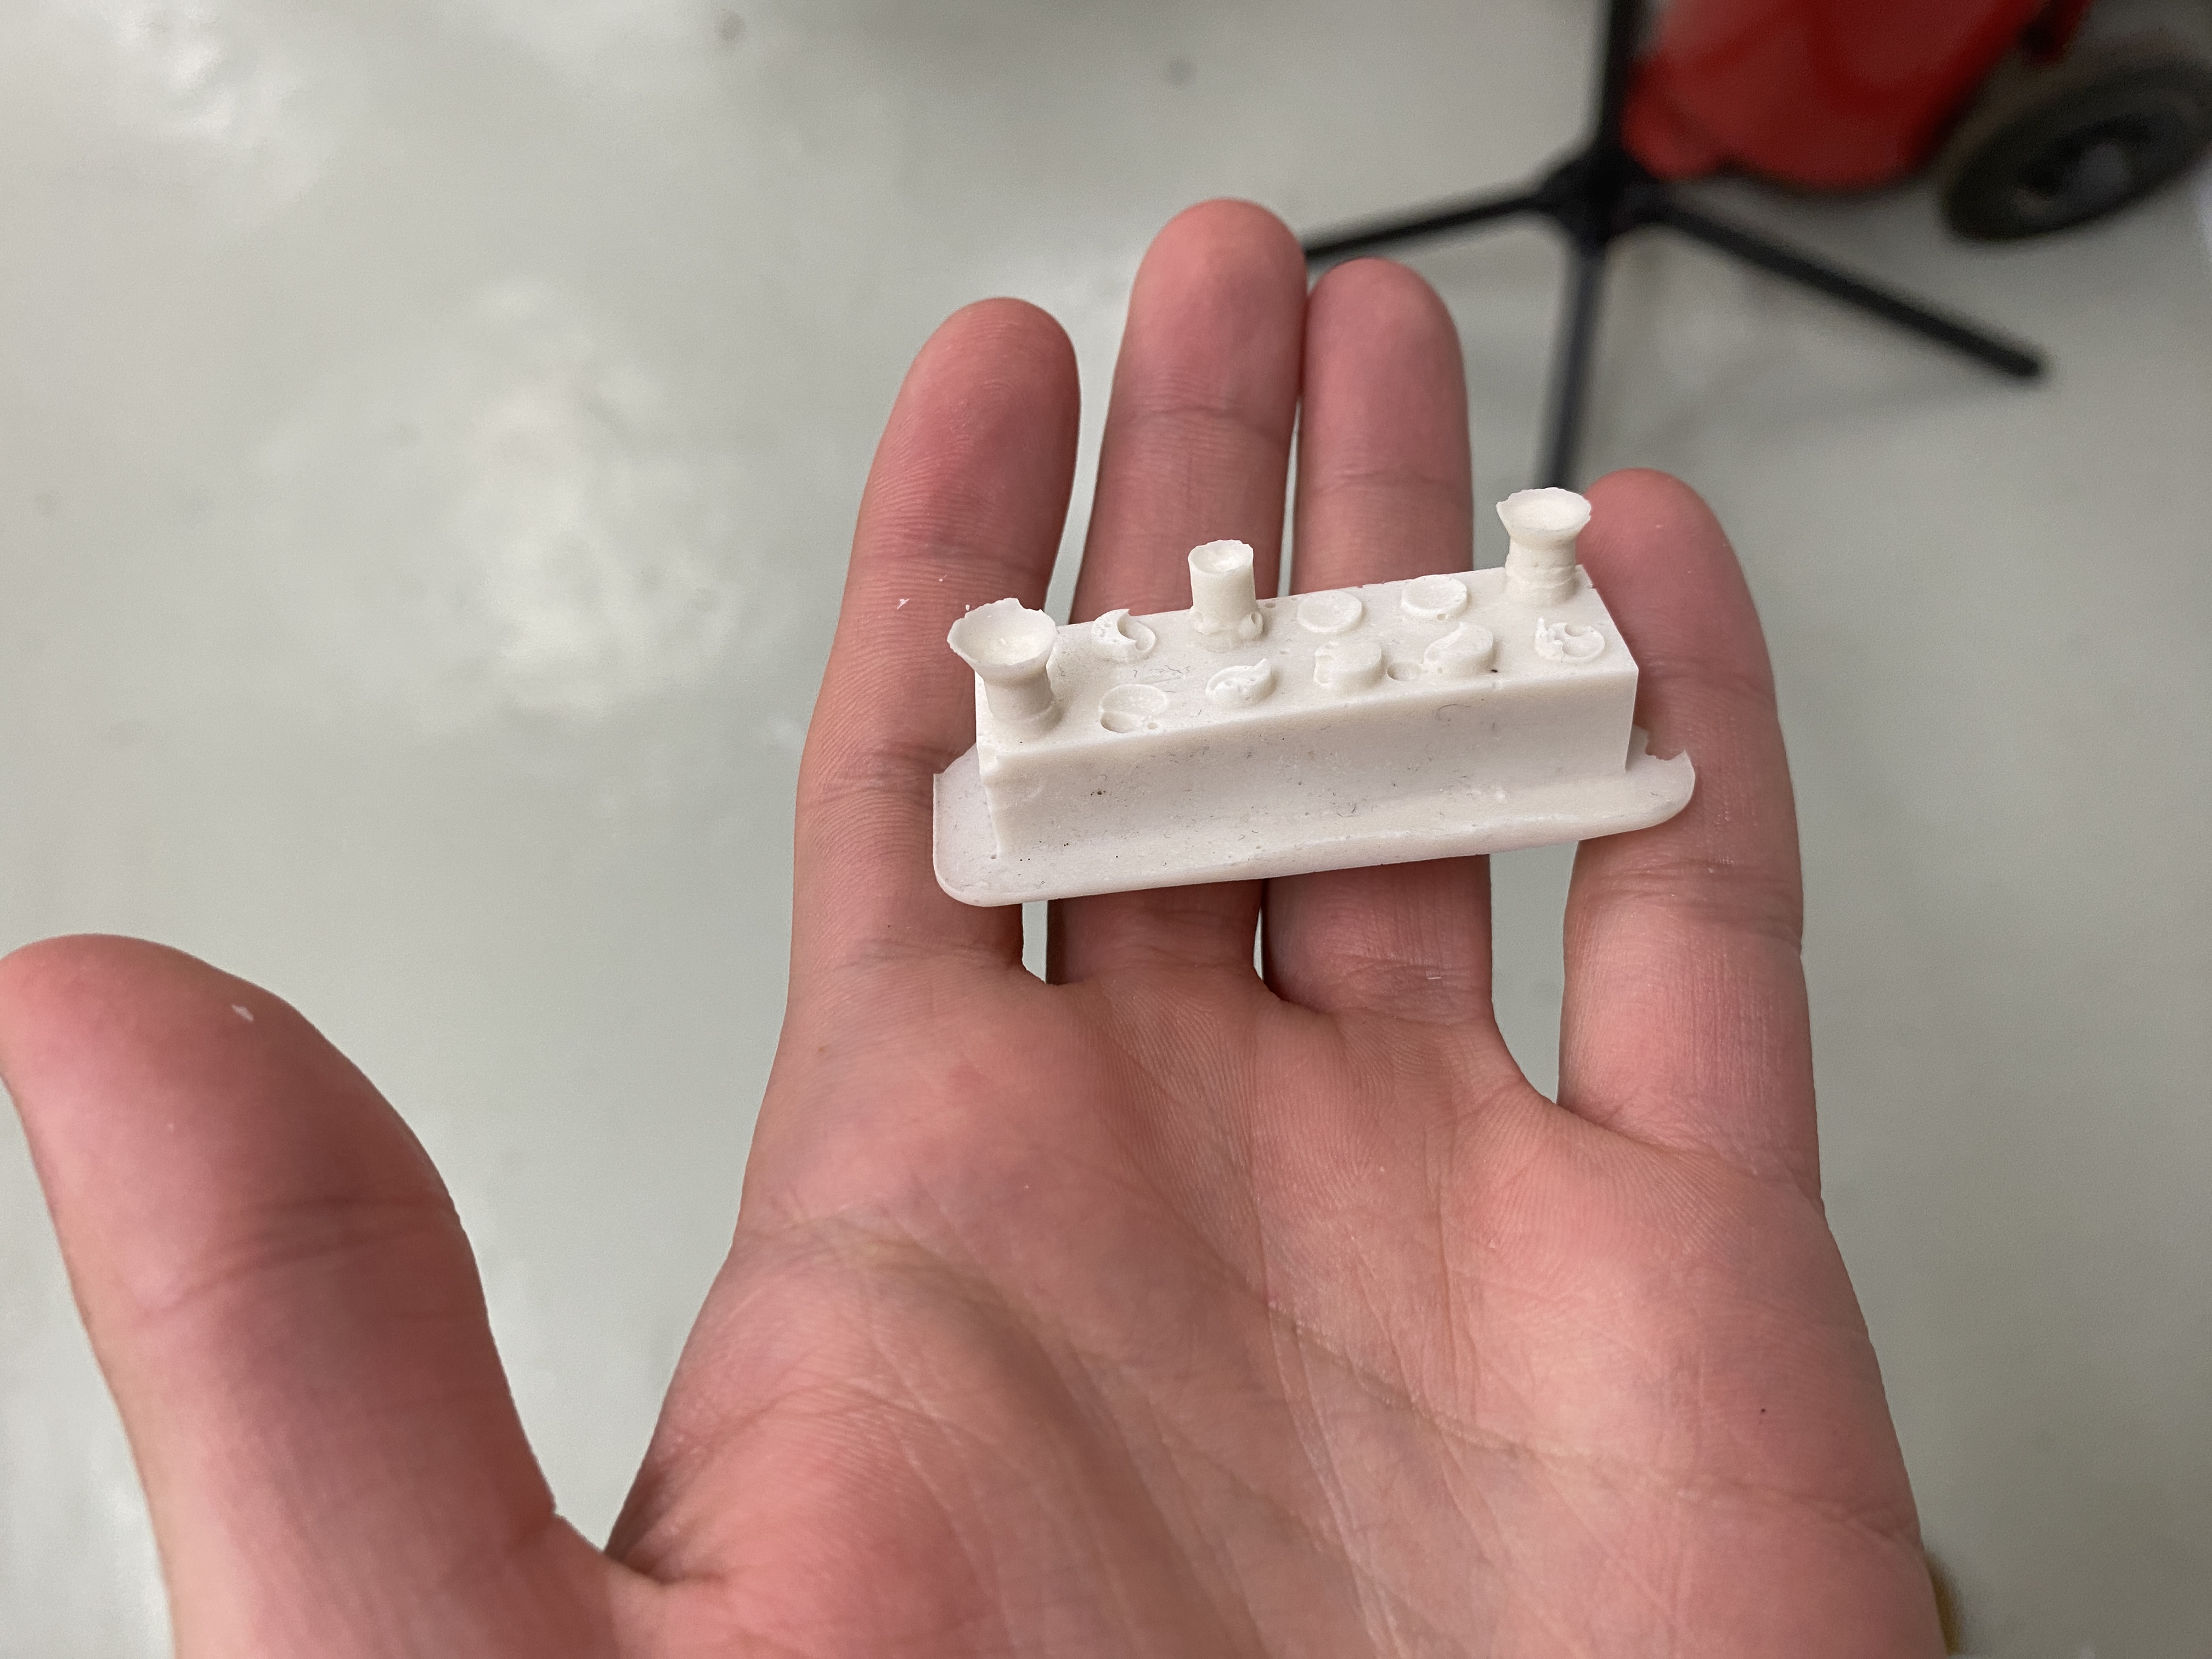
After several casts I came to the conclusion that the softer sillicon gave me the best result as the resin was able to flow better alongside it. In any case a lot of bubblees came out in the results which maybe could have been solved placing the mold inside the vacumm machine several times. About the fitting part of the lego pieces, which didn't turne good in any of the samples, solution could have been to place more breathing modules for them and later sand the piece until it fitted. I tried myself to do holes manually but it did not work out, the core of the problem is in the mold itself. Would have been great to have more tries with it but I did not have time for testing. Overall great week of experimentation and challenges
CHeck and download the files used here
